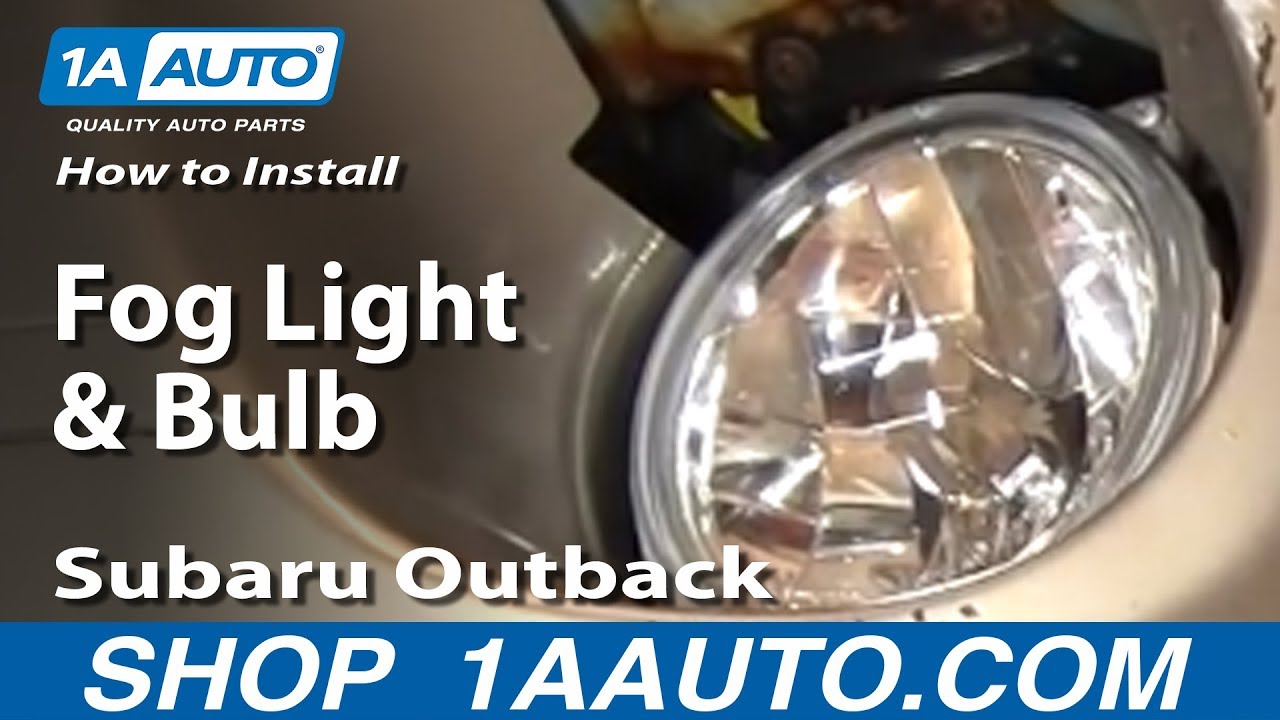
How to Replace Fog Light 2000-04 Subaru Outback
Created on: 2012-09-04
Watch this video to learn how to remove and replace the fog light and bulb on your 00-04 Subaru Outback.
-
step 1 :Servicing the Fog Light Bulbs
- Pry off the plastic clip with a flat blade screwdriver
- Pull back the fog light panel
- Twist the bulb counterclockwise and out
- Disconnect the bulb from the wiring connector
- Connect the new bulb to the wiring connector
- Twist the bulb clockwise into the fog light
-
step 2 :Removing the Fog Light
- Remove the plastic 12mm nuts from the fog light
- Apply penetrating oil to the two 10mm bolts in the fog light
- Remove the two 10mm bolts
- Disconnect the fog light wiring harness
- Pull the fog light out from the front of the bumper
-
step 3 :Installing the New Fog Light
- Push the new fog light into place
- Put on the plastic nuts
- Insert the two 10mm bolts into the fog light
- Connect the fog light wiring harness
- Push the fog light cover into place
- Insert the plastic clip into the fog light cover
Tools needed
-
12mm Socket
Socket Extensions
Flat Blade Screwdriver
Rust Penetrant
10mm Wrench
10mm Socket
Ratchet
12mm Wrench
Brought to you by 1AAuto.com, your source for quality replacement parts and the best service on the Internet.
Hi, I'm Mike from 1A Auto. I hope this how-to video helps you out, and next time you need parts for your vehicle, think of 1AAuto.com. Thanks.
In this video, we show you how to service the fog lights on this 2003 Subaru Outback. We show you both just replacing a fog light bulb, as well as replacing the whole assembly if it gets broken. At 1AAuto.com we sell the assemblies brand new. The only tools you'll need are a flat blade screwdriver and you'll need a 10mm and 12mm either a wrench or sockets with a ratchet and extension.
If you're looking to service the fog light on one of these Outbacks, it's pretty easy. Right back in here on the back of the light, you'll see a little pin or clip here. Use a regular screwdriver, pry the center of the clip out, and once you pry that out, pull on it and the whole clip comes out. Then you take this panel and pull it out and down and you can now access the back of the fog light.
If you're just looking to change the bulb, grab the back of it and turn it counterclockwise. Pull it out and there's your bulb. The bulb comes down, there's a little tab on the connector. You press that tab down and then work the connector off. With the new bulb, put it back on and push it in. Make sure to push it all the way in so the connector clips and then we put the bulb back up in and turn it clockwise.
If you're additionally looking to replace the whole assembly because it's been broken, there's a little plastic nut here, use either a 12 mm wrench or socket and ratchet. Sometimes you can actually get them off just with your fingers. Now there are two 10 mm bolts right here. You'll want to try and get some penetrating oil up in behind. You can also go in from behind here and make sure you spray the backs of the bolts. To remove these two bolts, you can use a wrench or a socket and ratchet. I'm going to fast forward here as I remove those two bolts. As you can see from that first one sometimes they take a little bit of force to break them loose. Make sure you get that penetrating oil up in the back side of them and you could probably let that sit for a few minutes to let it do its work, and then remove both bolts. The assembly moves forward and out. Here's a connection point back in here, sometimes you might want to disconnect this. You just press on the little tab and pull the two ends apart.
The new light from 1A Auto will go in just like the original. Feed the harness back in there and then you want to make sure you get this tab up here going up and then this little stud goes through back here. If you do have the little plastic clips you pull the light in and push it on the back. That holds it in. Start in one of our bolts. Fast forward here again as I just start in those two bolts by hand and then tighten them up nice and firm with the wrench. Reconnect the harness, push the shield back up in and then just push your clip into place and push the set in to lock it in place.
We hope this video helps you out. Brought to you by www.1AAuto.com, your source for quality replacement parts and the best service on the Internet. Please feel free to call us toll-free, 888-844-3393. We're the company that's here for you on the Internet and in person.
Shop Products


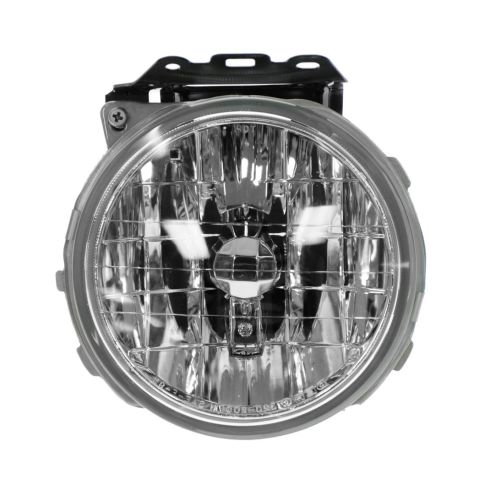
Subaru Baja Outback Passenger Side Fog Light DEPO 320-2007R-AC
Part Details:
- Round
- Features and Benefits

How to Replace Fog Light Lens 2014-17 Subaru Crosstrek
New Fog / Driving Light from 1AAuto.com How to install, repair, fix, change, or replace a broken, damaged, burned out, cracked, faded, cloudy or chipped fog light on 14 Subaru Crosstrek
