
How to Replace Fog Lights 2006-10 Ford Explorer
Created on: 2016-12-16
How to install, repair, fix, change, or replace a broken, damaged, burned out, cracked, faded, cloudy or chipped fog lighton 06, 07, 08, 09, 10 Ford Explorer
-
step 1 :Servicing the Bulbs
- Disconnect the wiring harness
- Twist the bulb socket counterclockwise out of the light
- Pull the bulb off of the socket
- Push on the new bulb
- Twist the bulb clockwise into the light
-
step 2 :Removing the Fog Light
- Press in the pin on the tab with a flat blade screwdriver while compressing the tabs
- Do this for the remaining tabs
- Remove the bulb and socket
- Pry the fog light out from the front of the bumper
-
step 3 :Installing the Fog Light
- Swap over the bulb
- Line up the tabs with the slots on the vehicle
- Reinstall the bulb socket
- Connect the wiring harness
Tools needed
-
Socket Extensions
8mm Socket
10mm Socket
Ratchet
Hi, I'm Mike from 1AAuto. We've been selling auto parts for over 30 years! We're dedicated to delivering quality auto parts, expert customer service, and fast and free shipping, all backed by our 100% satisfaction guarantee. So visit us at 1AAuto.com, your trusted source for quality auto parts.
In this video we're going to be working with our 2006 Ford Explorer. We're going to show you how to remove and replace your fog lights in the front bumper. We are performing this procedure on the passenger side, but the steps are exactly the same on the driver's side. If you like this video, please click subscribe. We have a ton more information on this and many other vehicles. If you need this part for your car, you can follow the link down in the description over the 1AAuto.com.
Here are the items you'll need for this repair: 8-13mm, ratchet, socket extensions
If you just want to change your fog light bulb, all you have to do is disconnect the electrical connector, pull down to release it, turn it counterclockwise and remove it from the housing. Line up your new bulb in the same position the old one came out, turn it clockwise until it locks, and reinstall your electrical connector. There are three of these black pins securing the fog lamp into the bumper. What you'll have to do is use a small flat blade screwdriver, push back on that pin while compressing the tabs. You may have to do these one by one until they pop through. There's one on the top outside corner that might be a little difficult for you to see, but all of these will be removed the same way. You may also have to turn the bulb counterclockwise to remove it, because ours is going to interfere with coming through the bumper. Once all the tabs are through, you can just wiggle the fog lamp assembly out of the bumper.
Here we have our old part that we removed from our vehicle and our new part from 1AAuto.com. As you can see, these parts are exactly the same, with the same size and shape. We have a nice new lens here. Our old one popped off and you can see that it got all hazy and clogged up. This is going to emit much better light. We have the same three mounting tabs on the back. The new piece also comes with a new bulb.
These fog lights, as you can see, become cracked, damaged, cloudy and difficult to emit light, so these new parts from 1A Auto are going to go in direct fit just like our original equipment and fix you up right.
We'll want to remove the bulb first to make sure it doesn't hang up or get damaged when we're installing the part. Always be sure to wear gloves when working with bulbs because the oils on your fingers can cause these bulbs to burn out prematurely. Line up the tabs on the back. These are on a ball and socket joint, so you might have to straighten them out a little bit to get them to go in. Line them up with the holes in the bumper, push it in until it clips. Reinstall your bulb by installing it into the slots, turning it clockwise. Reconnect your electrical connector.
Thanks for watching. Visit us at 1AAuto.com for quality auto parts, fast and free shipping, and the best customer service in the industry.

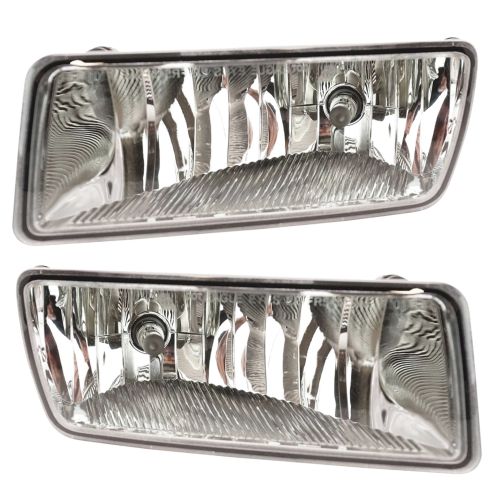
Ford Explorer Explorer Sport Trac Driver & Passenger Side 2 Piece Fog Light Set DIY Solutions LHT00844
Part Details:
- Clear Lens
- Rectangular
- 2 Piece
- Features and Benefits
- (1) Passenger Side Fog Light
- (1) Driver Side Fog Light

How to Replace Fog Light Lens 2014-17 Subaru Crosstrek
New Fog / Driving Light from 1AAuto.com How to install, repair, fix, change, or replace a broken, damaged, burned out, cracked, faded, cloudy or chipped fog light on 14 Subaru Crosstrek
