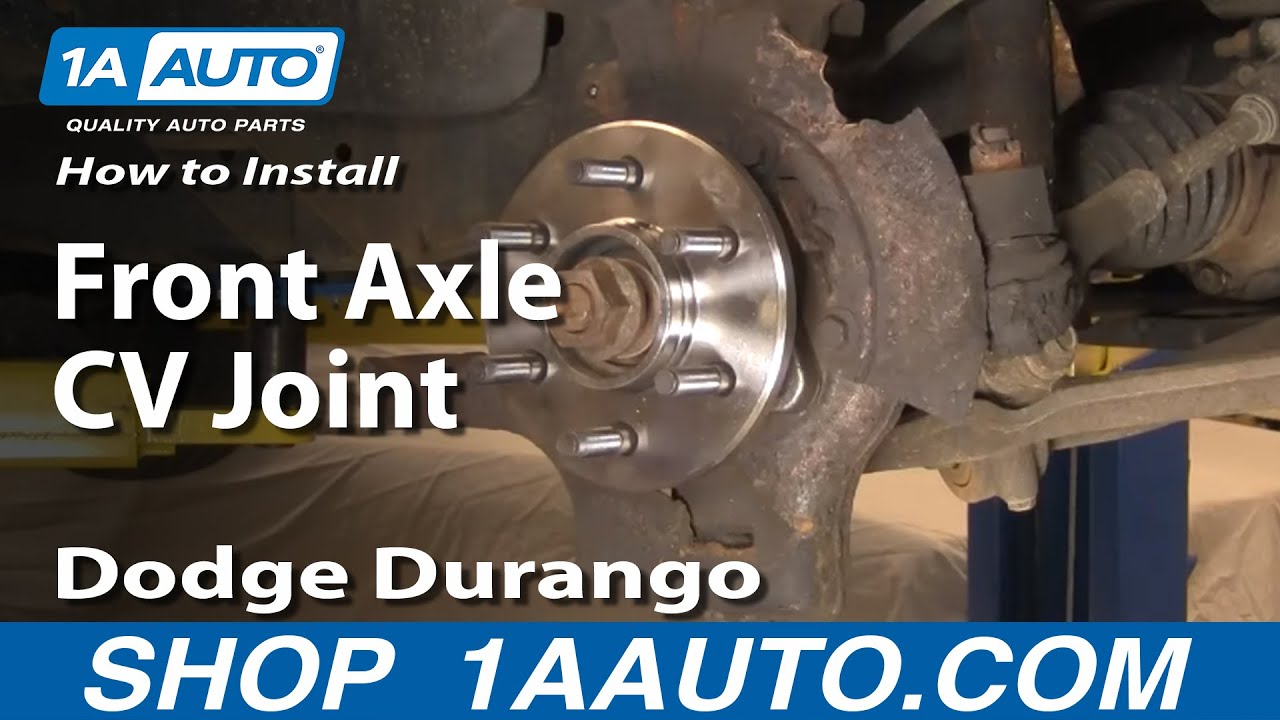
How to Replace Front Axle CV Joint 1998-2003 Dodge Durango
Created on: 2011-01-06
Check out this video to learn how to replace the front axle CV joint in a 98-03 Dodge Durango.
-
step 1 :Remove the wheel and remove the brakes.
- Loosen your lug nuts
- Raise and secure the car.
- Remove the lug nuts and wheel.
- Unbolt the caliper and secure it up with a wire tie
- Remove the rotor and set aside.
-
step 2 :Remove the axle
- Remove the cotter pin
- Put the wheel back on and lower the car.
- Use a 32 mm socket and breaker bar to remove the hub nut.
- Raise and secure the car again and remove the wheel.
- Give the axle a good rap with a hammer to loosen it.
- Remove the bolts mounting the axle.
- Pull out the axle.
Tools needed
-
32mm Socket
A Piece of Pipe (for leverage)
Hammer
Torque Wrench
14mm Socket
Jack Stands
19mm Socket
Slip-Joint Pliers
Lug Wrench
Ratchet
Floor Jack
1/2 Inch Breaker Bar
Brought to you by 1AAuto.com your source for replacement parts and the best service on the internet. Hi, I'm Mike Green. I'm one of the owners of 1A Auto. I want to help you save time and money repairing and maintaining your vehicle. I'm going to use my 20 plus years experience restoring and repairing cars and trucks like this to show you the correct way to install parts from 1AAuto.com. The right parts installed correctly, that's going to save you time and money. Thank you and enjoy the video.
In this video we're going to show you front axle replacement on this '98 Durango, same as any '98 to '03 and also '97 to '04 Dakota, four wheel drive. The tools you'll need are jack and jack stands, 14 mm and 32 mm sockets and ratchet, you'll either need an impact wrench or a large breaker bar or a pipe for leverage, 19 mm socket and ratchet or your lug wrench, hammer, pliers and a torque wrench.
I'm going to kind of fast forward through things here, this is taking the wheel off and then taking the brakes apart and a note on this for the axle, if everything goes like it goes in this video you actually don't have to take your caliper apart or your rotor off. You can skip that part but if you do find that your axle is stuck in your hub and you need to use a gear puller or an axle puller you may have to take your breaks apart. I'm just showing it to you. Also if you want to see this in real time just check out our Dakota and Durango front break video.
Secure my caliper up here with a wire tie and I'm going to remove this carton here. Usually the best way to do it is to break it as high up as you can and use a pair of pliers to squeeze it together as much as I can. Cap and spring washer come out. In this part we're going to remove the hub nut. It's a 32 mm nut and if you don't have air tools what you can do is you can put your tire back on, put the lug nuts back on, lower your vehicle onto the ground and then use a breaker bar and 32 mm socket, I have the benefit of an impact wrench so I will use that to remove the nut.
The bolt comes off and then there's also a washer in there as well. If you're lucky what you do is you take a hammer. If you give it one good rap and you just watch the axle in relation to the hub and you see that move then you're ok. You don't need to worry about using an axle pull or anything like that. Remove those six bolts right back in there, you can see them as they come around. They're not too difficult, you can reach them pretty easily from the underneath, right there and what you can do- I've got my bar on here and my wrench with my 14 mm socket and so I hold this while I pull on this one right here. It'll come off and then for the next one it'll come off and that's one way to do it obviously a much easier way to do it is with an impact wrench.
We're just going to speed through removing the rest of those bolts. Once you have the axle unbolted you can reach right in here, pull it back and down. Then as you get down here just kind of spin it and pull it back and spin it down and use your hammer, push it right out. You'll have to lift it up some and then there's your axle out. A good trained eye is going to notice that there's a new hub on there and that I'm actually installing the same old axle that is intentional. The reason I was working on this vehicle was to replace the hub but I figured I'd make an axle video in the meantime so that's why you see that.
Put your axle back in, you want to have your wheels turned slightly to the inside of the car, just allows you a good angle back here. Put your axle up in; guide the axle into the hub. Basically what allows you do see right here it's angled down. Having the wheel turned allows you to push your axle down and then pull on the CV and get it up and in, lined up. Start your six bolts. Now I'm going go in and tighten these bolts with my impact wrench. Now using my torque wrench and my bar to hold it I'm going to torque each one to 60 foot pounds. I'll put my washer and hub nut on and at this point I'm not going to tighten this all the up I'm just going to preliminary get it on there. I won't torque this until I have the vehicle down on the ground.
Tire back on the ground, I've got my torque wrench set to 175. Now I'm going to speed through this, we're going to put that cap back on, put a new cotter pin in there and bend it and then raise up the car, take those lug nuts off, put the center cap back on, put the lug nuts back on. Obviously, we're going to torque those to about 100 foot pounds and one other note if you did have to take your breaks apart make sure you pump your breaks a few times. Make sure they're working before you road test the vehicle. Let the car back down and now you can see here I'm going to torque the lug nuts again to about 100 foot pounds.
We hope this helps you out, brought to you by www.1AAuto.com your source for quality replacement parts and the best service on the internet. Please feel free to call us toll free 888-844-3393. We're the company that's here for you on the internet and in person.
Shop Products

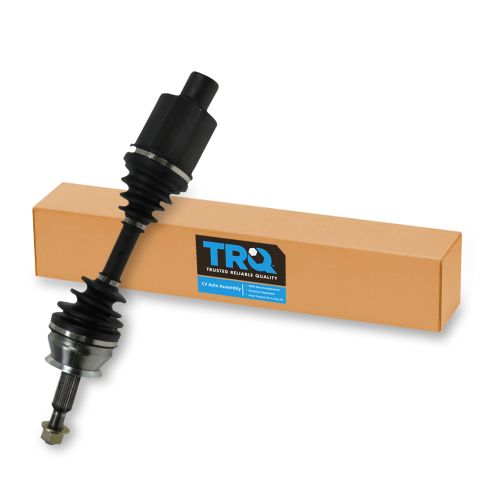
Dodge Dakota Durango Front Passenger Side CV Axle Assembly TRQ CSA80142
Part Details:
- (1) Front Passenger Side Outer CV Axle Assembly
- (1) Front Passenger Side Inner Axle Stub Shaft
- 29
- Female
- 31
- 20.87 in
- Standard Replacement
- 530 mm

How to Replace Front Driver Side CV Axle 2011-15 Chevy Cruze
This video shows you how to install a driver side CV axle on your 2011-15 Chevy Cruze.


