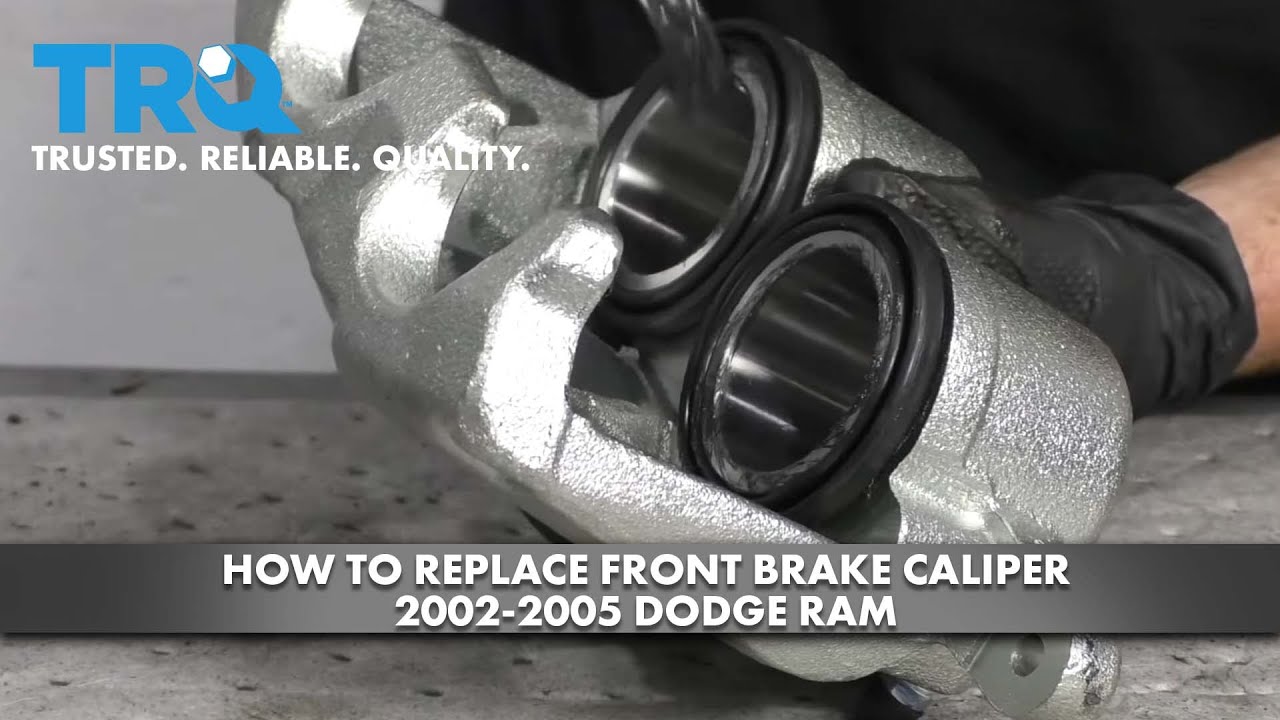
How to Replace Front Brake Caliper 2002-05 Dodge RAM
Created on: 2020-10-06
This video shows you how to a (front/rear)brake caliper on your 2002-2009 Dodge Ram 1500.
Tools needed
-
Torque Wrench
Socket Extensions
Jack Stands
Brake Parts Cleaner
Pocket Screwdriver
Hose Pinch-Off Pliers
Flat Blade Screwdriver
Socket Driver
Paper Towels
Wheel Chocks
Brake Grease
Ratchet
Floor Jack
1/2 Inch Impact Gun
Okay, friends, one of the first things we need to do is safely raise and support the vehicle. We're going to remove all of our lug nuts and take the wheel off. Go ahead and pinch off your flex hose. Now, we're going to take out our banjo bolt right here. Just be careful because there will be brake fluid, so you want to have a nice collection bucket. All right. Set that aside for recycling. Take your flex hose, break it free. There we go. Now, we're going to take off our caliper bracket bolts. Just be careful any vibrations could shoot out brake fluid. Remove your caliper and drain it. So, now I'm going to make my way to the bench, and I'm going to get these pads out of here. If you were to push on the tab, just like this, and then push the pad down, you'll notice that it falls right out of there. At this point, you can remove it. Set that one aside. Same for this one. The next thing we need to do is go ahead and get these tins off of here. We'll recycle those.
Next, we need to look along the pad right along this area right here where the tin was. If it looks like it's dirty or it has buildup, you need to clean it off. I'm just gonna wipe this down. This one's obviously brand new, so I don't have much sanding to do, but go ahead and sand it if you need to. After that, apply a tiny bit of lubricant to each ear, and then we're going to grab our new tins and we'll show you how to put them on. Let's hold our pad just like this. Now we're going to look at the tins. If you look at the tin, you're going to see it has this tab that comes out and down. You want that facing back just like this. Do the same to all four ears. Make sure you put it on the right way. Perfect.
Now, it's going to be time to prep our new caliper. To do that, we want to take off our caliper slider bolts here and here. Take that off, we'll set this aside. Moving along, let's go ahead and grab onto these sliders. I like to pull out the boot, just like that. Of course, inspect it, add a little bit more lubricant. I like to have plenty in there. Perfect. Slide it in there, do the same to the other one. For the ears on the caliper bracket, just a thin coating of that Moly Grease that came with your brakes. Put this aside. Now, we're going to finish up with the caliper here. We're going to add a tiny bit of grease along each of these three ears. This is the bonding points where it connects onto the pad. And then also, on each one of these pistons. The next thing we want to do is make sure that our mounting bolts are clean, and, of course, we put a little bit of thread locker on there. Put our bracket on, start both these bolts, and then we'll torque them to 100 foot-pounds. Now, we'll just snug these up and then we're going to torque them to 134 foot-pounds.
Now, it's going to be time to get our pads on there. Go ahead and slide them in. What you'll notice after you push it in is that they're going to want to slide out because of the tins. Just kind of make sure they don't fall and hit the floor. Okay. Go ahead and grab onto that caliper, put it over your caliper sliders. Right on there. Take your new bolts, start them in, we'll snug them up and torque them to 24 foot-pounds. Okay. Now let's torque them. Just hold onto that slider with some pliers or whatever you've got. The next thing we need to do is prepare our flex hose here. If you look at it and you see a gasket on there, you need to obviously get that off. We'll set that aside. Now, we need to clean up the area where the gasket's gonna ride on both sides. Now, let's get this little cover out of the caliper. We're going to put this into our old caliper. Take your banjo bolt, put one of your crush gaskets on there. Flex hose, put it through the flex hose, put your other washer/gasket on the backside. I'm going to put this right here.
Now, we're going to snug it up, and then we'll torque it to 28 Newton-meters. ...this off of here. Let's get this caliper bleeder boot off of here. Now, the next thing that we need to do is go ahead and pump up the brake as firm as it can get. And then, of course, we're going to come out here, we're going to open up this bleeder screw, and then we're going to wait for the fluid to come down through the lines, fill up the caliper, and hopefully, gravity-bleed out. Okay. So, we've got some pretty good fluid coming out of there at this point. That's looking good. I'm just going to go ahead and close this off and now we're going to need somebody to help us manually bleed this. All right. So, now it's going to be time to manually bleed our caliper here. To do that, it's going to be easiest if you have a second person and they're going to be inside the vehicle. What we're going to have them do is pump up the brake pedal approximately three times nice and slow.
On the third pump, they're going to hold it. They're going to tell us they're holding. We're going to open this up, watch for fluid and air coming out. Once it stops, we'll close it up, have them do it again a couple of times. And we're basically waiting till we don't see any more air bubbles coming out of this. Here we go. Go ahead and pump up the brake, please. Okay. Pump. Okay. So, on that last time, I happened to notice that it was mostly just fluid. I saw maybe a little bit of an air bubble, but it was kind of hard to distinguish if it was air or just a spurt. With that said, let's just give it one more try just to double-check. If I don't see any air bubbles, we'll move along. Go ahead and pump it, please. All right. So, I definitely got a little bit of air on that. We're going to continue doing this until it's a solid stream and then we'll continue.
All right. That was the one. We got absolutely no air on that. This looks great. Let's continue on by cleaning up our mess. Put your bleeder cover back on there. Let's get our wheel back on here. Start all your lug nuts on there and torque them to 130 foot-pounds. Torqued. Okay, friends, so now all you need to do is go ahead and get under the hood and check your brake fluid. Top it off with a little DOT 3 if you've got some, take it for a road test.
Shop Products


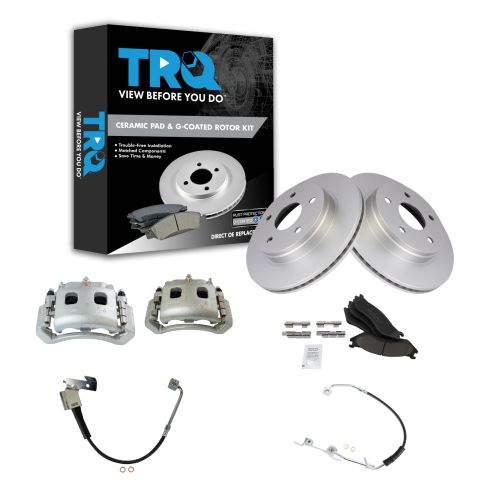
Dodge Ram 1500 Front Ceramic Premium G-Coated Brake Pad & Rotor Kit with Calipers & Hoses TRQ BKA29995
Part Details:
- Premium G-Coated
- Premium Posi
- Ceramic
- (1) Front Ceramic Brake Pad Set
- (2) Front Replacement Brake Hoses
- (2) Front Premium G-Coated Brake Rotors
- (2) Front Brake Calipers

How To Replace Rear Caliper 2002-06 Nissan Altima
Watch this video to learn how you can replace the rear brake caliper on your 2002-06 Nissan Altima.
