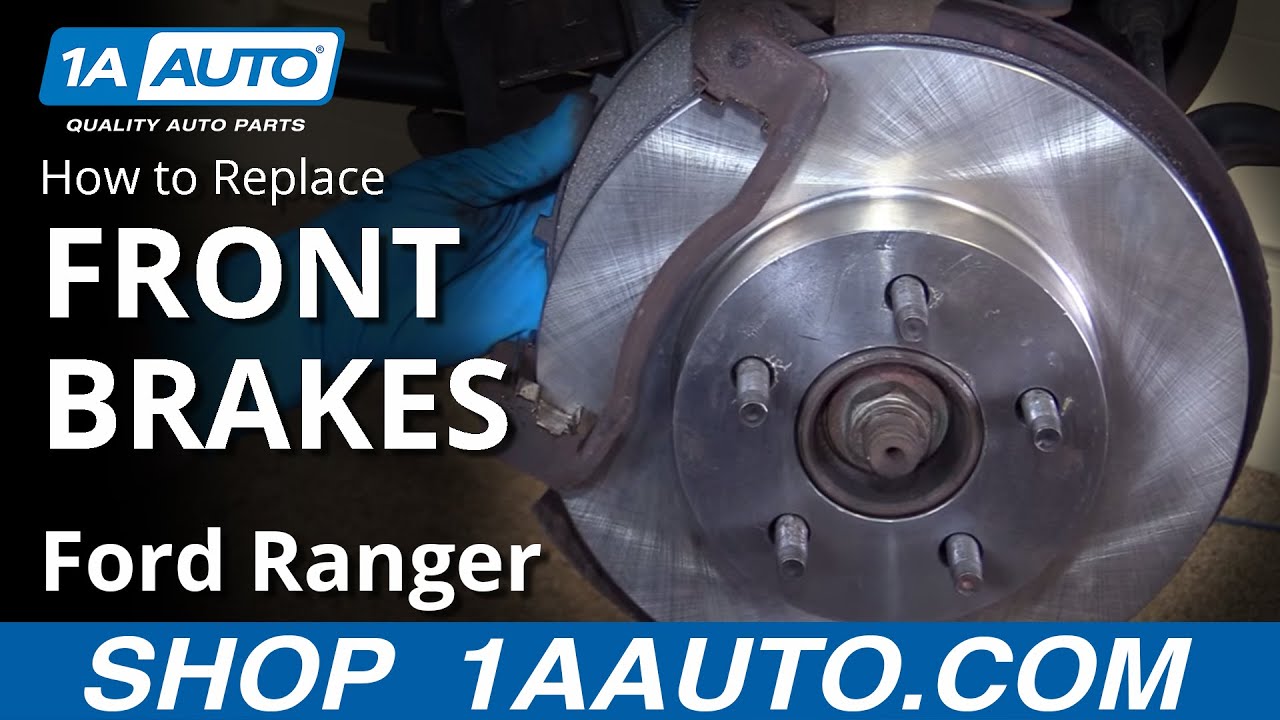
How to Replace Front Brakes 1995-2002 Ford Ranger
Created on: 2016-09-02
Check out this video to learn how you can replace the worn or squeaky front brakes on your 95-02 Ford Ranger.
-
step 1 :Removing the Wheel
- Pry off the center cap with a flat blade screwdriver
- Remove the wheel lock lug nut with a wheel lock key
- Loosen the 19mm lug nuts with the vehicle on the ground
- Raise the vehicle with a floor jack
- Secure the vehicle on jack stands
- Remove the lug nuts
- Pull off the wheel
-
step 2 :Removing the Brake Pads and Brake Rotor
- Remove 13mm bolts from the brake caliper
- Pry the brake pads into the caliper with a flat blade screwdriver to push in the pistons
- Pull the caliper aside
- Remove the 15mm bolts from the brake caliper bracket
- Pull off the brake caliper bracket
- Pull the rotor off
-
step 3 :Preparing the New Brake Pads and Rotors
- Pry off the brake pad metal clips from the caliper bracket
- Clean the caliper bracket and clips with a wire brush
- Apply grease to the caliper slides
- Clean the hub with a wire brush
- Apply grease to the hub
- Clean the rotor with brake parts cleaner
- Use a large C-clamp to push the pistons back in the caliper
-
step 4 :Installing the Brake Pads and Brake Rotor
- Slide the rotor on
- Put the caliper bracket back into place
- Start the 15mm bolts by hand
- Tighten the bolts to 85 foot-pounds of torque
- Install the new brake pads into the bracket
- Apply grease to the brake pad tabs
- Put the caliper on
- Thread the 13mm bolts by hand
- Tighten bolts to 24 foot-pounds
-
step 5 :Reattaching the Wheel
- Slide the wheel into place
- Start the lug nuts by hand
- Tighten the lug nuts preliminarily
- Lower the vehicle to the ground
- Tighten the lug nuts to 100 foot-pounds of torque in a crossing or star pattern
- Reattach the center cap
Tools needed
-
13mm Socket
Socket Extensions
Torque Wrench
15mm Socket
Jack Stands
19mm Socket
Brake Parts Cleaner
Safety Glasses
Flat Blade Screwdriver
Paper Towels
Bungee Cord
Anti-Seize Grease
Ratchet
Wire Brush
Floor Jack
Cloth Rags
1/2 Inch Breaker Bar
Brought to you by 1AAuto.com, your source for quality replacement parts and the best service on the Internet.
Hi, I'm Mike from 1A Auto. I hope this how-to video helps you out, and next time you need parts for your vehicle, think of 1AAuto.com. Thanks!
In this video, we're going to be working with our 2001 Ford Ranger 4.0-liter V6 4-wheel drive. We're going to be showing you how to replace the front brake pads and rotors. We happen to do this on the passenger side, but the driver side is done the exact same way. You do always want to replace these as a pair.
If you like this information, please click subscribe. We have a ton more videos on this truck, as well as many other makes and models. If you want these parts for your vehicle, follow the link in the description. They're available at 1AAuto.com.
Here are the items you'll need for this repair: flat blade screwdriver, wheel lock key, 13mm-19mm sockets, ratchet, socket extensions, breaker bar, jack and jack stands, bungee cord, goggles, dust mask, wire brush, brake grease, rag, paper towel, brake cleaner, and a torque wrench.
Using a taped flat blade screwdriver, locate the relief cuts in the hubcap. Stick the screwdriver in, and pry out to release it from the wheel. This particular truck has a wheel lock on it, so we'll need the wheel lock key in order to remove it. Otherwise, the rest of the nuts come off with a 19-millimeter socket and breaker bar. Simply crack them loose for now.
Raise and support your vehicle, and remove the lug nuts the rest of the way. Remove the wheel from the vehicle.
Remove the two 13 millimeter bolts securing the brake caliper onto the slides and the caliper bracket. Using a 13 millimeter socket and ratchet, remove the caliper and secure it off to the side with a bungee cord, zip-tie, or mechanics wire. Remove the two caliper bracket bolts with a 15 millimeter socket and ratchet. Remove the caliper carrier. Remove the rotor from the hub.
Here we have our old brake rotor and pads that we removed from our vehicle and our new parts from 1AAuto.com. As you can see, these rotors are identical, as are the pads. They have the same tabs that'll slide into the caliber carrier bracket. We have a squealer on one pad per pair. We have the same size and shape friction material, as well as the backing plate itself.
If your brake pads are worn out or your rotors are warped, these new parts from 1A Auto are going to go in direct fit, just like your original equipment, and fix you up right.
These next steps produce quite a bit of dust, so it might be a good idea for you to wear a dust mask and perhaps safety goggles. You're going to want to take a flat blade screwdriver, and carefully remove the metal slides from the caliper bracket. Using a wire brush, remove all the build-up and corrosion from the channels the slides set in. Also, remove the build-up from the steel slides themselves if salvageable. If these are too corroded, you'll have to replace them with new parts.
Now that the carrier surfaces are clean, install metal slides. Make sure they seat fully in. Remove the brake caliper slides one at a time. The boots got stuck, so I have to work those off. Install them onto the carrier. Take a clean paper towel to remove all the old brake grease from the pins. Apply a thin coat of brake grease. Reinstall into the boot. Repeat this step with the other pin. Apply a thin coat of brake grease to the slides as well.
Again, this next step produces a bit of dust, so you may want to wear a dust mask, as well as some goggles. Use a wire brush and clean the surface of the hub. Apply a thin coat of brake grease to the surface of the hub. Using a pair of Groove Lock pliers, carefully and slowly compress the pistons back into the caliper.
Install the rotor onto the hub backwards. Spray it down with brake cleaner. Flip it over, clean down the other side as well.
Reinstall the caliper carrier and the two 15 millimeter bolts. Tighten these bolts down with a 15 millimeter socket and ratchet. Torque these bolts to 85 foot-pounds.
Install the brake pads into their slides in the caliper carrier. Apply a thin coat of brake grease to the back of the pads where the caliper will ride against them. Remove whatever you used to secure the brake caliper. Make sure that the hose is not twisted or kinked. Reinstall under the caliper carrier. Tighten these bolts down with a 13 millimeter socket and ratchet. Torque these bolts to 24 foot-pounds.
Reinstall the wheel and tire. Start your lug nuts by hand. With the weight of your vehicle on the tires, torque the lug nuts to 100 foot-pounds in a cross pattern. Line up the tabs on the inside of your hubcap to the lug nuts. Tap it back into place.
Thanks for tuning in. We hope this video helped you out. Next time you need parts for your car, please visit 1AAuto.com. Also check out our other helpful how-to and diagnosis videos.
Shop Products


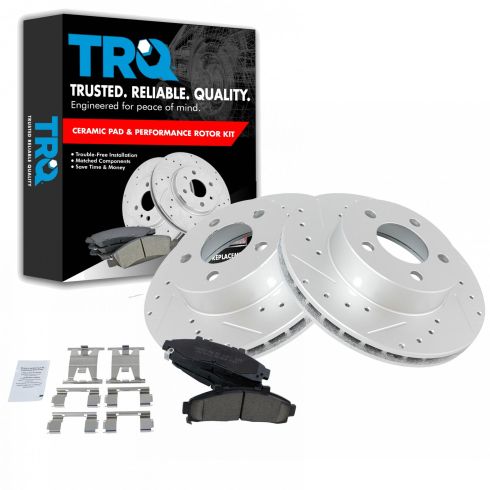
Ford Mazda Mercury Front Ceramic Premium G-Coated Performance Brake Pad & Rotor Kit TRQ Performance BKA12141
Part Details:
- Premium Posi
- Ceramic
- 11.26 in. (286mm)
- Vented
- 5 Lug
- Performance
- Premium G-Coated
- Slotted X Drilled
- Performance
- (1) Front Ceramic Brake Pad Set
- (1) Front Premium G-Coated Performance Brake Rotor Set

How to Replace Front Brakes 2007-14 Chevy Silverado Truck
Watch this video to learn how to fix squeaky or fading front brakes. The experts at 1A Auto show you how to replace the brake pads and rotors on your 07-13 Chevy Silverado or GMC Sierra.
