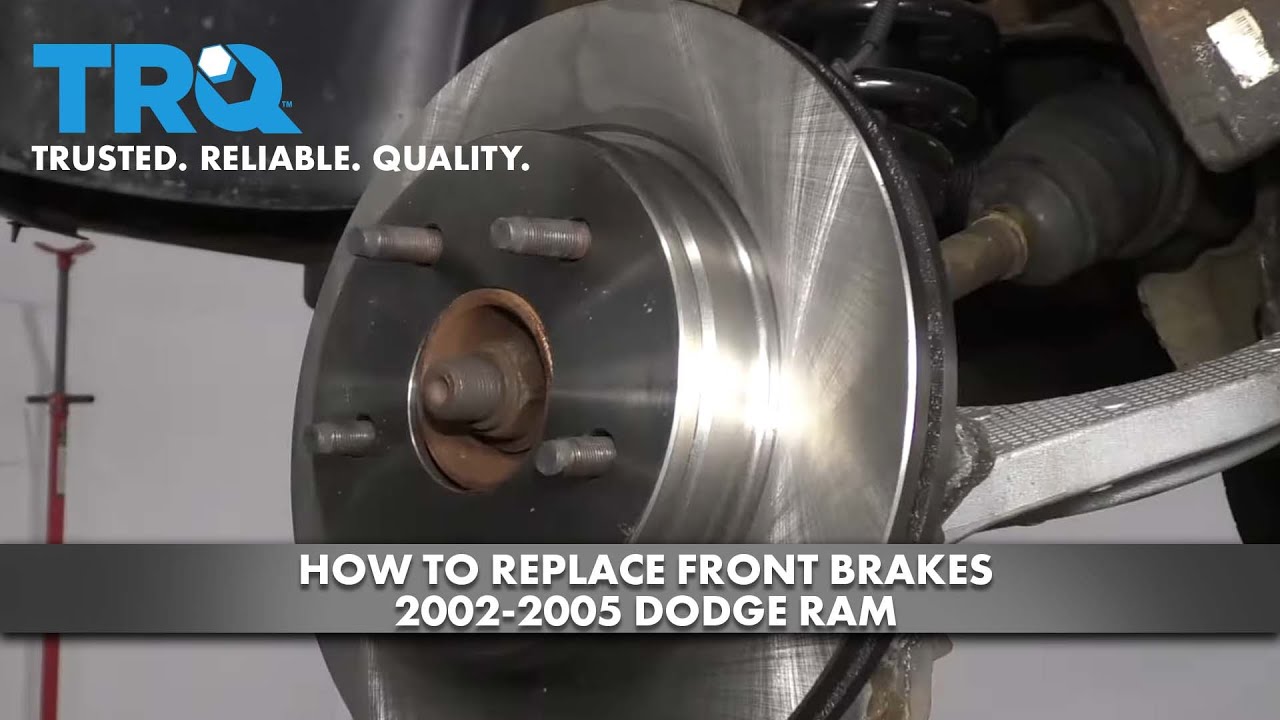
How to Replace Front Brakes 2002-05 Dodge RAM
Created on: 2020-10-05
This video shows you how to install new, quality TRQ brake pads and rotors on your 2002-2009 Dodge Ram 1500.
Tools needed
-
Torque Wrench
Gloves
Brake Caliper Hanger
Pry Bar
Wheel Chocks
Brake Grease
Brake Caliper Compressor Tool. Quad Piston. Ratchet Style.
Floor Jack
Wire Brush
Brake Parts Cleaner
Safety Glasses
Okay, friends, one of the first things we need to do is safely raise and support the vehicle. We're going to remove all of our lug nuts and take the wheel off. Now that the wheel's off, the next thing we need to do is access to the caliper slider mounting bolts here, remove the pair. Let's go ahead and get the caliper off of here. There we are. Remove the caliper. And now you want to take a look at this area right here. This is where the piston boots are. If you see any fluid, you know the calipers is no good. Put the caliper up onto the control arm here. Now, I'm going to use a caliper depression tool that pushes back both the pistons at the same time. Awesome. Check your pistons, make sure that they're not leaking. This looks perfect. Now, we're just going to take a little bit of caliper lubricant. We're going to go right along these actual pistons here on the caliper. There we are. That looks decent. And now along all three of the ears. And let's set this aside. Now, let's remove the pads. Now, let's remove the caliper bracket by removing these two bolts. Remove the rotor. Now, we need to clean up the mating surface of the hub, so that way there when we put on a new rotor, it's going to be nice and clean.
So, now let's make our way over to a workbench so we can start cleaning up our bracket here. If you were to look at it, you're going to see these areas right here. These are your sliders. Sometimes there'll be frozen in the bracket and you'll have to work at getting them apart. Other times you can kind of grab onto it, give it a twist and separate it like that. Once you've done that, we're going to continue on by removing the boot. Take it apart. Just like that. Set it aside to its corresponding side. This one is a little sticky, but it comes right out. Slide that off as well. At this point, you want to look at your caliper sliders. Look all up along this area right here. If you see any debris or it looks like it's rusted or rotted in any way, that could, of course, cause this to not slide. So, you need to clean them both up. Let's do that now. Now that the sliders are done, let's go ahead and clean our boots. Just take a nice rag. Slide it through. Just like that. Now we'll open it up, just kind of run it like this. Just drag your hands right across it. That's going to get out the majority of the junk that's inside there. Take a nice peek. Make sure it looks like it's in good condition. Do the same to the other.
Now that we have those done, let's go ahead and put this over a nice collection bucket. Put some parts cleaner inside each of these ports. Now, let's use a nice little bore brush and clean them out. Get that out. Oh yeah, that's nasty. You might have to do that a couple of times. Now, looking along this area of the ports, you might see that there's some buildup. You need to clean that off as well. That's where the boot's gonna ride and it needs to be clean. Those look great. Let's move along to these areas right here, that's where your pads are gonna ride. There we are. Now that we have all four corners, nice and clean, let's just apply a thin coating of grease across them. This is going to help keep moisture away. Now it's going to be time to continue by lubing our sliders. Take some of that grease, go along the entire shaft of the slider ad then all the way up along that little ridge where the boot's going to ride, that's going to be very important.
Let's do the same along the ridge on the caliper bracket where the boot's going to ride. Also important. Take your slider boot, slide it onto the slider. Just like that. Give it a nice spin, that works all the grease in there. Slide it into your caliper bracket, put the boot so it's sitting on the lip all the way around, a nice spin. Clean up your mess, and then do the same to the other side. It's important to make sure you clean up the braking surface on your new rotors. Before we go ahead and put our rotor on there, let's put a little bit of copper never-seize on the hub itself. Let's get the rotor on. The next thing we need to do is get our bracket on here. To do that, you want to make sure your bolts are clean and, of course, a little bit of red thread locker on there. Start them both in and then we'll snug them up and torque them to manufacturer specifications. Now, let's torque these to 130 foot-pounds. Now it's going to be time to install our pads. But before we can do that, we need to make sure that we put a little bit of lube along the ears of the pad, and then we need to install our little tins that came in the pack.
Looking at the tins, what you're going to see is they have a little ear that comes off. That ear needs to face out towards the back of the pad. Just like this. Do the same to all ears. I'll get the pads on there. As you push it in, you might notice that when you release, it tries to pull away. That's because of those tabs. Just kind of hold it in there so it can't fall. Let's grab our caliper, bring it around, slide it up on here. There we are. Two calipers slider bolts, start them both in, and then we're going to snug them up and torque them to 24 foot-pounds. Okay. Let's torque them. Let's get our wheel back on here. Start all your lug nuts on there and torque them to 130 foot-pounds. Torqued. Okay, friends, so now all you want to do is go ahead and pump up those brakes so they're nice and firm, check your brake fluid, and then take it for a road test.
Shop Products


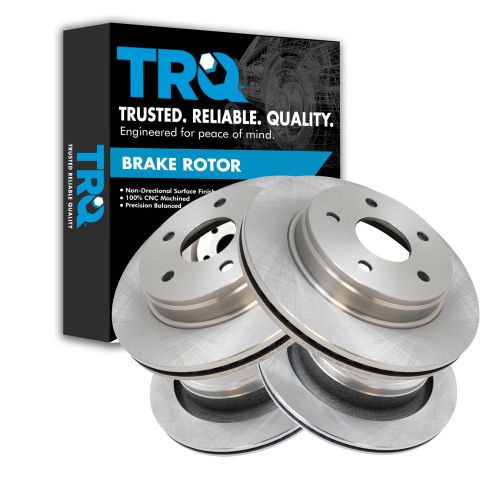
Dodge Ram Chrysler Front & Rear 4 Piece Brake Rotor Set TRQ BRA13543
Part Details:
- Vented
- Vented
- 13.86 in. (352mm)
- 13.19 in. (335mm)
- 5 Lug
- 4 Piece
- (2) Front Brake Rotors
- (2) Rear Brake Rotors
- No
- Standard Replacement

How to Replace Drum Brakes on Any Vehicle
The common features of drum brakes so that you can learn how to replace the brakes on your specific vehicle.
