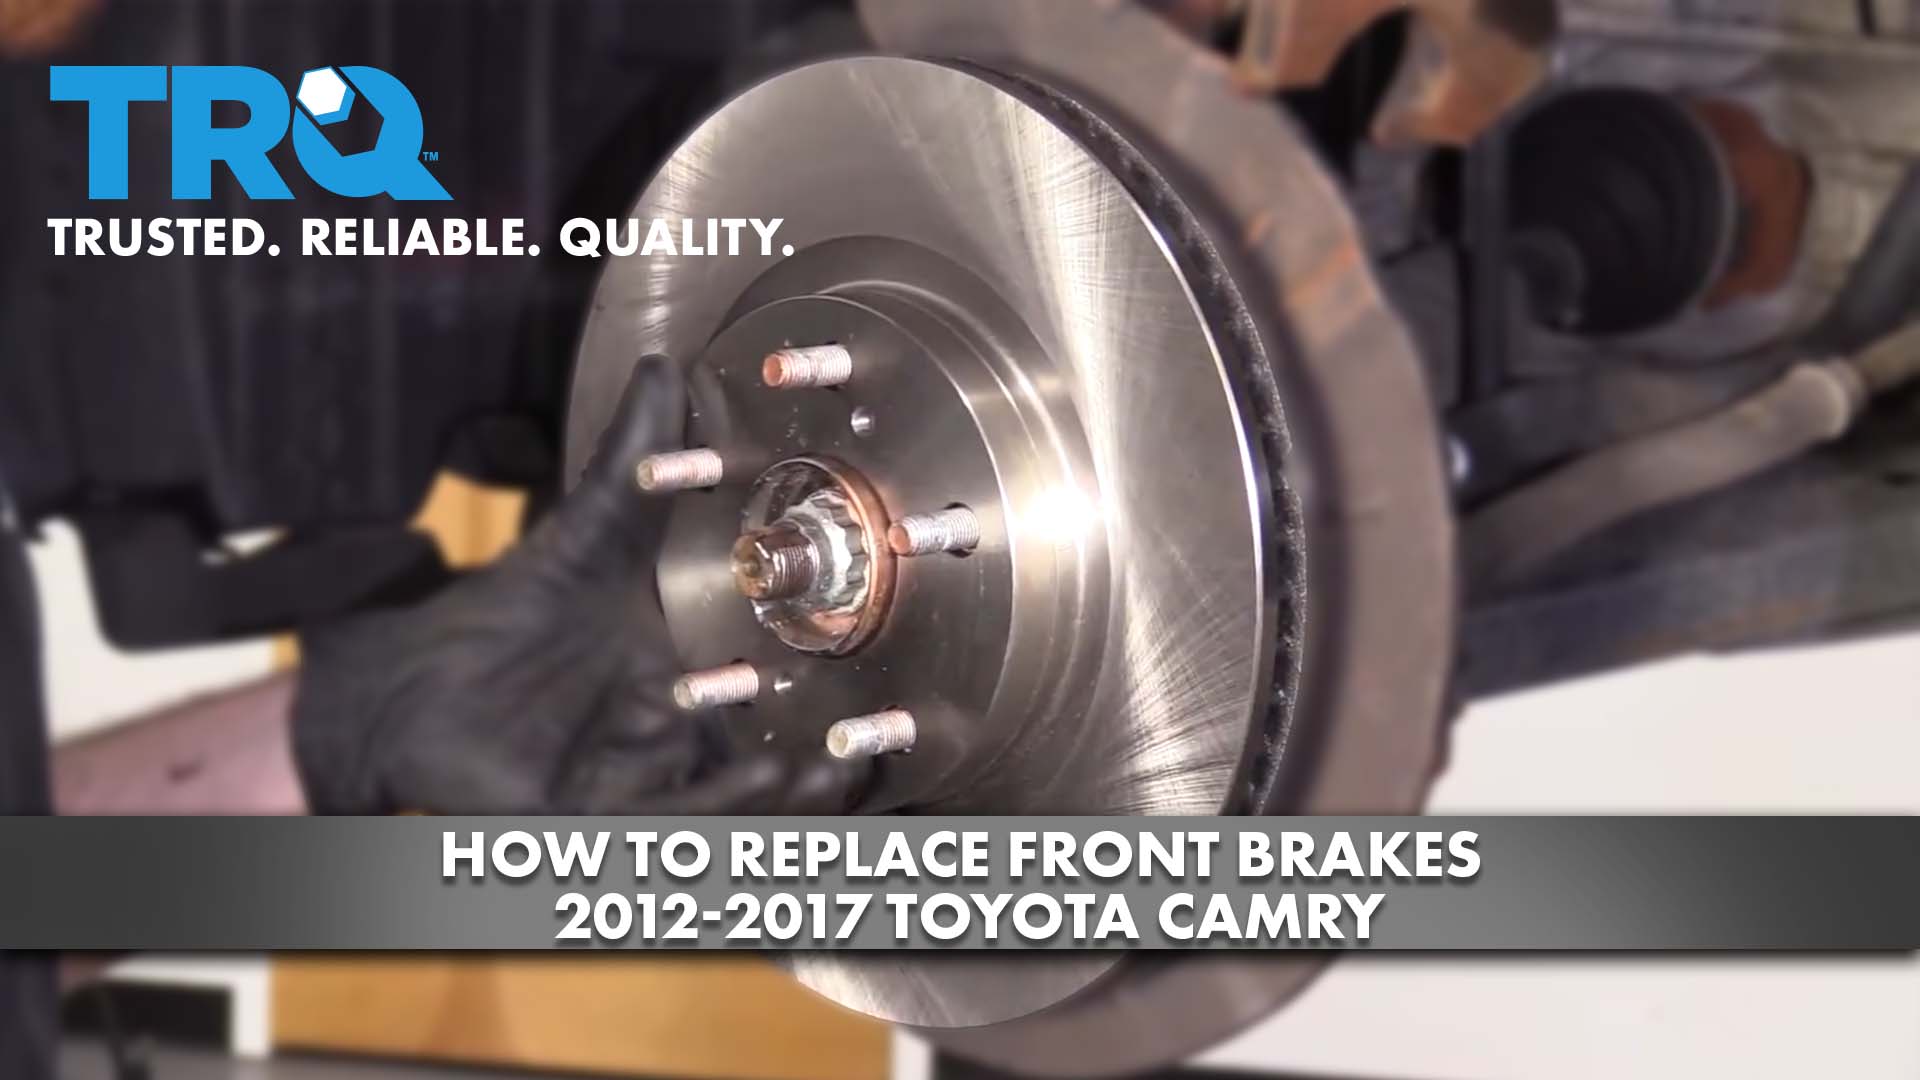
How to Replace Front Brakes 2012-17 Toyota Camry
Created on: 2020-11-04
This video shows you how to install new, quality TRQ brake pads and rotors on your 2012-17 Toyota Camry.
Tools needed
-
Torque Wrench
Socket Extensions
Pry Bar
Jack Stands
Liquid Thread Locker
Brake Parts Cleaner
Flat Blade Screwdriver
Brake Caliper Hanger
Socket Driver
Paper Towels
Large Locking Pliers
Copper Anti-Seize
Wheel Chocks
Brake Grease
Brake Caliper Compressor Tool. Quad Piston. Ratchet Style.
Drain Pan
Ratchet
Floor Jack
Wire Brush
1/2 Inch Impact Gun
All right, friends, to get started on our front brake job, we need to safely raise and support our vehicle and remove all five of our lug nuts. Remove your wheel. The next thing we need to do is gonna be accessed from the back side of the caliper. We're gonna remove our two caliper slider bolts. Now let's get both of those out of there. Next, we're gonna come into this portion right here and we're just gonna slowly push in our caliper piston. Remove your caliper and put it someplace so it's not putting any pressure on that flex hose. Let's just make sure that that caliper piston is pushed in all the way. And then, of course, we'll just look to make sure we don't see any fluid. This looks good. Set it aside. Attached to the pads, you're gonna see these clips. We need to remove the clips. Remove your brake pad. Set those aside. Now let's remove our caliper bracket bolts. Remove your bracket. Set it aside. Remove your rotor. Now that we have the rotor off there, we need to pay special attention to the wheel bearing. This is gonna be the area that the new rotor is gonna sit on, so it needs to be very smooth. Clean it down. Now we need a nice collection bucket and some parts cleaner. Clean the area. We need to strip down this bracket, and what I mean by that is to take off these tins. Set those aside.
We're gonna grab onto these caliper sliders here, you give them a nice twist and they should wanna come off of the boot. We'll go ahead and pull that out of there and we'll set it on the corresponding side. Do the same to the other one. Now we're just gonna clean down our sliders. We wanna make sure that the one that does have the rubber boot on it, because this one right here does, is gonna end up on the same side that you removed it from. So that's the importance of putting them on their corresponding side. Put this over a nice recycling receptacle and we're gonna put in some parts cleaner. Take a nice bore brush and get right down inside those holes. Let's go ahead and tip this over. As you can see, a lot of gunk came out of there. Give it one last spray and move along. What we need to do next is clean the area where the tins are gonna ride. What I mean by that is take a nice brush, make it as smooth as possible. If you have a lot of large crusties, you might need to use sandpaper or even a chisel of some sort. Now that we have all four corners of this nice and clean, let's move along to just taking a nice clean rag, put it inside of these boots right here, and we're just gonna make sure we get all the gunk out of there. That's gonna be super important. Same thing to the other one.
Okay. Next, it's gonna be time to reinstall our slider pins. When you do that, you wanna make sure you use a good amount of caliper grease. We're gonna go right along that entire slider pin and then, of course, up along this ridge right here. That's gonna be super important to help make sure you keep moisture out of the area. Go ahead and put it in there. We're gonna give it a nice spin as we go. A couple of spins once it's in there. That's gonna make sure everything's settled as it should be, and we'll do the same to the other side. Now let's move along to coating the area that we just finished cleaning down where the tins are gonna ride. Now when you look at these tins, you wanna make it so these areas that are raised and coming out away from the tin are facing away from the area where the rotor would be, which would be in the center right here. Let's go ahead and put this just like this. Squeeze it in so it's locked in, and then we'll continue on by doing the same to all the rest. Before we make our way over to the vehicle with our brand new rotor, it's important to make sure you clean down the braking surface. Don't forget the backside. Let's coat this surface with some copper Never-Seez. Put on your brand new rotor and I always like to put on a lug nut to hold the rotor still. Before we can remount our caliper, it's important to make sure you clean down the threads on your bolts.
Now let's get the caliper bracket on here. We're gonna start in both of our caliper bracket bolts and then we'll snug them up and torque them to manufacturer specifications. Now that they're bottomed out, torque them to 79 foot-pounds. Now it's gonna be time to prep our brake pads. What I mean by that is you have these wear indicators. For the wear indicator on the outside pad, we want that on the bottom side. So we're gonna go ahead and put this just like this. That sets in there, and once the pad gets worn down to this point, it's gonna make an indication of a noise and it's gonna let you know it's worn low. Do the same on the inner pad except on the top. Let's go ahead and put that inner pad in there. Same for the outer. Now let's continue on to adding a little bit of caliper lube around this area here where it contacts the pad, this area, and also along the piston. All the areas that contact against the pad. Now let's move along to putting in these little clips right here. When you put these in, you're gonna have to hold the pads so they can't move and put them just like this so they're gonna be facing towards the inner aspect of the caliper bracket. That's gonna help separate the pads when you release your brake. Okay. Now that we have both of those clips in and they're facing towards the center, let's go ahead and grab our caliper. We're gonna put it over the pads.
At this point, we can release them. Push in on your slider pins so it lets the caliper set in. Start in both of your bolts. We'll snug them up and then we'll torque them to 25 foot-pounds. Let's get our wheel back up on here. Start all of our lug nuts, bottom them out, and then we'll torque them to 76 foot-pounds. Torqued. Go ahead and pump up your brake pedal so it's nice and firm and then check your brake fluid.
Shop Products


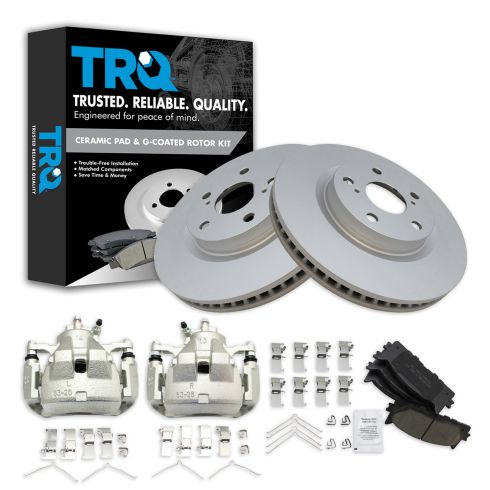
Toyota Avalon Camry Lexus ES350 Front Ceramic Premium G-Coated Brake Pad & Rotor Kit with Calipers TRQ BKA23394
Part Details:
- Premium G-Coated
- Vented
- Premium Posi
- 5 Lug
- Ceramic
- 11.65 in. (296mm)
- (1) Front Ceramic Brake Pad Set
- (2) Front Premium G-Coated Brake Rotors
- (2) Front Brake Calipers

How to Replace Drum Brakes on Any Vehicle
The common features of drum brakes so that you can learn how to replace the brakes on your specific vehicle.
