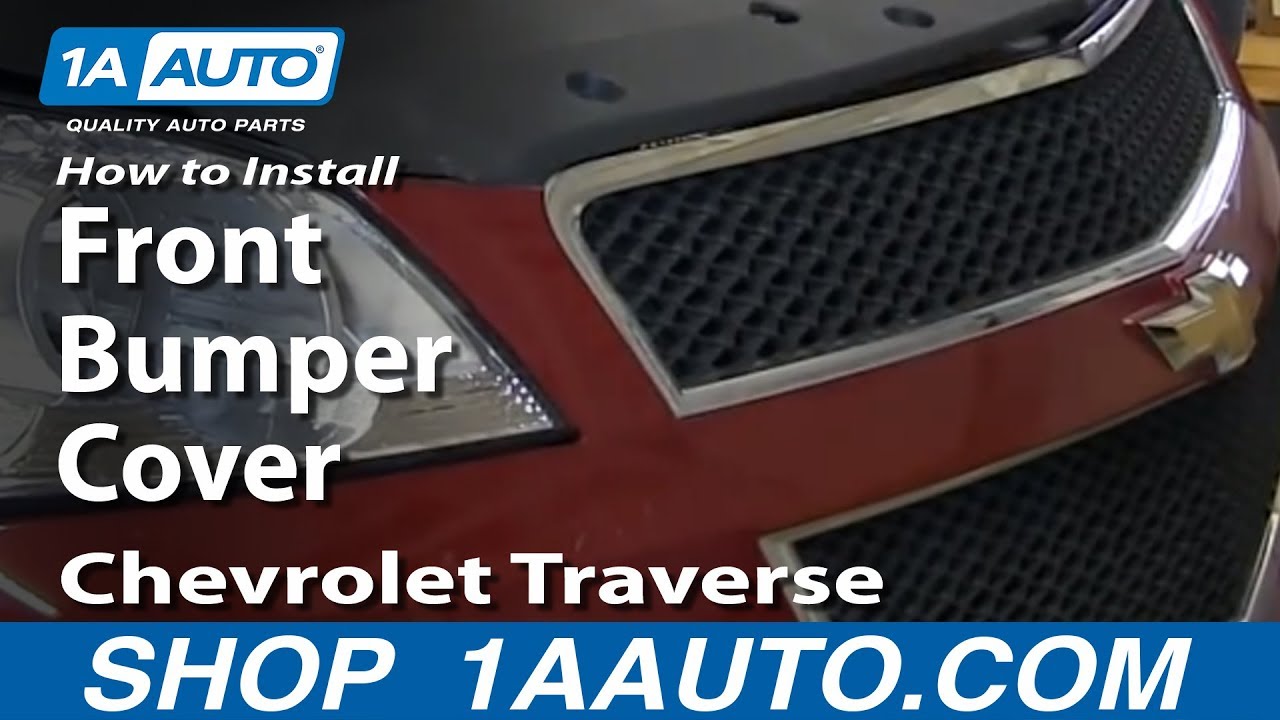
How To Replace Front Bumper Cover 2009-17 Chevrolet Traverse
Created on: 2014-01-18
Watch this video to learn how to replace the front bumper cover on your 09-17 Chevy Traverse. 1A Auto shows you how to do it yourself step by step!
-
step 1 :Removing the Hood Shroud
- Pry the plastic clips out of the hood shroud with a flat blade screwdriver
- Peel the weatherstip ends off the hood shroud
- Pull the shroud up and off
-
step 2 :Removing the Bumper Cover
- Remove the T20 Torx bolts from the top of the bumper cover
- Remove the 7mm bolt from each inner fender
- Remove the two T20 bolts behind each inner fender
- Remove the T20 bolts from the bottom of the bumper cover
- Remove the 10mm bolt from the bumper cover
- With the help of an assistant, pull off the bumper cover
- Disconnect the parking light wiring harnesses
-
step 3 :Installing the Bumper Cover
- Connect the parking light wiring harnesses
- With the help of an assistant, lift the bumper cover into place
- Push in the bumper cover clips
- Insert the T20 bolts at the top of the bumper cover
-
step 4 :Installing the Hood Shroud
- Put the shroud into place
- Clip the weatherstrip ends onto the shroud
- Push the clips into the hood shroud
-
step 5 :Securing the Bumper Cover
- Insert the T20 bolts at the bottom of the bumper cover
- Insert the 10mm bolt in the bottom of the bumper cover
- Insert the two T20 bolts behind each inner fender
- Install the 7mm bolt into each inner fender
Tools needed
-
Flat Blade Screwdriver
T20 Driver
7mm Socket
10mm Socket
Ratchet
Needle nose pliers
Assistant
Brought to you by 1AAuto.com, your source for quality replacement parts and the best service on the Internet.
Hi, I'm Don from 1A Auto. I hope this how-to video helps you out, and next time you need parts for your vehicle, think of 1AAuto.com. Thanks.
In this video, we're going to show you how to remove and replace the front bumper cover on this 2012 Chevy Traverse. The items you'll need for this is a flat blade screwdriver, a pair of pliers, 7mm and 10mm sockets, and a ratchet, and a T20 Torx bit.
You want to start off by removing the series of clips on the shroud. Now, to remove these clips, just pry up the center and pull the center out, and the bottom just pops right out. Another option is pry up the center and then use these pliers to just pull the center out, and then again, the bottom just pops right off. Pull up the ends of your weather strip, and now that shroud should pull right up and off.
Next, you want to remove the series of T20 bolts along the top of the bumper, and we're just going to fast forward as Don removes these. Now, on your wheel well there's a 7mm bolt right here and you just go ahead and remove that, and we'll fast forward as Don does this. You want to do this on both sides of the vehicle. Now you want to remove these two T20s in the wheel well, and then down here you want to remove this series of T20s as well as this 10mm bolt right here. You want to do the same thing on the other side as well.
Now, with the help from someone else, it's not necessary but it definitely does help, you just want to pull the bumper cover out and you want to start by pulling it out from the sides of the fender and then pulling it straight off. Then, you want to disconnect the harnesses on the back of your lights. You just push the tab and pull the harnesses free.
Now, to reinstall your bumper cover again, it helps to have two people here. First, reconnect your lights by plugging the harnesses back in, and then line up your bumper cover and push it into place, and just hit in the sides to reactivate the clips. Now, we'll just fast forward here as Don replaces the bolts along the top.
Now put the shroud back in place and reclip your weather strip into it. Then just replace those clips. To reinstall these clips, you want to pull up the center and then you want to just push them into place, and then you just push the center down to lock them. Now we'll just fast forward as Don does the rest of these, and also replaces the T20s underneath the bumper as well as that 7mm bolt in the wheel well and the 10mm bolt underneath the bumper. Then replace those T20s in the wheel well.
We hope this video helps you out. Brought to you by www.1AAuto.com, your source for quality replacement parts and the best service on the Internet. Please feel free to call us toll-free, 888-844-3393. We're the company that's here for you on the Internet and in person.

Difference Between Brake Pad Materials What Are Brake Pads Made Of Car Brake Pads and Rotors
Sue teaches you the differences in brake pad materials, and what it means for your application.
