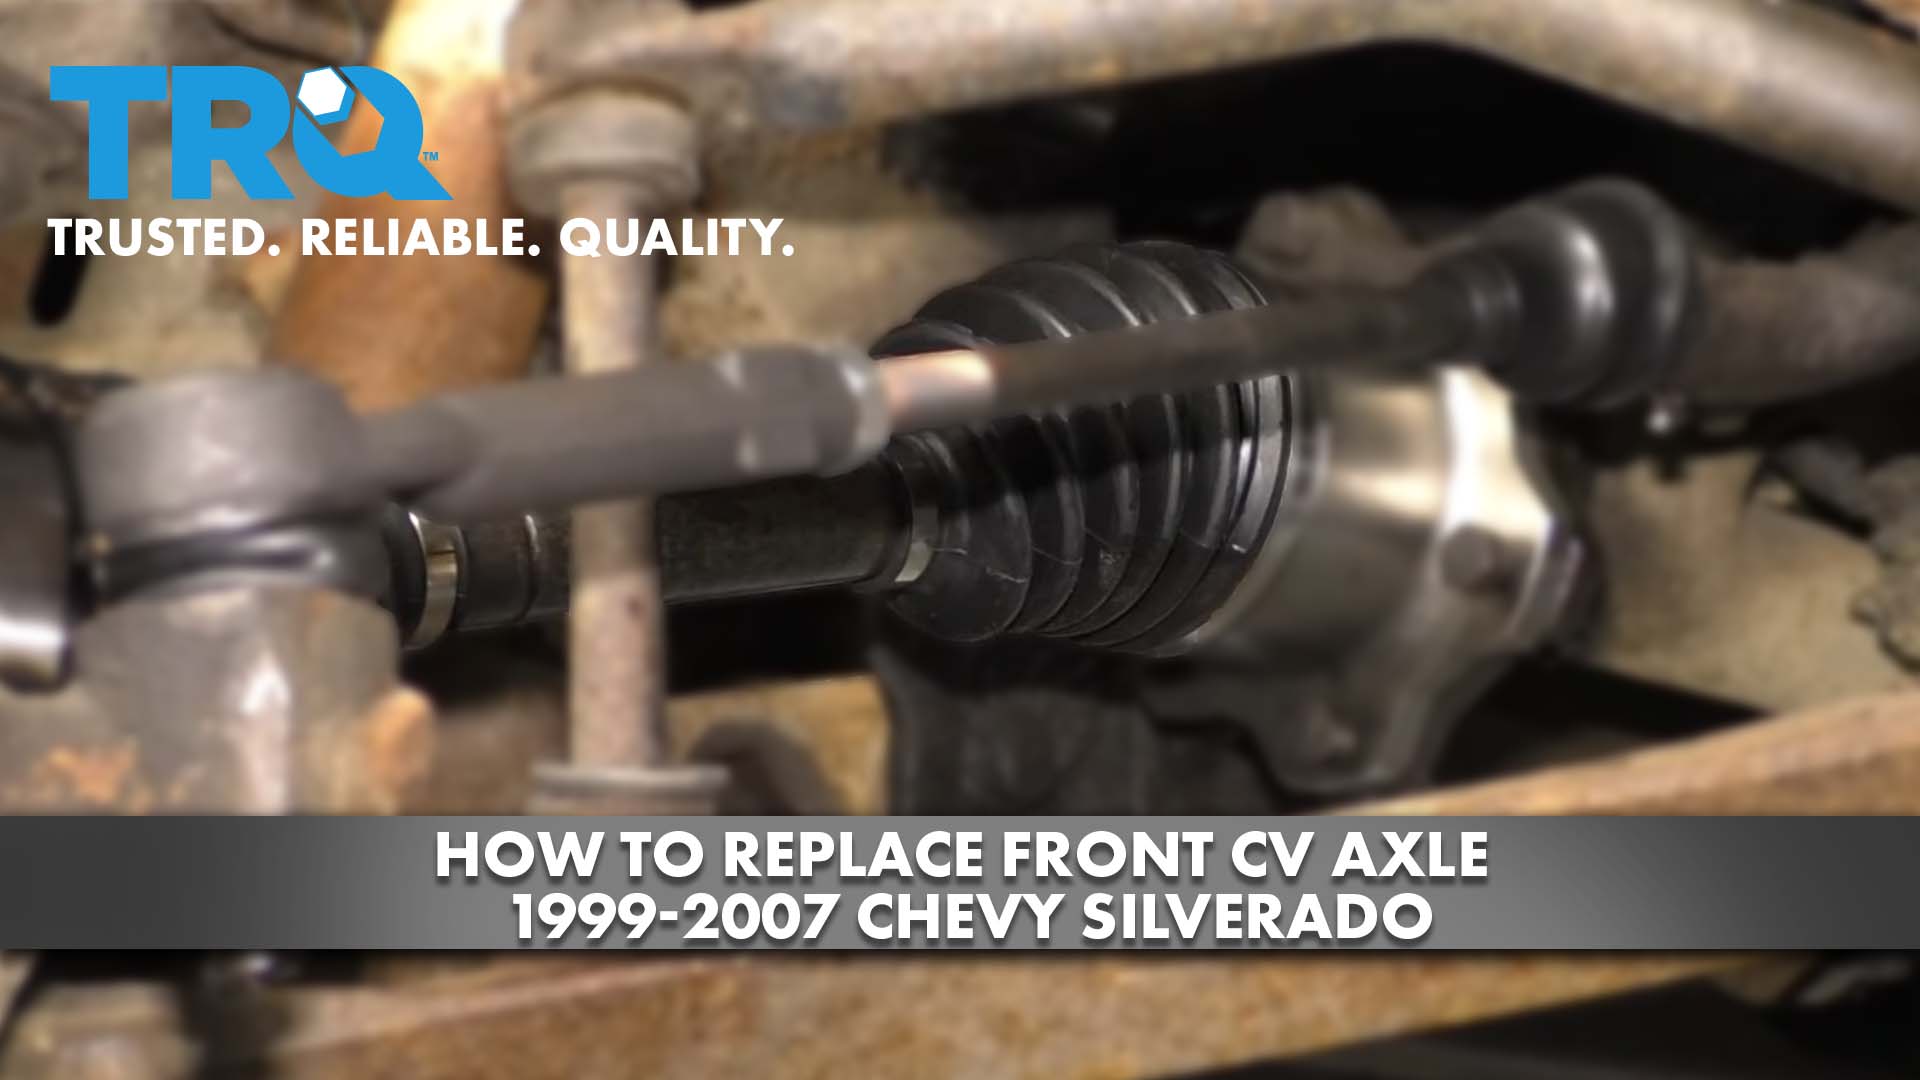
How to Replace Front CV Axle 1999-2007 Chevy Silverado
Created on: 2020-06-18
Watch this video to learn how to install a new front CV axle on your 1999-2007 4WD Chevy Silverado.
Tools needed
-
Torque Wrench
Gloves
Hammer
Pry Bar
Wheel Chocks
Floor Jack
Safety Glasses
Now one of the first things you're gonna wanna do before you start any job is to make sure you're safe as possible. You want to have safety glasses and hand protection at all times. The next thing you're gonna wanna do is safely raise and support your vehicle so that your wheels are off the ground. Next, if there's a center cap, remove the plastic center cap and that will expose your lug nuts. Remove all 6 using a 22-millimeter socket. Remove your wheel.
What we need to do now... Oops... What we need to do now is remove the bolts that hold the axle, so the axle comes out of the front differential. I like to use a nice long extension and a swivel. We'll remove all those bolts. Now what we need to do is get this cover off of here. You can use something as simple as a pry bar and a hammer. Just give it a couple of loving bonks. Check your cover, make sure that there's no puncture holes. Let's take off this axle nut. Get that washer out of there as well.
Put a little bit of penetrant in here. Then we're going to take our punch and our hammer and we'll give this a couple of bonks to push the axle through. Okay, that broke free. Let's move along. Let's see if we can make the axle come down. It should go below there. Pull the axle out. There it is, friends. Let's go ahead and clean down this area. Now we're just gonna clean and prep our bolts. Once they're clean, just use a little bit of thread locker on them. We're gonna grab the axle and we'll start putting it back in.
I'm just gonna use some copper never-seize, go right inside that bearing hole there. Grab that axle. Squeeze the little one through. Okay. Pull the axle up to where it needs to go, line it up, and start in your bolts. Now that we have all those started, let's go ahead and snug them up. Do it in a crisscross pattern. So now it's gonna be time to go ahead and torque those bolts. To do that, it's probably easiest if you get down close to the ground, put a bar going through your lug studs like this, and then make it so your wheel can't spin. Go ahead and torque these to 58 foot-pounds.
Every time you get the axle nut on there, you're gonna notice that it's a locking nut because it has the two squished areas. If you still wanna use a little thread locker, we'll call it your prerogative. Now let's torque this to 155 foot-pounds. Torqued. Let's clean out this area. Now we're gonna take our cap and a little bit of gasket maker. Just go right along the edge there and just make a nice seal so no moisture can get in. Start it on there.
Clean up your mess. Now let's get the wheel back up on here. Okay, now with the wheel barely on the ground, so it can't spin, we're gonna torque the lug nuts to 140 foot-pounds. Torqued. If you have a center cover, put it on there now. Now that you've finished your service, go ahead and take it for a road test and make sure you get it down to a local reputable alignment shop.
Shop Products


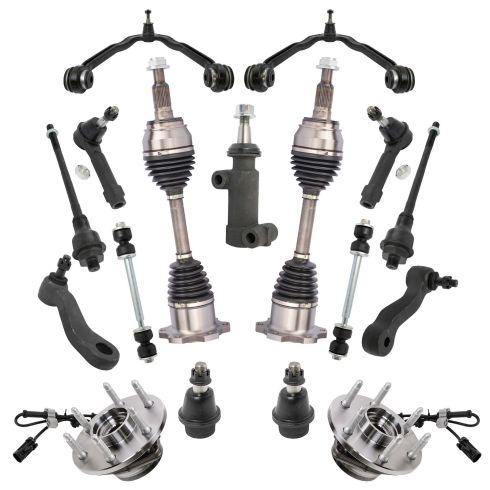
Chevrolet GMC Cadillac Front 17 Piece Steering, Suspension, & Drivetrain Kit TRQ PSA69967
Part Details:
- (2) Front Sway Bar Links
- (2) Front Lower Ball Joints
- (1) Idler Arm
- (1) Pitman Arm
- (2) Front Wheel Bearing & Hub Assemblies
- (2) Front Upper Control Arms with Ball Joints
- 17 Piece
- (2) Front CV Axle Assemblies
- (1) Idler Arm Bracket
- (2) Front Outer Tie Rods
- (2) Front Inner Tie Rods
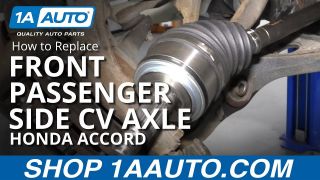
How to Replace Front Passenger Side CV Axle 2003-07 Honda Accord
Watch this video to learn how to replace the passenger side CV axle on your 03-07 Honda Accord. The driver side is covered in another video!
