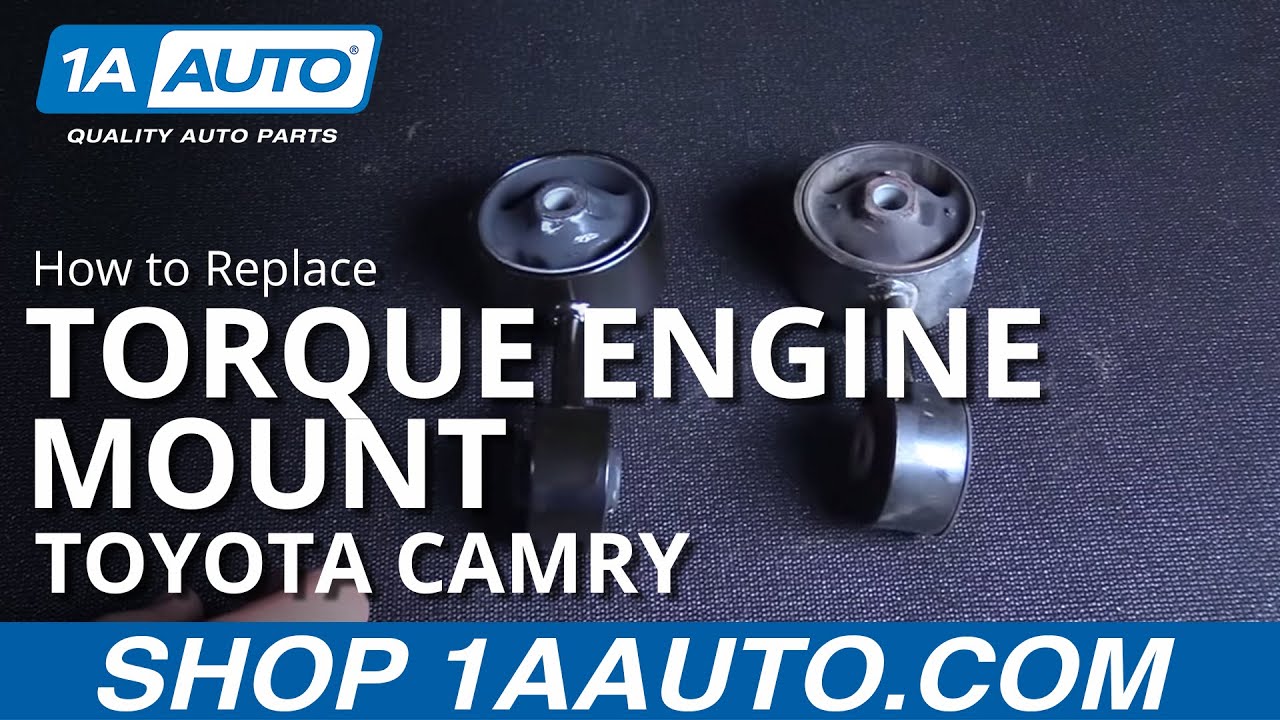
How to Replace Front Engine Mount 1997-2001 Toyota Camry
Created on: 2016-07-01
This video demonstrates how to replace the front engine mount, including torque specs for installing
-
step 1 :Removing the Motor Mount
- Remove the 10mm bolts from the engine pan
- Lower the engine pan
- Remove the 14mm bolt from the bottom of the motor mount
- Support the oil pan with a floor jack
- Remove the 17mm bolt from the top of the motor mount
- Remove the two 14mm bolts from the sides of the motor mount
- Raise the engine slightly with the jack
- Pull the motor mount off and out
-
step 2 :Installing the Motor Mount
- Remove the bolt from the old mount if necessary
- Lower the motor mount into place, lining up the bolt holes
- Start the two 14mm bolts on the sides of the motor mount
- Start the 17mm bolt into the top of the motor mount
- OR Thread the 17mm nut onto the motor mount stud
- Tighten the two14mm bolts to 47 foot-pounds of torque
- Tighten the 17mm nut or bolt to 47 foot-pounds of torque
- Lower the engine with the jack
- Start the 14mm bolt into the bottom of the motor mount
- Tighten the 14mm bolt to 47 foot-pounds of torque
- Raise the engine pan into place
- Insert the 10mm bolts into the engine pan
Tools needed
-
Socket Extensions
Torque Wrench
14mm Socket
17mm Socket
Jack Stands
10mm Socket
Ratchet
Floor Jack
Brought to you by 1AAuto.com, your source for quality replacement parts and the best service on the Internet.
Hi, I'm Mike from 1A Auto. I hope this how-to video helps you out, and next time you need parts for your vehicle, think of 1AAuto.com. Thanks.
In this video, we're going to show you how to replace the front engine mount. This is a 1998 Toyota Camry. It's basically the same for yje '97-'01 Camry, with the 2.2 liter four cylinder engine, and an automatic transmission. There is a different mount for US and Japan built models, but the procedure is the same.
You'll need a new front mount from 1AAuto.com, 14-17 millimeter sockets with a ratchet and extension, torque wrench, and a jack and jack stands.
This job can be done with the vehicle on the ground. You may not even have to raise and support it, but we've put it on the lift to make it easier to film for you.
Remove the 10 millimeter bolts securing this steel pan to the bottom of the sub-frame. You have bolts hidden here, up under the splash shield in the back. All these along the front, and another one under the splash shield on this side. We'll remove the 10 millimeter bolts with a 10 millimeter socket and ratchet, and an extension if needed. Be sure to secure this pan while you remove the last bolt so it doesn't fall on you.
Remove the 14 millimeter bolt coming from the bottom of the motor mount up through the sub-frame. Use a 14 millimeter socket and ratchet. Use a floor jack under your oil pan to support the weight of the engine while we remove the mount. Remove the bolt on the top of the motor mount with a 17 millimeter socket and ratchet, and a long extension for some access. Remove the remaining two 14 millimeter bolts located on either side of the motor mount. We're going to use a 14 millimeter socket, and I like to use a couple of extensions so I can get enough clearance to swing a ratchet up over the manifold. Jack up on the motor a little. Drop the motor mount down. Remove it from the vehicle.
As you can see, the old mount and the new mount are identical. We have the same three mounting locations at the bottom and a welded nut for the bolt that comes up from the bottom of the sub-frame. They're the same height and shape. You'll notice our new part comes with a stud in it should you decide to use that. Or you can simply spin it out and re-use the top bolt that came off of your old mount.
Install your new motor mount. Line up your rear bolt holes. Start them into the frame. Start the top bolt into the motor mount. Or if you decided to use the stud, you'll thread the nut on at this point. Tighten the remaining two 14 millimeter bolts. Torque the 14 millimeter engine mount to sub-frame bolts to 47 foot-pounds. Torque the bolt from the engine mount to the rubber to 47 foot-pounds. Let the engine off the jack. Reinstall the 14 millimeter bolt on the bottom of the sub-frame up into the engine bracket. Torque the bolt to 47 foot-pounds.
Reinstall the steel pan at the bottom with your 10 millimeter bolts.
Thanks for tuning in. We hope this video helps you out. Brought to you by www.1AAuto.com, your source for quality replacement parts and the best service on the Internet. Please feel free to call us toll-free, 888-844-3393. We're the company that's here for you on the Internet and in person.
Shop Products

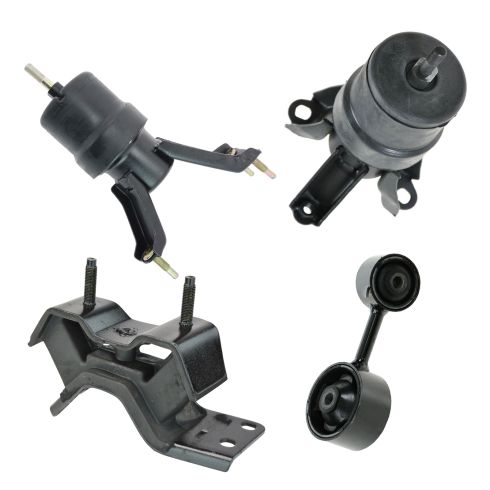
Toyota Camry Solara 4 Piece Engine & Transmission Mount Kit TRQ MTA32794
Part Details:
- Highest Quality Materials
- Direct Fit Replacement - Guaranteed to fit and function for your specific application
- Quality Tested - built to a strict level of product standards.
- 4 Piece
- (1) Transmission Mount
- (1) Front Lower Engine Mount
- (1) Engine Torque Strut Mount
- (1) Rear Engine Mount

How to Replace Engine Mount 1995-2002 Pontiac Sunfire
Check out this video on how to remove and replace the upper engine mount on your 95-02 Pontiac Sunfire.
