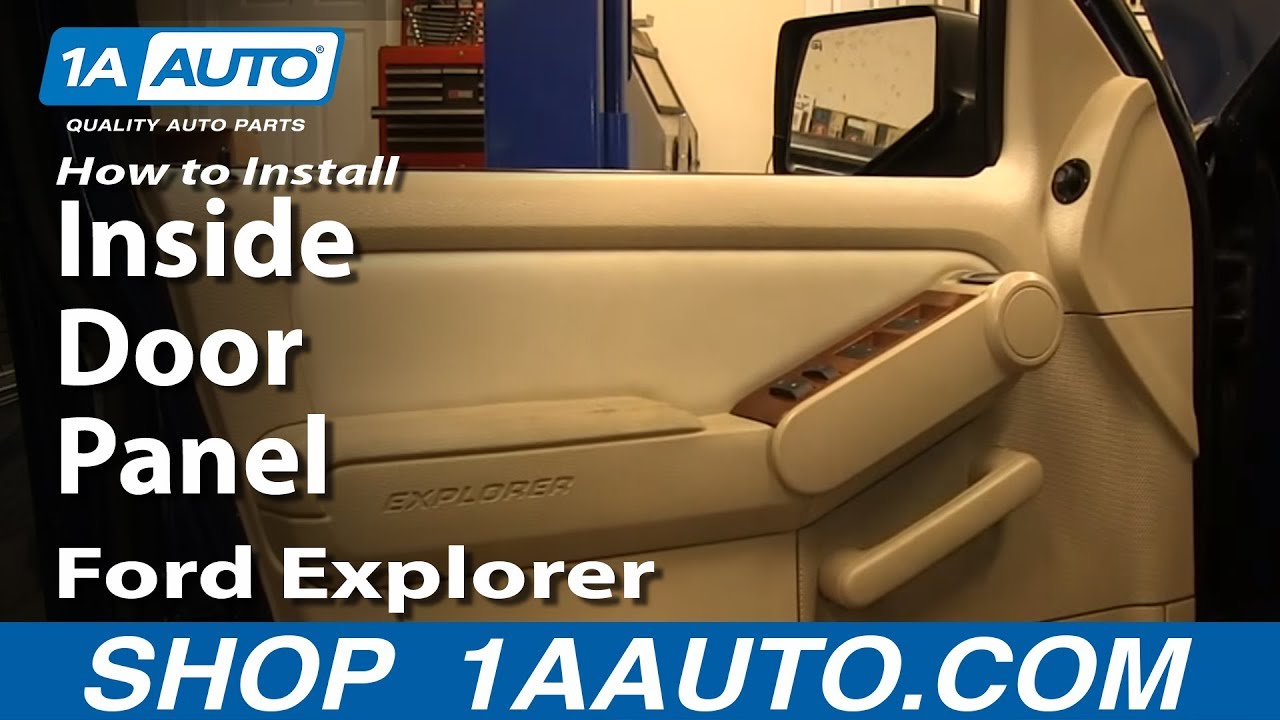
How to Replace Front Inside Door Panel 2006-10 Ford Explorer
Created on: 2015-05-18
Watch this video to learn how to remove and replace the front interior door panel on your 06-10 Ford Explorer.
-
step 1 :Removing the Door Panel
- Pry off the side trim piece next to the window switch panel with a rag and flat blade screwdriver
- Pry up the window switch panel with a flat blade screwdriver
- Disconnect the wiring harnesses
- Pry off the trim piece from the pull handle
- Remove the two 7mm bolts in the switch
- Remove the two 7mm bolts in the door pull
- Remove the two 7mm bolts on the bottom of the door panel
- Pry off the mirror switch with a flat blade screwdriver
- Disconnect the mirror switch wiring harness
- Pull the door panel up and off
- Disconnect the door lock cable with a flat blade screwdriver
-
step 2 :Reinstalling the Door Panel
- Connect the door lock cable to the door handle
- Lift the door panel into place
- Push in the door panel clips
- Lightly tighten the two 7mm bolts on the bottom of the door panel
- Tighten the two 7mm bolts in the switch
- Tighten the two 7mm bolts in the door pull
- Connect the mirror switch wiring harness
- Push the mirror switch into place
- Connect the wiring harnesses to the window switch panel
- Push the window switch panel into place
- Push on the trim piece next to the window switch panel
- Push on the door pull trim piece
Tools needed
-
Flat Blade Screwdriver
7mm Socket
Ratchet
Cloth Rags
Brought to you by 1AAuto.com, your source for quality replacement parts and the best service on the Internet.
Hi, I'm Mike from 1A Auto. I hope this how-to video helps you out, and next time you need parts for your vehicle, think of 1AAuto.com. Thanks.
In this video, we're going to show you a front interior door removal and reinstallation on this 2006 Ford Explorer. It's the same for any 2006-2010. The driver side is the same as the passenger side. You'll need a flat blade screwdriver and a seven millimeter socket with a ratchet and extension.
You can use a flat blade screwdriver, and I'm using a rag just to protect the door panel. I work the screwdriver in under the end of this panel and pry straight out. You don't want to pull up or down. You want to pry straight out to release the clips, and then you pull it off the rest of the way, again, straight out, and remove that panel. The clips come off with the panel. Slide them off to either side, and then replace them in the rectangular slot in the door panel. Then, again, you can use your screwdriver. There are four clips. There are two on each side. You just pry up right near the clip, again, straight up to get the switch plate up and off. Once it comes up and out, there are three harnesses. You just press the tab on each harness to disconnect them. Again, use your screwdriver and pry out the panel on the door pull.
There are six 7mm screws. Two, and then you can see one inside that round part and then another one below it, and then right inside the door pull, and then two more at the bottom. I'll fast-forward as I use a 7mm socket with a ratchet and extension. The two bolts at the top kind of fall down in. That's all right. Once you get the door panel off, you can usually retrieve them. Use the flat blade screwdriver to pry the bottom of your mirror switch, and then pry each side to release the clips. Pull the switch out, and there's a tab on the harness to disconnect it. Push the tab and pull the harness to disconnect.
Pull the door panel up. If you have any problem at this step, it's usually because one of the bolts is not all the way out, and then pull it back. Going behind the disconnect cable, you pry two tabs that hold the cable into the door panel. You pry the inside one there first, and then I push on the outside one as I'm pulling the cable out to release the cable from the door panel clip. Then pull the cable out, then around, and then you pull the head of the cable out of the door handle. When your door panel's off, sometimes the bolts will fall to the floor, or you can shake them out of there if they get stuck.
To reinstall, get your door panel close. There are three tabs on the bottom that you can kind of rest the door panel on the door. Put the cable into the handle, and then pull the cable down and clip it into the door panel. You can line up the three bottom clips on the door panel. Kind of rest it in place. Make sure you pull all the harnesses through their correct spots. Make sure you can see the mirror harness. I pull the mirror harness through there, and then just push the door lock knob into the hole. Then press the door panel. Make sure it's flush against the door, and slide it down into place.
To reinstall the two bolts up top, put them into you socket, and then you can look right in there, feed them into place, and put them in. If you want, you can put a little bit of tape or glue on the socket to hold the bolt in place to get it back in there. We'll speed up here. Basically, on these bolts, the bottom two that hold the bottom of the door panel, just tighten those up snug. You don't want to strip out the plastic grommets that they go into, and then the top four you want to be tighter because those are where you pull against the door more. Reconnect your mirror switch and push it into the door and into place. Then the trim panel on the door pull pushes straight on. Reconnect the three harnesses to your switch, and then push that down into place and apply pressure in the four spots where it clips in. Then line up the last panel, and basically tap it into place.
Thanks for tuning in. We hope this video helped you out. Next time you need parts for your car, please visit 1AAuto.com. Also check out our other helpful how-to and diagnosis videos.

How to Remove Front Door Panel 1997-2005 Lexus GS300
Instructions:- step : Removing the Door Panel
- step : Installing the Door Panel
