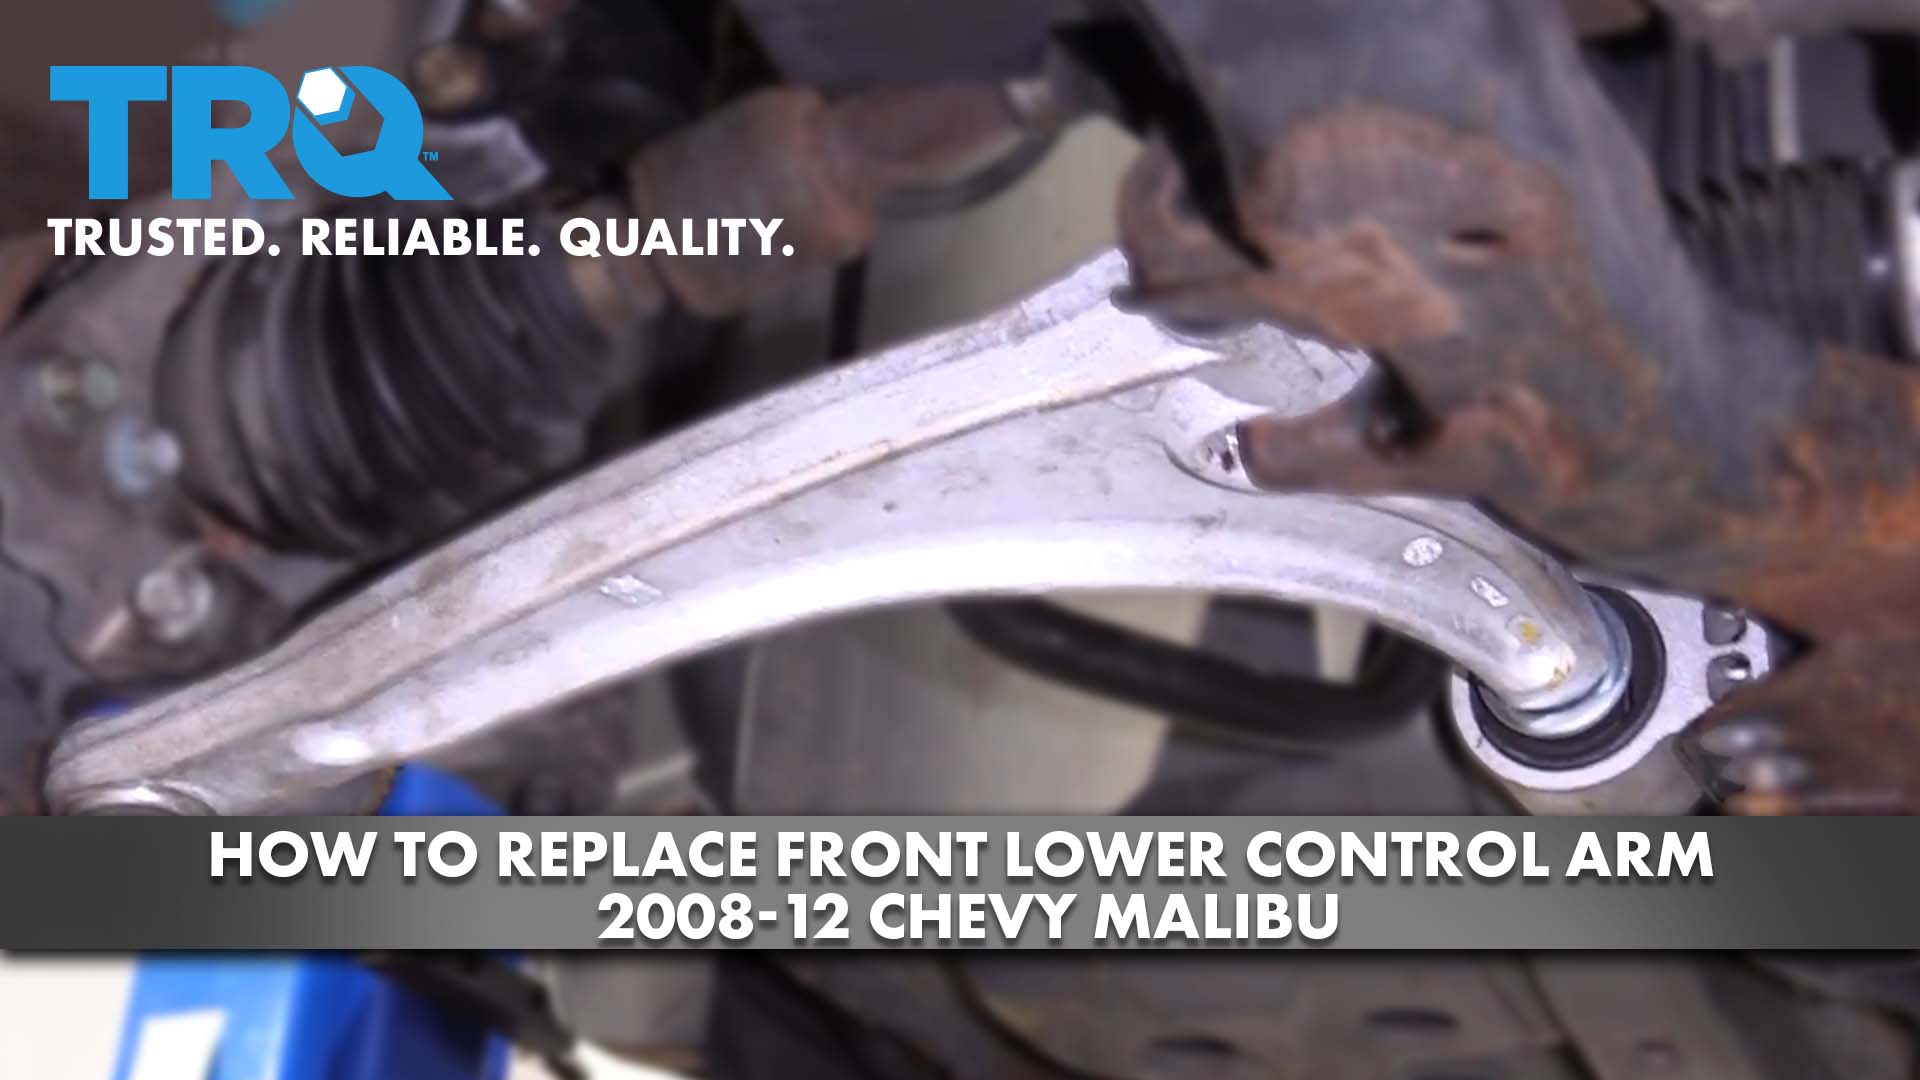
How to Replace Front Lower Control Arm 2008-12 Chevy Malibu
Created on: 2020-08-20
This video shows you how to install a new quality TRQ lower control arm with ball joint in your 2008-2012 Chevy Malibu.
Tools needed
-
14mm Wrench
Torque Wrench
16mm Wrench
Hammer
Socket Extensions
14mm Socket
Rust Penetrant
15mm Socket
Jack Stands
19mm Socket
Liquid Thread Locker
Pickle Fork
Rubber Mallet
Socket Driver
Wheel Chocks
Center Punch
Ratchet
Floor Jack
Swivel
1/2 Inch Impact Gun
Marker / Writing Utensil
Now, with the front of the vehicle safely raised and supported, we're gonna remove all five of our 19-millimeter lug nuts. Remove your wheel. Now that we have the wheel off, I always like to put just one lug nut back on just to hold the rotor from flopping around. We have a nice, clear view of our lower control arm at this point, we're going to be removing this bolt right here. Up above that, you're going to see two nuts that have bolts that come through from the bottom. We're going to spray those two nuts as well. And then if you were to follow the control arm all the way over to the knuckle, you're going to see that there's a pinch bolt that goes through right there. And, of course, a slot on the knuckle where the ball joint goes through. Let's spray all those areas as well. The next thing I like to do is remove the pinch bolt for the ball joint. I'm gonna use my 15-millimeter here to take off the nut and hold the bolt with a 16-millimeter. I might need to use a punch and a hammer to get this out of here. I'm gonna respray this area with more penetrant and let it sit and do its job. Let's move along. Next, let's remove this bolt right here using our 14-millimeter wrench. Let's remove the forward bolt. Let's just leave this bolt in just a tiny bit. Let's get our wrench onto these top nuts up there and remove the bolts from the bottom.
Now we need to separate our ball joint from the knuckle itself. To do that, I'm going to bonk right along here with my hammer and just try to separate the two. You could also use a pickle fork, come right in between here. Or if you had to, you could try to spread the knuckle a little bit using a punch. As you can tell, it's starting to separate. Let's continue. Sometimes a pry bar will come in handy. Let's remove our forward bolt, tilt this down some more. Continue with the pry bar. Draw this out of here. Grab the control arm, pull it towards the front of the vehicle. Let's get the rearward bracket out of here. There it is, friends. The next thing I like to do is mark the control arm with the rearward bushing, so I know how they need to line up. And then we're going to remove this bolt right here using our 14-millimeter wrench. There we are. Take this right off of here. Set it aside. Next. I like to apply thread locker to all my bolts that I'm going to be reinstalling. Now we're going to loosely install our rearward bushing here. You want to make sure that you have this portion facing towards the front and not this portion. My bolt, there it is. Next, I like to apply a little bit of grease or lubricant along the shaft area right here. It's going to help it slide into that bushing. And just a tad up along the ball joint stud here, let's go ahead and put this up in here like this. Put it through that rear bushing.
Now we're just gonna swing this up. We're going to try to line our ball joint up with the knuckle right there. There we are. Carefully using a rubber mallet. Start the bolt through there, pin that on there. Now we need to do the forward bushing. Slide that like that so it's lined up. Now we're going to carefully bonk under here with a rubber mallet and try to line up the forward hole. Start this in. This other bolt started in here as well. At this point, we're going to snug these two up. Put some thread locker on this bolt and put this in there. We're going to bottom it out. Let's carefully bottom this out. Now we're gonna torque this. You want to torque it to 37, loosen it up a little bit, re-torque it to 37, and then we're going to go an additional 30 degrees. Okay. So, there's 37, now we're just going to go our approximate additional 30 degrees. Now we're gonna tighten these bolts to 37 foot-pounds, and then we'll also tighten them an additional 90 degrees afterward. So, I'm gonna turn this just like this, and now I'll bring the ratchet pretty much straight back to me. There we are. Do the same to the other one.
Next, we need to apply load to the suspension so it would be as though the vehicle's wheel is on the ground and the weight of the vehicle's on it. That's it right there. Once you've done that, let's go ahead and bottom out this bolt right here. Now we're going to torque this bolt to 37 foot-pounds. And then after we've done that, we need to continue an extra 90 degrees. There we are. The next thing we need to do is snug this up right here, and then torque it to 32 foot-pounds. Let's unload the suspension. Let's get this lug nut off of here. Put the wheel back on, start all the lug nuts, bottom them out, and then torque them to 100 foot-pounds.
Shop Products


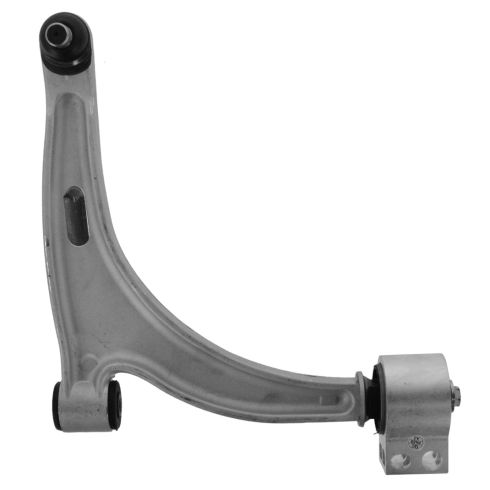
Chevrolet Pontiac Saturn Front Passenger Side Control Arm with Ball Joint TRQ PSA83963
Part Details:
- Aluminum
- Machined
- No
- Yes
- No

How to Replace Control Arm 2002-09 GMC Envoy XL
See the steps involved in replacing the front upper control arms in a 02-09 GMC Envoy XL.
