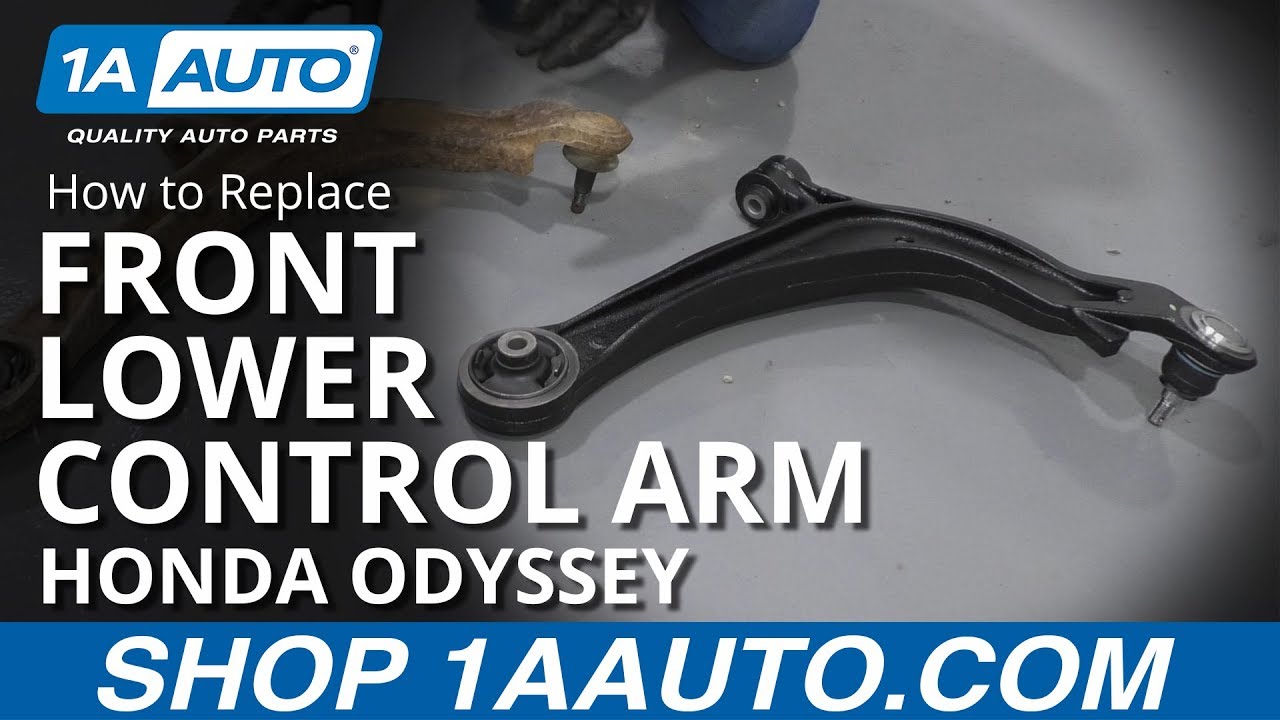
How to Replace Front Lower Control Arm 2011-13 Honda Odyssey
Created on: 2019-07-30
Learn how to replace the front lower control arm with the ball joint yourself by following the steps in this how-to video
-
After completing this repair, have a professional perform an alignment
step 1 :Removing the Wheel
- Raise the vehicle with minimal weight on the wheel
- Loosen the 21 mm lug nuts
- Raise and support the vehicle
- Remove the lug nuts
- Remove the wheel
-
step 2 :Removing the Front Lower Control Arm
- Remove the ball joint cotter pin
- Remove the 19 mm tie rod castle nut
- Hammer on the knuckle to loosen the outer tie rod ball joint, or separate it with a pickle fork
- Remove the two 19 mm control arm bolts
- Remove the control arm
-
step 3 :Installing the Front Lower Control Arm
- Insert the control arm
- Tighten the two 19 mm bolts
- Raise the suspension with a floor jack to simulate ride height
- Torque the bolts to 83 foot-pounds
- Install the 19 mm castle nut onto the tie rod end
- Torque the castle nut to 55 ft-lb
- Tighten the castle nut further to align the cotter pin hole, if necessary
- Insert the cotter pin and peen it over the nut
- Tighten the jam nut onto the outer tie rod
-
step 4 :Installing the Wheel
- Install the wheel onto the wheel studs
- Install the six lug nuts and tighten them by hand in a crossing pattern
- Lower the vehicle with minimal weight on the wheel
- Torque the 21 mm lug nuts to 94 ft-lb in a crossing pattern
- Lower the vehicle completely
Tools needed
-
Pickle Fork
21mm Socket
Hammer
Torque Wrench
Jack Stands
19mm Socket
Ratchet
Floor Jack
Needle nose pliers
1/2 Inch Breaker Bar
What's up guys? I'm Andy from 1A Auto. In this video I'm going to show you how to replace the front lower control arm on this 2011 Honda Odyssey. If you need this part or other parts for your vehicle, click the link in the description. Head over to 1AAuto.com.
All right, we're going to check out the front end of this vehicle. Just going to grab the tire and shake it a little bit. Now you don't want to shake it like that, extreme. Just give it a little shake. You'll feel a little bit of play if there's anything going on and I feel a little bit there, up and down. I don't really feel anything up and down but a little bit right there. So if we look underneath, what we want to look for right here at that lower ball joint, see if there's any movement while I'm doing that. And as you can see, there's definitely movement so that ball joint's bad. Another thing to check when your going side to side is the outer tie rod or even the inner tie rod, but this one seems to be tight. At least we can't see any play in that until we replaced the ball joint. I'm going to remove the wheel. I'm going to use a 22 millimeter socket and an impact gun. Remove the wheel.
All right first I'm going to start with some rust penetrant. I'm going to put it on the ball joint right there and then I'm also going to do where the other bolts attach the control arm right there and up here. Now I'm just going to take this cotter pin out. I'm just going to use some needle nose pliers. You could also use some side cutters. Pull it out. There we go. Just pull that out.
I'm going to take a 19 millimeter wrench and loosen this nut up. All right, take that nut off. Now I'm going to separate the ball joint from the knuckle. I am going to use a pickle fork and a hammer. Now one thing you want to be careful if you were going to reuse this ball joint, you don't want to use a pickle fork because you could damage the boot on the ball joint. There is other types of tools that you can get in here and it'll push down on the ball joint or you can try hammering on the knuckle, but you're going to be careful doing that as well.
Just going to flip this over. There we go. That's separated. Next thing I'm going to take this bolt out. I'm going to use a 19 millimeter socket and a breaker bar, loosen it up.
Then I'll switch to a ratchet. The same 19 millimeter socket. I'll take that bolt out. Now I'm going to remove this rear bolt with the 19 millimeter socket and the breaker bar. Loosen it up and then switch to the ratchet.
Pull that bolt out. Now just take a pry bar. Pull that down. Pry this out over here. Just get the pry bar in behind here. Slide it up. Here's the old part. Here's the new lower control arm from 1AAuto.com. As you can see, the shape is the same. The bushings are the same. The ball joint is in the same location. Get yours at 1AAuto.com and you'd be ready to rock and roll.
All right, so I want to slide the control arm in here first. Get the bolts started just like that. Get that started and I can slip it in over here and we'll get this bolt lined up over here. I'm just going to use a pry bar and get this lined up. Put the bolt... Get that started. Now I'm going to take the 19 millimeter socket and a ratchet. Tighten this up. Now I'm going to use a torque wrench and torque this to 83 foot pounds. Now I'm going to tighten this bolt down. Now I want the control arm to be as close to ride height as normal. So I'm just going to raise this up. Be careful not to rip the boot on the knuckle. Tighten this down like this.
It would be ideal if you could put this all together, have the vehicle on the ground and then torque that. But that's not the easiest thing to do, so I'm just going to do this. Get that set and I'll use a torque wrench and torque this to 83 foot pounds. I'll just pull this down, get the ball joint lined up with the knuckle, take the castle nut, put that on, and I'm going to take a 22 millimeter wrench and tighten this up.
If you have the ability to tighten this with a torque wrench, I'm not going to be able to fit mine in there. You're going to torque this to 55 foot pounds. So do the best you can. Snug this up and then there's a hole through the stud of the ball joint. You're going to take the cotter pin, slide the cotter pin through the hole. If it doesn't line up, just try to tighten up the nut a little bit more to get it to line up. Then I'll just slide this through, very good.
Now I'm going to put the tire on. Line up the studs. Take the lug nuts, put those on. Now whenever you're doing a front end repair, whether it be a strut or a control arm or tie rod ends, you're going to want to go to a local shop and have your alignment performed because you don't want to burn your tires out prematurely. Now with the vehicle lowered, so the tire is just touching the ground, I'm going to torque these lug nuts to 94 foot pounds, and I'm going to do it in a star pattern. That way the wheel gets tightened down evenly. I'll just go around again just to double check.
Thanks for watching. Visit 1Aauto.com for quality auto parts shipped to your door, the place for DIY auto repair, and if you enjoyed this video, please click the subscribe button.
Shop Products
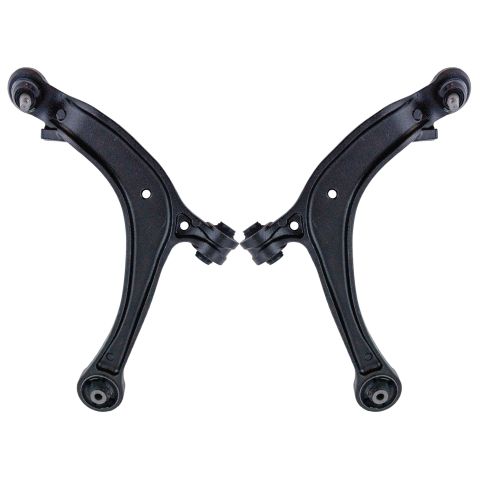
2011-13 Honda Odyssey Front Driver & Passenger Side Lower 2 Piece Control Arm with Ball Joint Set TRQ PSA66714
Part Details:
- 2 Piece
- (1) Front Driver Side Lower Control Arm with Ball Joint
- (1) Front Passenger Side Lower Control Arm with Ball Joint

How to Replace Upper Control Arm 2009-14 Ford F-150
How to repair, install, fix, change or replace failing, rusted, rotted, or damaged control arms with ball joint on 11 Ford F150
