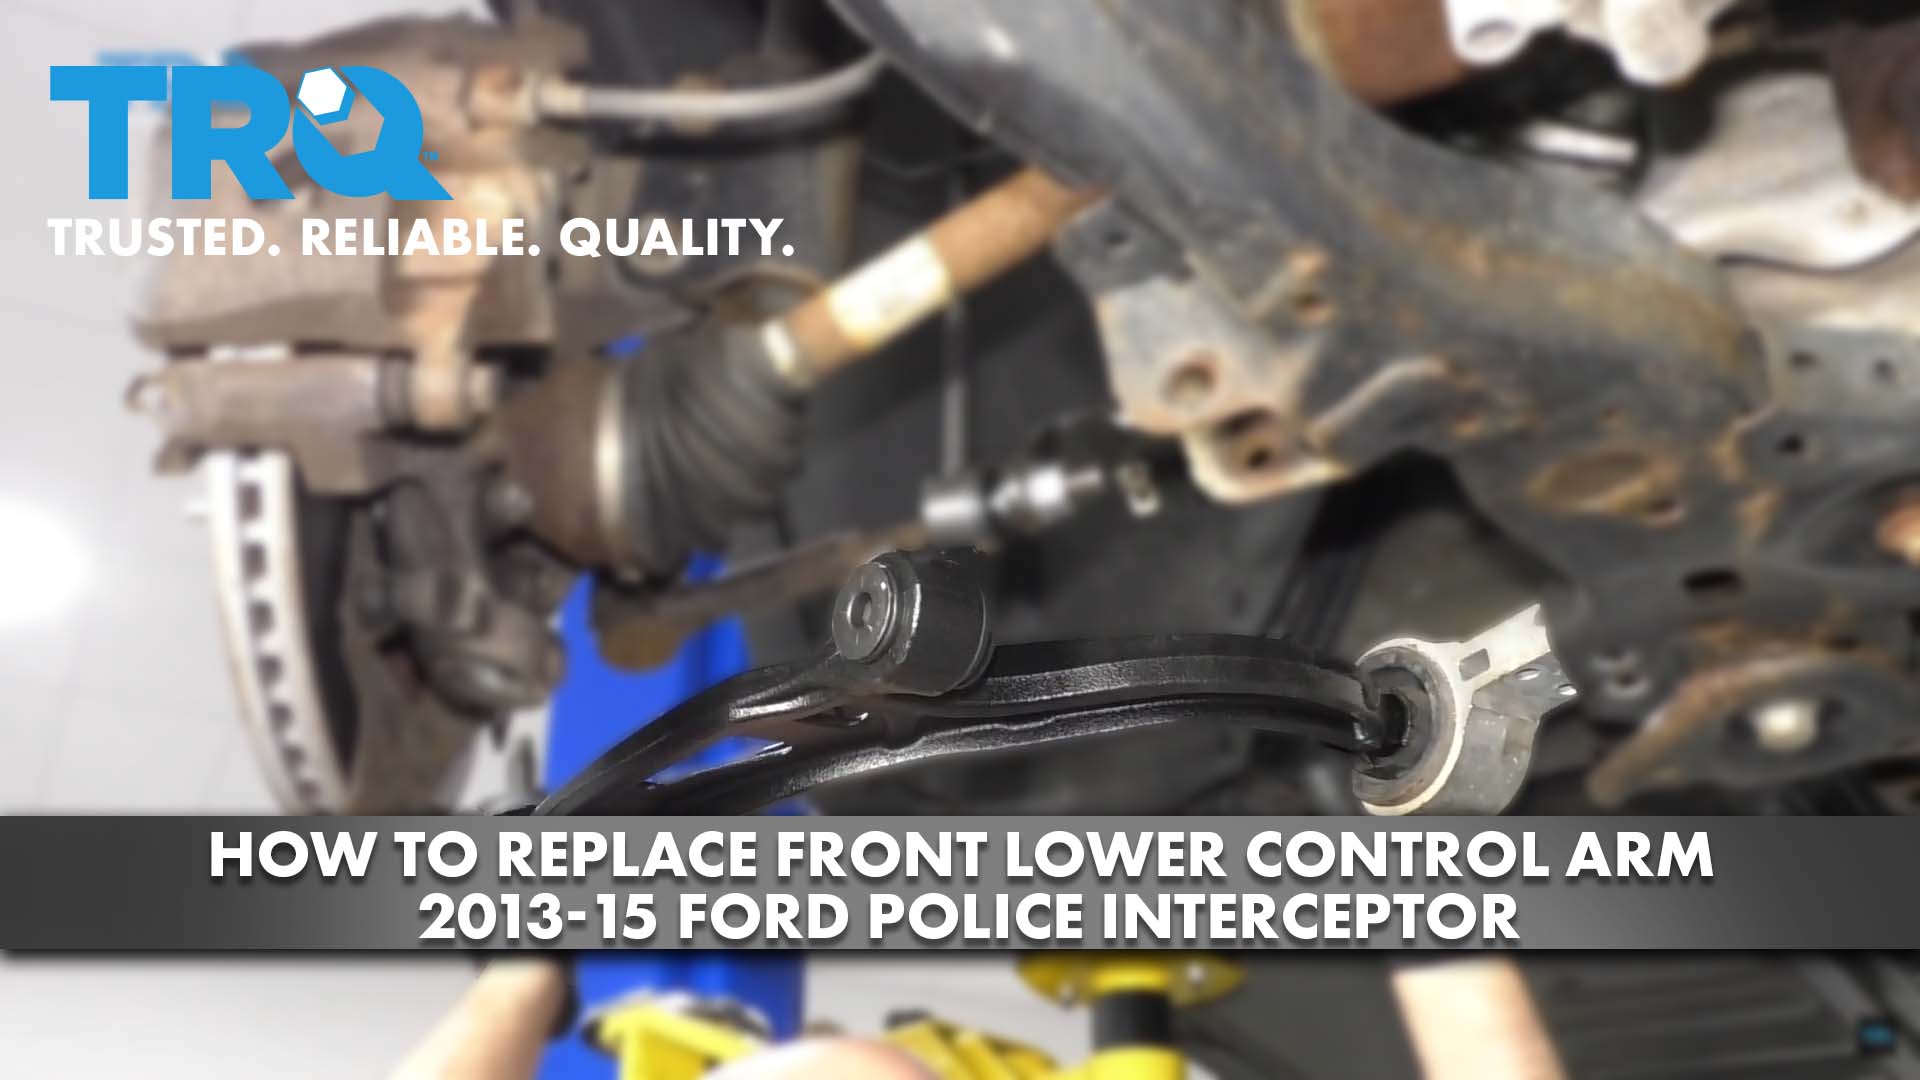
How to Replace Front Lower Control Arm 2013-15 Ford Police Interceptor
Created on: 2020-05-14
Watch this video to learn how to install a new control arm in your 2013-19 Ford Police Interceptor Utility, or Ford Explorer.
Tools needed
-
24mm Socket
Torque Wrench
Hammer
15mm Socket
18mm Wrench
Pry Bar
19mm Socket
Bearing Separator
Bearing Puller
21mm Socket
Soapy Water
15/16 Inch Wrench
Locking Pliers
Rubber Mallet
Flat Blade Screwdriver
Phillips Head Screwdriver
Cloth Rags
11mm Wrench
1/2 Inch Impact Gun
You want to keep in mind when you're doing this job after you're done you're going to want to go to a local garage and have the vehicle aligned so you don't have premature tire wear. Take the center cap off, just use a pry bar. You can use a rag underneath so you don't scratch anything. Use a 19-millimeter socket, take the lug nuts off, take the wheel off. Now, I want to take this lower ball joint nut off. You can use a 24-millimeter wrench or a 15/16th and loosen this up. And if the stud starts spinning, you can use an 11-millimeter wrench to hold the stud from spinning.
So my wrench isn't grabbing at the top anymore, so I can use some locking pliers on the threads below. I'm not re-using this ball joint, so if you're going to re-use the ball joint you don't want to do this. But just keep the stud from spinning, and if that's loose the plier is off, and slide it down. I'm going to use a pry bar, just slide the ball joint out of the knuckle. With that, just be careful and take this bolt out. Use a 21-millimeter socket. Slide that out. And I use an 18-millimeter wrench and there's two nuts on top, two bolts underneath here. Use a 15-millimeter socket and just grab the control arm.
And if you have to use a pry bar or just work it...walk it out. I'm going to use a bearing separator puller to try to get this off and just slide this on down below. Put these nuts on. Just going to set the tool up. I'm just going to use a little soapy water on this. It should be good. And I'm going to take this off. All right. Comes off pretty easy like that and just take a little more soapy water. Just spray the mount down and slide it over the new one, over the new arm.
Take a rubber mallet or dead blow hammer and hammer it on. And you want it about where it was when it came apart. Take the control arm, slide it in position. You can use a hammer to tap this in. Use, like, a rubber mallet or a dead blow. And line this up. All right. Line this front one out. If you need to use a screwdriver from the backside, get the bolt in. Line these bolt-holes up. Just use a Phillips head screwdriver. That's good. Slide the bolts through, put the nuts on top. We're going to torque these two bolts with the 18-millimeter wrench on top to 74-foot pounds.
And when you tighten this bolt down and torque it, you want this control arm as close to ride height as possible. It's recommended that you put everything back together, have the wheels on, and have the vehicle lowered down. But it's very hard to torque that bolt if the vehicle is down on the ground. If you had ramps, you could probably do it with ramps, but...but then, we're going to torque this bolt to 195-foot pounds.
Now, you can take a long pry bar and just slide this down. Trying to line the knuckle up. Just be careful, don't get your fingers near that. And just tighten this nut the same way you loosened it using the 11-millimeter wrench on top to prevent the stud from spinning and use the 15/16th wrench down below and tighten it up.
And if you have the ability to torque this nut, if you have a crow's foot, you want to torque that to 148-foot pounds. Put the wheel back on, the lug nuts on. Now, I'm going to torque the wheels to 110-foot pounds in a cross pattern, so I tighten the wheel down evenly. And just go around again, double-check. Center cap and line it up. Just tap it on.
Shop Products


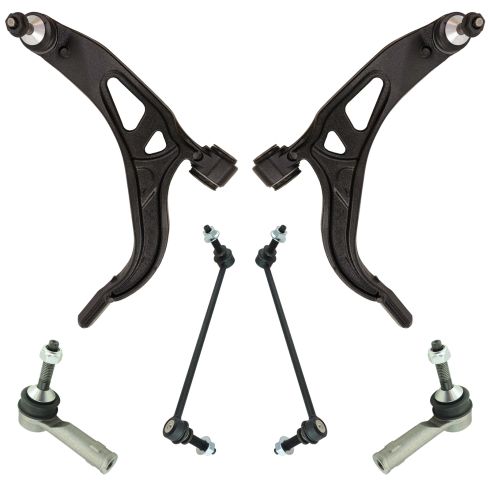
Ford Front 6 Piece Steering & Suspension Kit TRQ PSA65142
Part Details:
- (2) Front Sway Bar Links
- (2) Front Lower Control Arms with Ball Joints
- (2) Front Outer Tie Rods
- 6 Piece

How to Replace Control Arm 2002-09 GMC Envoy XL
See the steps involved in replacing the front upper control arms in a 02-09 GMC Envoy XL.
