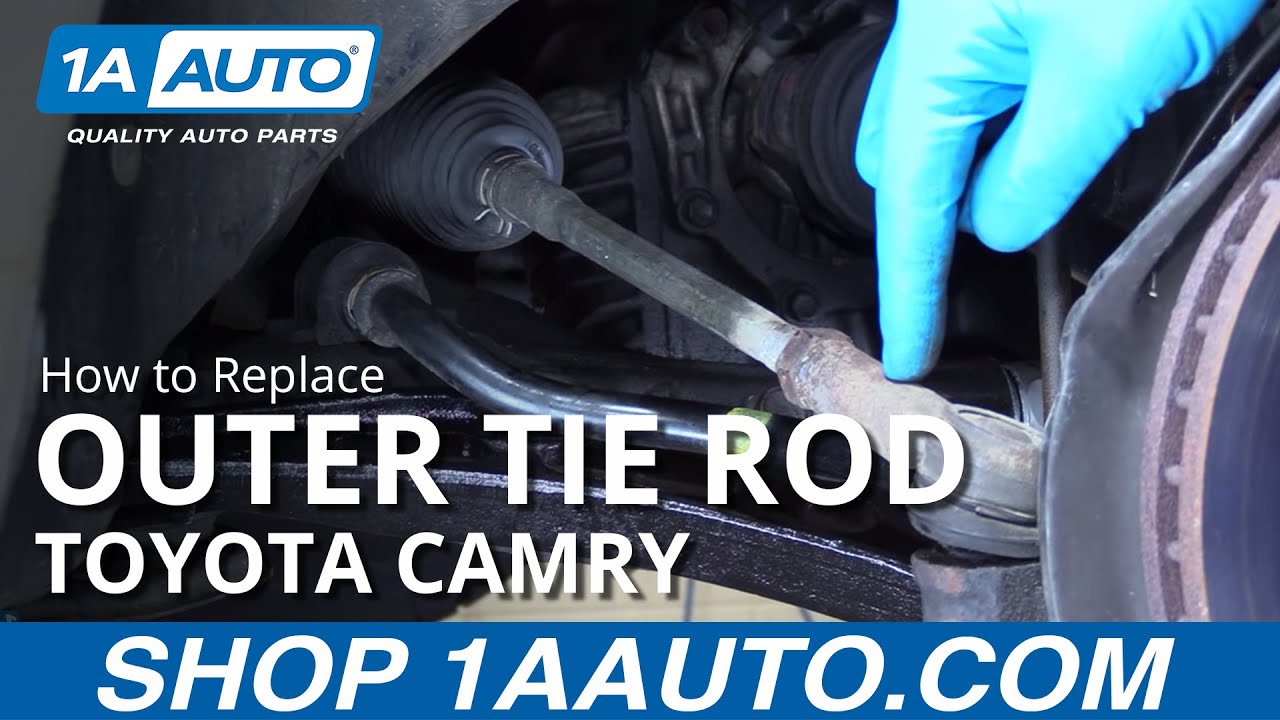
How to Replace Front Outer Tie Rod 1992-2000 Toyota Camry
Created on: 2016-07-22
New Tie Rod from 1AAuto.com How to repair, install, fix, change or replace a broken, busted, bad, loose, or damaged tie rod on 92, 93, 94, 95, 96, 97, 98, 99, 00 Toyota Camry
-
step 1 :Removing the Wheel
- Loosen the lug nuts with the vehicle on the ground
- Raise the vehicle with a floor jack
- Secure the vehicle on jack stands
- Pull off the hub cap
- Remove the lug nuts
- Pull off the wheel
-
step 2 :Removing the Outer Tie Rod
- Turn the wheel by hand to check for play in the tie rod
- Check for a gap in movement between the tie rod and spindle
- Listen for a clunking sound from the tie rod
- Measure the distance from the steering rack bellow to the lock nut
- Record this measurement
- Alternatively, mark the inner tie rod threads against the lock nut with a marker
- Straighten out the cotter pin with needle nose pliers
- Pull the cotter pin out of the castle nut
- Loosen the castle nut from the tie rod with a 17mm socket and ratchet
- Apply penetrating oil to the lock nut
- Loosen the lock nut with a 22mm wrench
- Tap the tie rod loose from the spindle with a hammer
- Remove the castle nut
- Tap the tie rod out of the spindle
- Hold the inner tie rod with a 14mm wrench if necessary
- Twist the outer tie rod off the inner tie rod with a 19mm wrench
- Twist off the lock nut by hand
-
step 3 :Installing the Outer Tie Rod
- If you marked the inner tie rod, spin the lock nut to match the paint line
- If you took a measurement, spin the lock nut to the correct distance from the steering bellow
- Spin the outer tie rod onto the inner tie rod until it reaches the lock nut
- Push the tie rod stud into the wheel spindle
- Torque the tie rod nut to 36 foot-pounds
- Install the new cotter pin with the longer leg facing down
- Bend the cotter pin under the nut with pliers
- Turn the inner tie rod with a 14mm wrench if it needs to be adjusted
- Hold the inner tie rod with a 14mm wrench
- Tighten the lock nut with a 22mm wrench
-
step 4 :Reattaching the Wheel
- Slide the wheel into place
- Start the lug nuts by hand
- Tighten the lug nuts preliminarily
- Lower the vehicle to the ground
- Tighten the lug nuts 76 foot-pounds in a crossing or star pattern
- Reattach the center cap
Tools needed
-
14mm Wrench
Torque Wrench
Hammer
Rust Penetrant
17mm Socket
Jack Stands
19mm Wrench
19mm Socket
21mm Socket
Measuring Tape
22mm Wrench
Ratchet
Floor Jack
Needle nose pliers
Marker / Writing Utensil
Brought to you by 1AAuto.com, your source for quality replacement parts and the best service on the Internet.
Hi, I'm Mike from 1A Auto. I hope this how-to video helps you out, and next time you need parts for your vehicle, think of 1AAuto.com. Thanks.
In this video, we're going to show you how to change the outer tie rod end on a 1998 Toyota Camry. This information is the same from 1992 to 2000 and similar to several other Toyota and Lexus models.
The items you'll need for this repair: You'll need a new outer tie rod end from 1AAuto.com; 22 mm, 19 mm, and 14 mm wrench; a 17 and a 19 mm deep socket; a ratchet; a pair of needle-nose pliers; a hammer; a measuring tape or a paint marker; a torque wrench; penetrating oil; a jack, and jack stands.
Break all your lug nuts loose while the vehicle's still on the ground. You're going to need a 21mm socket and a breaker bar. Install your jack under the vehicle, line it up with the pinch weld, jack the vehicle up high enough that you can get a stand underneath. Making sure you have enough clearance to remove your tire, or whatever you have to do under the vehicle. Install your jack stand onto this unibody frame rail under the vehicle. If you need to work on the rear of the vehicle, put your jack stand underneath and just ahead of the lower control arm here, right by the tow point. Once the weight is on your stands, give the vehicle a little shake, and make sure that they're on there secure. Repeat these steps on the opposite side. Make sure that you bring the vehicle up so that when it sits on the other set of jack stands, the vehicle will be level. You can now lower your vehicle onto the stands on this side.
With the vehicle raised and supported, remove your lug nuts the rest of the way. If you need a little more room to work, you can pull the hubcap off. Remove your wheel from the hub. We've put our vehicle on a lift to make it easier to film for you, but this job can be easily done with a jack and jack stands.
To check for play in your tie rod, grab your tire at 3 and 9 o'clock. Be sure that your steering wheel is unlocked, meaning that the key is clicked forward and the steering wheel won't lock when you rotate it. You just want to move the tire back and forth a little. Ours is good on this side. If it weren't, you would see a gap in the movement between these two components, being the steering knuckle and the tie rod end. You may notice a clunk or feel a gap in the resistance of movement as you move the tire side to side.
With your wheel and tire removed, at the back of the steering knuckle, you'll find your outer tie rod, lock nut, inner tie rod, and this bellow is your steering rack. The inner tie rod is threaded, allowing us to change how far the outer tie rod is threaded on or out of the inner tie rod, which changes the direction of our tire at the 3 and 9 o'clock axis. It's very important that we keep this angle as close as possible to the way it was when we removed our outer tie rod so our vehicle can be safely and easily driven to get a proper wheel alignment after we've completed our repair.
Using the measuring tape at a fixed point, like the end of our bellow – we'll bump the end of the measuring tape there – measure to the end of our lock nut, which is about eight inches. This way, when we install a new lock nut at eight inches, we'll know that this total distance and angle is going to be roughly the same.
Another method you can use is taking a paint marker. While a little less precise, you can mark a line on the threads at the back of the lock nut and butt the new lock nut to the edge of the mark we've made.
Using a pair of needle nose pliers, straighten out the cotter pin. Grab the other end of the cotter pin. Work it out of the castle nut. Sometimes pinching it and rolling over the edge of the nut is the easier way to pull these out.
Use the 17 mm deep socket and ratchet to remove the castle nut from the bottom of the tie rod end. Leave the nut flush with the bottom of the bolt. You may have to spray some penetrating oil onto the lock nut in order to get it to release. Use the 22 mm wrench and break the lock nut loose. Don't rotate it any more than just cracking it off of the back of our tie rod end. Be certain that the ends of the nut are flush with the end of the bolt. Use a hammer. Tap the tie rod out of the spindle. Finish removing the nut. Now that the tie rod is free of the spindle, it shouldn't take much force to tap the tie rod out without peening over the end of the stud.
Our tie rod is going to spin off freely. If yours is frozen, you can use a 19 mm wrench on the flat spots at the end of the outer tie rod and a 14 mm wrench to hold the inner tie rod. Spin the outer off like that. Since ours is moving freely, we'll spin it off by hand, and then remove the lock nut. If you used the paint pen method, you'll see a clear line where we'll butt the edge of our new lock nut to.
Here, we have our old part that we removed from the vehicle and our new part from 1AAuto.com. As you can see, the parts are exactly the same. They have the same dimensions, length, width, and the same threads to spin onto the inner tie rod. Our new part is actually serviceable comes with a grease fitting, comes with a new castle nut, and the hole already predrilled to insert the cotter pin. It comes with a new lock nut and a new cotter pin to lock your castle nut into place once you've installed it into the vehicle.
Your outer tie rod end can cause a sloppy feeling in the steering wheel and create some odd wear patterns on your front tires, can make the handling of your vehicle feel off if it has skewed the alignment from being toed to where the factory recommends, or being toed in or out. If you have a tie-rod related alignment or steering issue, or an odd wear pattern on your tires, this new tie rod from 1AAuto.com is going to go in, direct fit, just like your original equipment, and fix you up right.
Spin the edge of your new lock nut just over the paint line that you made, or with a measuring tape. Bring the nut to the same measurement you had when you started. Spin the outer tie rod onto the inner tie rod, up until it hits the lock nut. Install the tie rod end into the spindle.
Install the new castle nut onto the threads of your outer tie rod end. Tighten it with a 19 mm socket and ratchet. Torque the tie rod nut to 36 foot-pounds. Install the new cotter pin with the longer leg facing down. Bend it down and under the nut. You can leave this leg straight, bend it over, or just cut it short to get it out of the way.
Using your 22 mm wrench, tighten the lock nut down against the tie rod. Make sure that it lines up with your paint mark. If you have to adjust it, crack the lock nut loose, use a 14 mm wrench to rotate the inner tie rod until it lines up with your mark or the correct distance. Hold the inner tie rod with your 14 mm while you tighten the 22 mm lock nut back down against the tie rod. After completing this repair, reinstall your tire, put your vehicle back down off of the jack and jack stands, and bring your vehicle to have a proper four-wheel alignment done as soon as possible.
Start your lug nuts. Check that they're all seated. Jack up on your pinch weld. Be sure that where you jack isn't going to interfere with your ability to remove the jack stands. Bring the vehicle up until it's off the stands. Remove your stands from under the vehicle. With the stands clear, lower the vehicle. Move to the other side, and repeat these steps. If you've removed the tire, only lower the vehicle until the wheel touches the ground. With partial weight of the vehicle on the ground, torque your lug nuts to 76ftlb in a cross pattern. Then you can remove your jack the rest of the way. To reinstall your hubcap, align this notch with the valve stem on the wheel. Snap it back into place.
Thanks for tuning in. We hope this video helps you out. Brought to you by www.1AAuto.com, your source for quality replacement parts and the best service on the Internet. Please feel free to call us toll-free, 888-844-3393. We're the company that's here for you on the Internet and in person.
Shop Products


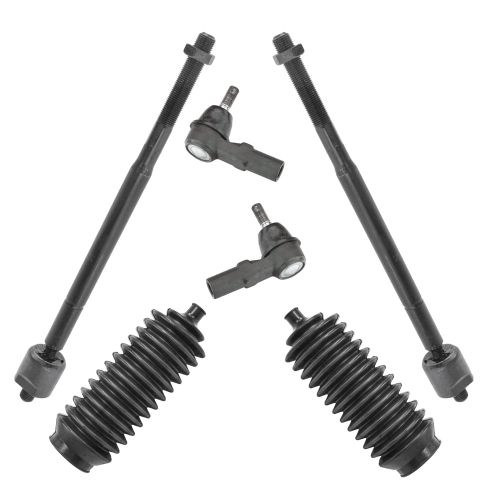
Toyota Avalon Camry Lexus ES300 Front Driver & Passenger Side 6 Piece Steering Kit TRQ PSA55186
Part Details:
- 6 Piece
- (2) Front Steering Rack & Pinion Bellows
- (2) Front Outer Tie Rods
- (2) Front Inner Tie Rods

How to Replace Outer Tie Rod 1995-2008 Nissan Maxima
Learn how to replace an outer tie rod on your 95-08 Nissan Maxima with this helpful video from 1A Auto.
