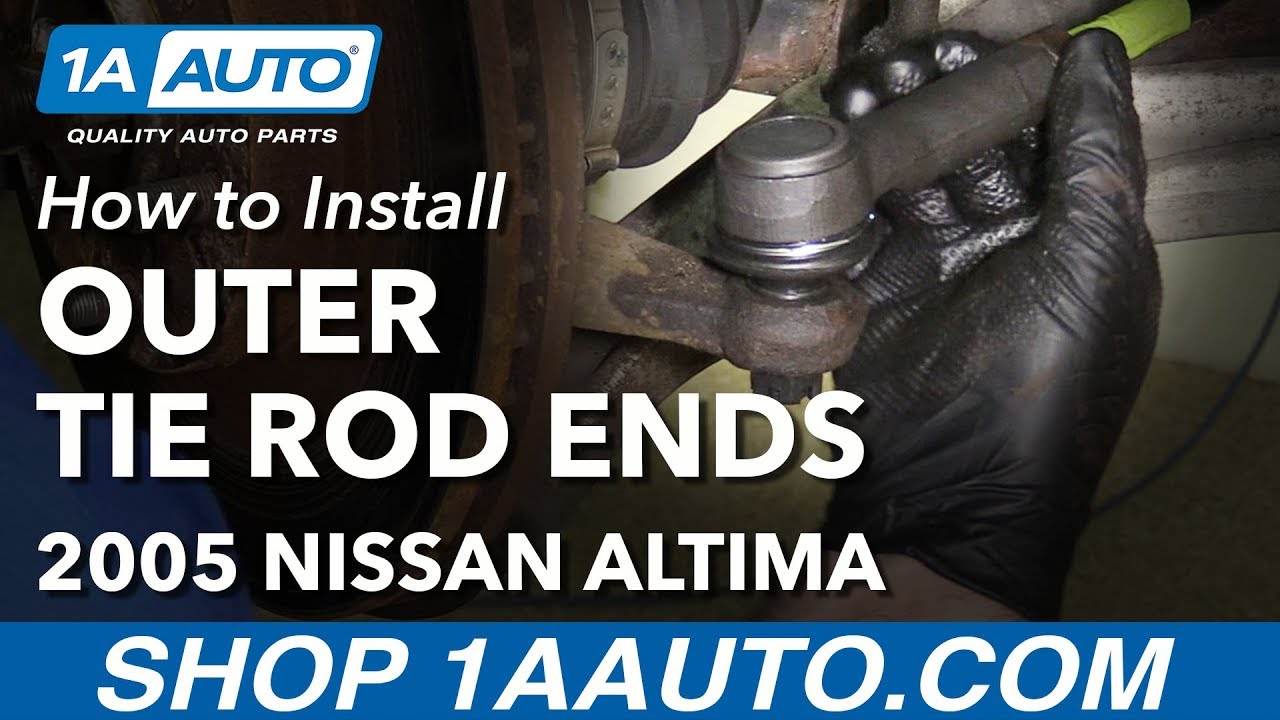
How to Replace Front Outer Tie Rod Ends 2002-06 Nissan Altima
Created on: 2017-09-11
How to repair, install, fix, change or replace a broken, busted, bad, loose, or damaged tie rod on 02, 03, 04, 05, 06 Nissan Altima.
-
step 1 :Removing the Wheel
- Loosen the 21mm lug nuts with the vehicle on the ground
- Raise the vehicle with a floor jack
- Secure the vehicle on jack stands
- Remove the lug nuts
- Pull off the wheel
-
step 2 :Removing the Outer Tie Rod
- Straighten the cotter pin with a pair of needle nose pliers
- Remove the pin from the castle nut
- Loosen the 18mm castle nut to the end of the splines
- Loosen the 22mm nut a few turns and mark its location with tape
- Remove the castle nut
- Remove the outer tie rod with a tie rod puller
- Pull the outer tie rod out of the steering knuckle
- Twist off the outer tie rod by hand
-
step 3 :Installing the Outer Tie Rod
- Twist on the new outer tie rod
- Push the outer tie rod into the steering knuckle
- Tighten the 22mm lock nut
- Fasten the 18mm castle nut onto the outer tie rod
- Push the cotter pin through the castle nut
- Twist the cotter pin with needle nose pliers
-
step 4 :Reattaching the Wheel
- Slide the wheel into place
- Start the lug nuts by hand
- Tighten the lug nuts preliminarily
- Lower the vehicle to the ground
- Tighten the lug nuts to between 73-86 foot-pounds in a crossing or star pattern
Tools needed
-
Rust Penetrant
18mm Wrench
Jack Stands
21mm Socket
Tie Rod Puller
Paper Towels
22mm Wrench
Painter's Tape
Ratchet
Floor Jack
Cloth Rags
Needle nose pliers
1/2 Inch Breaker Bar
Hi, I'm Mike from 1A Auto. We've been selling auto parts for over 30 years!
Before you lift and support the vehicle, loosen the lug nuts with the wheel on the ground. Use a 21mm socket and a breaker bar. Lift and support the vehicle. Lug nuts loose. You can use the 21mm socket with just your hand. Finish removing the lug nuts. Remove the wheel, place it aside.
Replace the outer tire rod ends. Turn the whole hub assembly out so you can reach it. Start by removing this cotter pin. Use needle nose pliers, or side cutters. This one's pretty rusty. I'm going to grab onto it, and get the needle nose pliers in there. Trying to pry it. Pry it against the knuckle, there we go. Before you remove this, you will have to have the car aligned. I'll show you that I will mark this with some tape. Some people like to count the turns that it comes off. I'm just going to put some tape near the lock nut and mark it and thread it on in generally the same measurement or location so it will be close, but it will need to be aligned afterwards. Spray the lower castle nut with some rust penetrate before I try to remove it. It's pretty rusty. Also let's spray some up here on the lock nut to let that set. I'm going to come back to it. It should be ready to go.
I'll take an 18mm wrench and loosen the castle nut. Leave this nut on here for now, but fairly loose because I want to have the entire end captured in the end of the knuckle here so it doesn't try to turn while I undo the lock nut. I'm going to loosen this lock nut or jam nut ever so slightly because afterwards I'm going to take some masking tape and mark where it was so I don't want to thread it all the way back out. I just want to loosen enough so that I can get this tire rod end off. It's a 22mm. Just give it one more turn. So that should be just loose enough to get this outer tire rod off.
I'm going to take some masking tape and just mark where it was in case it moves. I'm just going to wipe off some of rust penetrate oil so the tape will stick. Take some masking tape and just mark where it was. That also keeps the nut from spinning out any further and will keep me in the general area of where it was. We'll remove the castle nut the rest of the way off.
It's pretty rusty, so you use the 18mm to get it off. Ball joint has a taper and it sits into the knuckle here. That's what makes it really tight. You can hit this with a hammer to try to break it free. You have to be very careful, as this knuckle is fragile. You could break the knuckle. It's better to use the ball joint removal tool, or tire rod end removal tool. I'm going to slide this underneath the tire rod end. I may need to turn it a little bit off it' seat. Use the appropriate sized wrench for your ball joint tool and thread it down and this will push the ball joint out of the knuckle. They tend to snap out like that. I was trying to hold the tool so I didn't drop it, but it’s okay. This will come right out with it loose. Tire end will thread right off. Now, you could try to count this if you didn't mark where this was or you moved it. I like putting the tape there, and just thread right off and there it is.
Here's our old tire rod end we pulled for our vehicle. This is our new one from 1AAuto.com. See how they're similar in design? They do have the same threads. The one from 1A Auto comes with a new castle nut. It also comes with a new cotter pin, and if you need a new lock nut, it comes with a new one. It should thread right into place and make our steering nice and tight again.
I'm going to take our new castle nut off. Put that aside. Just start by threading on the new tire rod end. I'm actually going to put it just about where the old one was. It was like that. Clean the grease off that's in here. Put your new tire rod in. Put it right into place. Sometimes you've got to push the ball joint a bit to line it up. Just like that.
Install our new castle nut. Thread the lock nut down. Just tighten it up nice. Use a little razor blade just to get our tape off. Use our 18mm again, and tighten the castle nut. Try and get it nice and tight and line it up with the hole for the cotter pin. Install our new cotter pin. Take needle nose pliers, turn it and bend it over. Tire rod end is replaced.
We reinstall our wheel, and we'll torque the lug nuts. Just going to use the socket to get these lug nuts as tight as you can by hand and torque the wheel afterwards once it's on the ground. Torque on the lug nuts is 73 to 86. I torque these to 80. Cross pattern. Job is complete.
Thanks for watching. Visit us at 1AAuto.com for quality auto parts, fast and free shipping, and the best customer service in the industry.
Shop Products

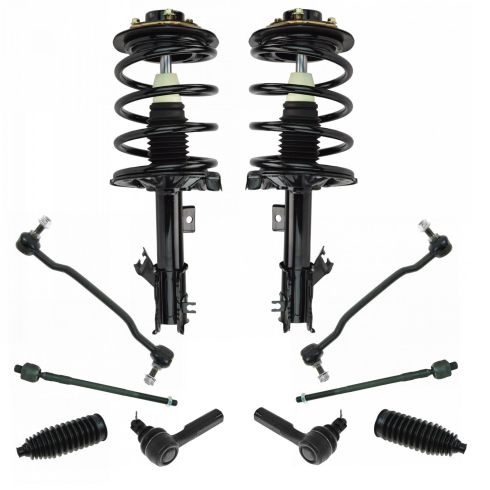
Nissan Altima Front 10 Piece Steering & Suspension Kit TRQ PSA32024
Part Details:
- (2) Front Sway Bar Links
- 10 Piece
- (2) Front Strut & Spring Assemblies
- (2) Front Steering Rack & Pinion Bellows
- (2) Front Outer Tie Rods
- (2) Front Inner Tie Rods

How to Replace Front Inner Tie Rod 2000-06 GMC Yukon
Watch this video to learn how to install new TRQ inner tie rods on your 2000-06 GMC Yukon.


