
How to Replace Front Outer Tie Rods 1997-2003 Ford F-150
Created on: 2017-06-19
How to repair, install, fix, change or replace loose, worn, or creaking ball joints on 97, 98, 99, 00, 01, 02, 03 Ford F-150
-
step 1 :Removing the Wheel
- Loosen the five 19mm lug nuts
- Raise and support the vehicle
- Remove the lug nuts
- Slide the wheel off the hub
-
step 2 :Removing the Tie Rod End
- Remove the cotter pin from the castle nut
- Remove the castle nut with a 13/16" wrench
- Strike the wheel knuckle with a hammer to loosen the tie rod end
- Twist the tie rod end off the inner tie rod, counting how many rotations it takes to remove
-
step 3 :Installing the Tie Rod End
- Remove the jam nut from the old tie rod end
- Thread the jam nut onto the new tie rod end
- Start the tie rod end onto the inner tie rod
- Turn the tie rod end in, the same number of turns it took to remove
- Line up the tie rod end into the wheel knuckle
- Fasten the castle nut onto the tie rod end
- Line up the castle nut with the hole in the tie rod end
- Feed the cotter pin through the hole
- Bend the cotter pin with pliers to secure it
-
step 4 :Installing the Wheel
- Slide the wheel onto the hub
- Start the lug nuts
- Lower the vehicle to the ground
- Tighten the lug nuts to between 83 and 112 foot-pounds of torque in a star pattern
Tools needed
-
Hammer
Torque Wrench
Jack Stands
Complete Metric Wrench Set
Hose Clamp Pliers
Floor Jack
Needle nose pliers
Complete Metric Socket Set
Hi, I'm Mike from 1A Auto. We've been selling auto parts for over 30 years. We're dedicated to delivering quality auto parts, expert customer service, fast and free shipping, all backed by our 100% satisfaction guarantee. Visit us at 1AAuto.com, your trusted source for quality auto parts.
So in order to start this project you want to go ahead and loosen the wheel and the lug nuts here. We're going to use a breaker bar with a 19 millimeter socket. So next we're going to go ahead and raise and support your vehicle. You can use a jack and jack stands. In this case here we're using a lift to make it a little bit easier. Just go ahead and remove the lug nuts here just by using that socket because we've already loosened those. With the lug nuts removed we can now go ahead and remove the wheel and tire.
So this right here is your outer tie rod end. We have the nut here to anchor this on. This is the castle nut. Normally you would have a cotter pin through here, but this did not have it in there. So it must have rotted or fallen out. So we're going to go ahead and remove this nut off of the outer tie rod end, and we're going to use a 13/16” wrench for this here.
So in order to remove this outer tie rod end, this actually fits into a tapered hole. What we can usually do in our driveway at home is, if you use a hammer and you strike the front here, it normally causes this to pop out. So now that we have this out, you can see that this is a tapered base, and this fits tightly into the front of the steering knuckle. So when you tighten up the castle nut, it sucks it down inside and keeps it nice and tight.
When you go to replace this outer tie rod end, in our case here this part is fine we don't have to replace it, but just to show you how it's done, what you want to do is to keep your base preliminary alignment, you're best way to do it is to count the amount of full rotations that this comes out so that you can thread the new part in that many times. Then go down and get your alignment. So let's go ahead and start your counting here. It’s basically 31 rotations, full rotations around, for this to come out.
Now if you don't get a jam nut, or a lock nut, you have to remove this and reinstall it onto the new unit. Once again because we're going to be reusing this component, we don't have to remove this. But you would take the new part, install it, and you would spin it back in 31 full revolutions. In our case we get to zip that right on in. You want to wind that right back up inside, push that in, install your castle nut. You would tighten this up, line up the castle nut with the hole in the outer tie rod end there. Here's your cotter pin, feed it through, and then you're going to want to bend that over using a pair of pliers.
All right, I'm going to go ahead and reinstall the tire. I'm going to go ahead and reinstall the lug nuts here. You want to get a few threads caught on all of these here. These lug nuts are 19 millimeters. So we're just going to snug these, bottom it out. Bottom the wheel out to the rotor. We're going to lower the vehicle down onto its own weight, and then do a final torque. With the vehicle on the ground, we're going to do a final torque of the wheel which is between 83 and 112 foot pounds. We're going to do it in a star pattern. All right, just double check the first one. She's all set.
Thanks for watching. Visit us at 1AAuto.com for quality auto parts, fast and free shipping, and the best customer service in the industry.
Shop Products
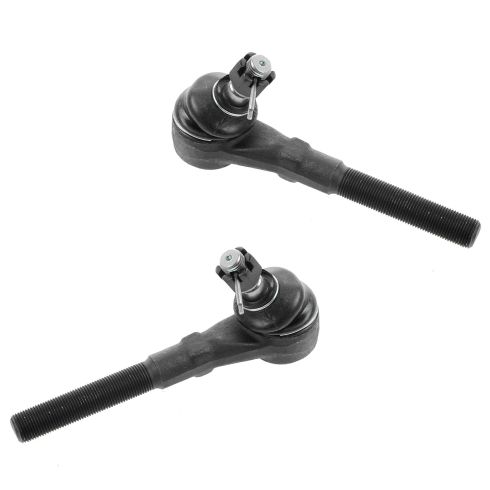
Ford Lincoln Front Driver & Passenger Side 2 Piece Tie Rod Set TRQ PSA54823
Part Details:
- 2 Piece
- (1) Front Driver Side Outer Tie Rod
- (1) Front Passenger Side Outer Tie Rod

How to Replace Front Inner Tie Rod 2000-06 GMC Yukon
Watch this video to learn how to install new TRQ inner tie rods on your 2000-06 GMC Yukon.
