
How to Replace Front Shocks 2000-06 Chevy Tahoe
Created on: 2020-05-29
This video shows you how to install new TRQ front shocks in your 2000-06 Chevy Tahoe.
Tools needed
-
14mm Wrench
15mm Wrench
Torque Wrench
Rust Penetrant
6mm Wrench
Jack Stands
Safety Glasses
Pliers
21mm Socket
21mm wrench
Gloves
Air Compressor
1/2 Inch Impact Gun
22mm Socket
I'm going to use a 22-millimeter socket. Take off the lug nuts, so we can remove the wheel. Now, remove the wheel. Now, I'm going to support the lower control arm with a jack stand. You could also use a floor jack just to take the tension off the suspension. That's good. The top of the shock is pretty rusty, so I'm just going to use some rust penetrant. Let it soak for a little bit. I'll take a 15-millimeter wrench. Slide it over the nut. Just try to break it free first. There we go.
At some point, as you're loosening this nut, the whole shaft of the shock is going to spin, so I'm going to use some large pliers, and just hold it from spinning right here. You could also get some locking pliers, and attach it to the top of the shaft, and just keep loosening the nut. All right. And take that nut off, and slide the top off. Now, I'll use a 21-millimeter socket and a 21-millimeter wrench on the backside of the bolt at the lower shock, and take the nut off. And slide the bolt out. Just support the shock, so it doesn't fall. Slide it up, and you should be able to slide it up. And take this nut off, and take the top washer and bushing off, and slide the shock through. Get it lined up, up top, and get it in position down here, and then slide the bolts on.
Take the nut. Put them on. We're just going to keep this lower bolt loose, and we'll put the top together first because it'll make it easier to install, and then we'll tighten this up afterwards. Now, take this bushing and the washer, and put it over the shaft of the shock. Take the nut, put the nut on. Then you can take a 14-millimeter wrench, or a ratchet wrench, tighten that up, and if the stud starts to spin, or the shaft starts to spin, you can use a six millimeter wrench to hold it as you tighten this up. You can take a torque wrench, and tighten this down to 15 foot-pounds. That's good.
Tighten this up. Now, we'll torque this nut to 59 foot-pounds. Now, we can raise the vehicle. Now, put the tire back on, and the lug nuts. I'm going to torque the lug nuts to 140-foot pounds in a star pattern, or a cross pattern so that it tightens the wheel down evenly.
And just go around again. Double-check.
Shop Products


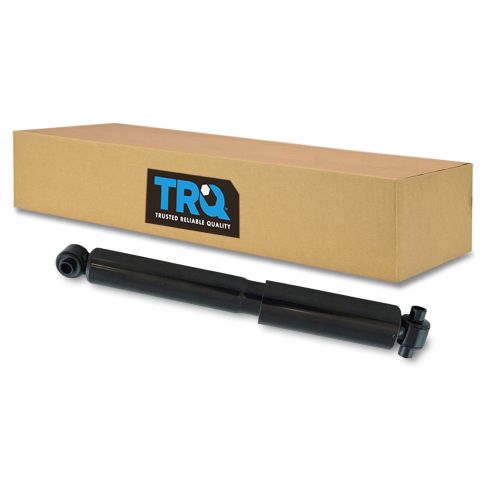
Chevrolet GMC Cadillac Front Shock Absorber TRQ SBA60643
Part Details:
- Improved ride comfort and longer life
- No
- 5.59 in
- Yes
- Loop (Eyelet) Bushing
- Metal
- Loop (Eyelet) Bushing
- Yes
- 10.87 in
- 16.46 in
- 1.77 in

How To Install Replace Remove Rear Shocks Struts 2002-06 Nissan Altima
If the rear shocks on your 02-06 Nissan Altima are bouncy or clunking, it's probably time to replace them! Watch this video to learn how to do it yourself!
