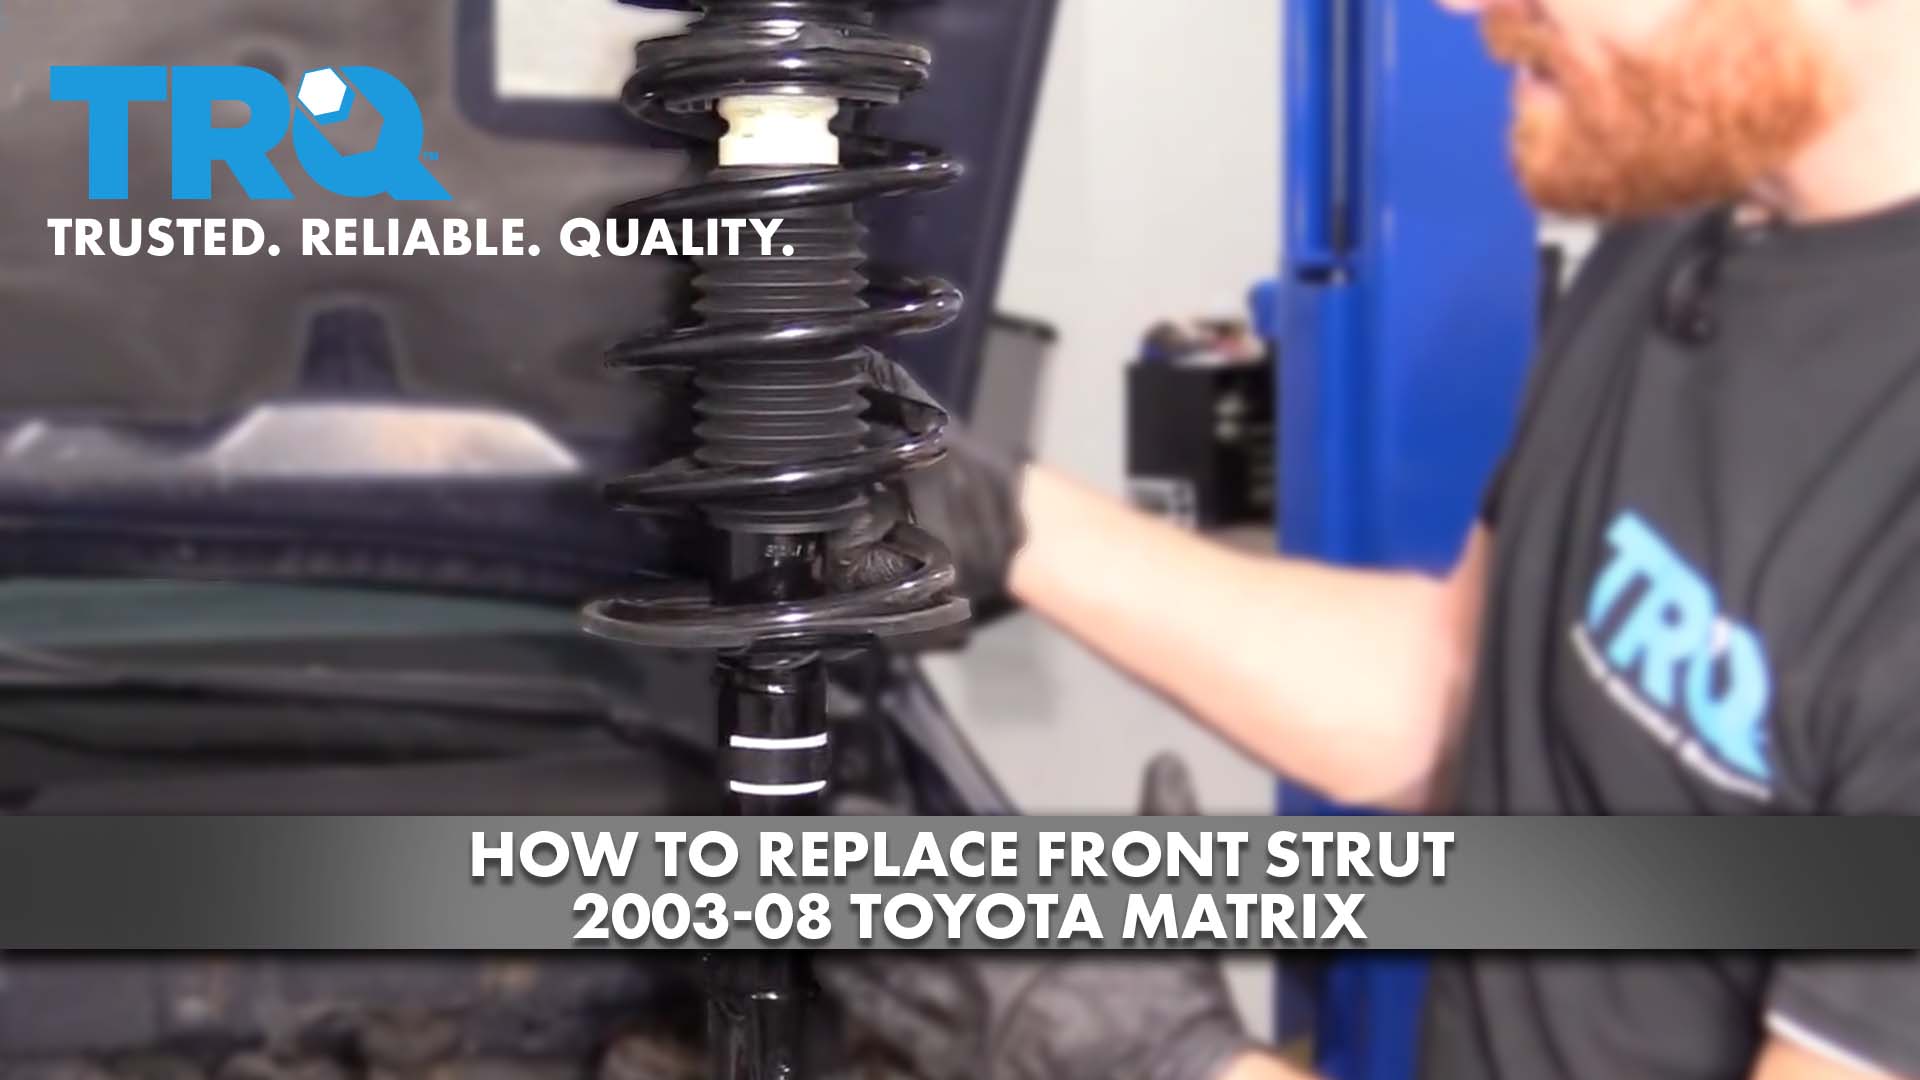
How to Replace Front Strut 2003-08 Toyota Matrix
Created on: 2020-08-26
This video shows you how to install new reliable TRQ struts in your 2003-2013 Toyota Matrix.
Tools needed
-
13mm Socket
Torque Wrench
Socket Extensions
Rust Penetrant
17mm Socket
Jack Stands
Liquid Thread Locker
21mm Socket
Socket Driver
Large Locking Pliers
Wheel Chocks
22mm Wrench
Bungee Cord
Ratchet
Floor Jack
Swivel
1/2 Inch Impact Gun
22mm Socket
Okay, friends, one of the first things we need to do is safely raise and support the vehicle with the suspension hanging. Once we've done that, we're gonna remove our five 21-millimeter lug nuts. Let's get the wheel off of here. All right, so now that we have the wheel off of here we have a nice clear view of our front strut. Something that I like to mention is you're gonna have to remove your upper sway bar link mounting point here. A lot of times what happens when you try to take this off is it gets damaged in some way, whether it's from trying to grab from the backside and ruining the boot, or even just stripping this out. One way or another, usually what it comes down to is you're gonna have to replace the sway bar link at the same time. For me personally, I'm gonna be replacing the sway bar link at the same time as the strut. That's just how I roll and of course, I do them as a pair with the other side of the vehicle. With that said, if you weren't replacing the sway bar link, what you could try to do is to use an Allen head just like this, put it in the center where the stud is, hold that still and then use your wrench to turn the 17-millimeter nut to relieve the tension, but they usually strip out.
So, I've got my locking pliers holding onto the backside of the stud as tight as I possibly can. Now, I'm gonna turn the 17-millimeter nut and try to relieve it.
Easy peasy. So, this is pretty much what happens when you actually grab onto the backside, it kind of ruined the boot. Now, the next thing we need to do is remove the mounting bolt that holds our flex hose to the strut itself. It's always a great idea to spray down anything you're gonna be removing with a little bit of penetrant. Awesome. Let's take one of our lug nuts, put it right onto the stud, that's gonna help hold the rotor so it can't wobble around. Now, the next thing we need to do is remove our bolts that hold our knuckle to our strut. I'm gonna hold one side with a wrench and remove the other side. Just gonna leave that in there for now, do the same to the other bolt. Now, the next thing we need to do is take something such as a bungee cord or whatever you might happen to have, but we need to apply a little bit of pressure on this, so there's no way that it can come falling down and potentially put a tug on this or even your axle. I'm just gonna take a nice bungee cord, come through in between the subframe and the control arm itself. And then I'll come up and around this and set that right in like that. Now we can go ahead and get our bolts out of here. We'll slowly let this down, try to keep it controlled as much as possible. That looks pretty great just like that. We'll have it stay. Now we need to get under the hood.
Now that we're up underneath the hood, we wanna pay attention to the direction that this plate is in. It's kind of like a little horseshoe and we want it facing towards the front of the vehicle. Also, what I like to mention is let's go ahead and spray down these three mounting nuts right here with some penetrant. And something else to mention is you don't wanna try to loosen this middle knot right here. Just leave it alone. Now, for this portion we're gonna take off these 13-millimeter nuts, you're obviously gonna need a swivel of some sort or even a pivoting extension. Okay, so at this point, we only have one nut left. Something that you wanna think about is that there's gonna be nothing else holding strut to the body of the vehicle. With that said, go ahead and reach down under there, hold on to the strut or hold it up with something else. So that way there there's no way it can potentially hurt you and let's get this off of here. There it is, friends.
Okay, friends. Now it's time to install our brand new quality strut. Something that I wanna mention real quick, is you wanna make sure that you have the mounting point for your flex hose located on the correct side. Once you're sure of it, let's go ahead and get this installed. Now, coming from down underneath the vehicle, we're just gonna come right up and we're gonna try to line up those studs with the holes in the strut tower. There we are. Let's go ahead and start on all of our nuts. I always like to use a little bit of thread locker but we'll call it your prerogative. Now, we're just gonna bottom these out. Don't make them too tight because we're gonna be torquing them but before we can do that, we have to have a couple more steps involved.
I put a little bit of thread locker on my bolts that are gonna be holding the knuckle to the strut. Let's go ahead and get our bungee cord out of the way. Lift this up, now we'll line it up with the holes. These bolts are gonna have to come through from the rear of the vehicle towards the front. Start with whichever one is easiest for you. Start on those nuts. Snug them up. I like to use a little bit of copper never seize where the bolt's gonna be for the flex hose. Let's get the flex hose situated, start in that bolt, and then we'll snug it up. Bring this over, line it up with your hole. Start the nut on there. We'll bottom it out and then we'll torque that to 55 foot-pounds. Torqued. Now we're gonna go ahead and torque these bolts, get our socket on there and, of course, our wrench. Torque these to 166 foot-pounds. Torqued. Let's get our lug nut off of there, get the wheel up on here, we'll bottom out the lug nuts and then we'll torque them to 76 foot-pounds.
All right, let's torque them in a crisscross manner. Torqued. So, now with the entire weight of the vehicle down on the ground, we're gonna go ahead and torque these to 29 foot-pounds. Torqued.
Shop Products


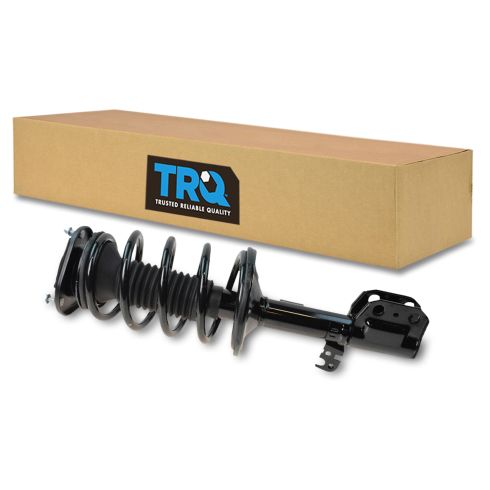
2003-08 Toyota Matrix Pontiac Vibe Front Driver Side Strut & Spring Assembly TRQ SCA57959
Part Details:
- No specialty tools required
- Easy install - Pre-assembled, loaded struts

How to Replace Rear Shocks 2007-10 Hyundai Elantra
Check out this video to learn how to replace the rear shock absorbers on your 07-10 Hyundai Elantra. 1A Auto shows you how to do it yourself!
