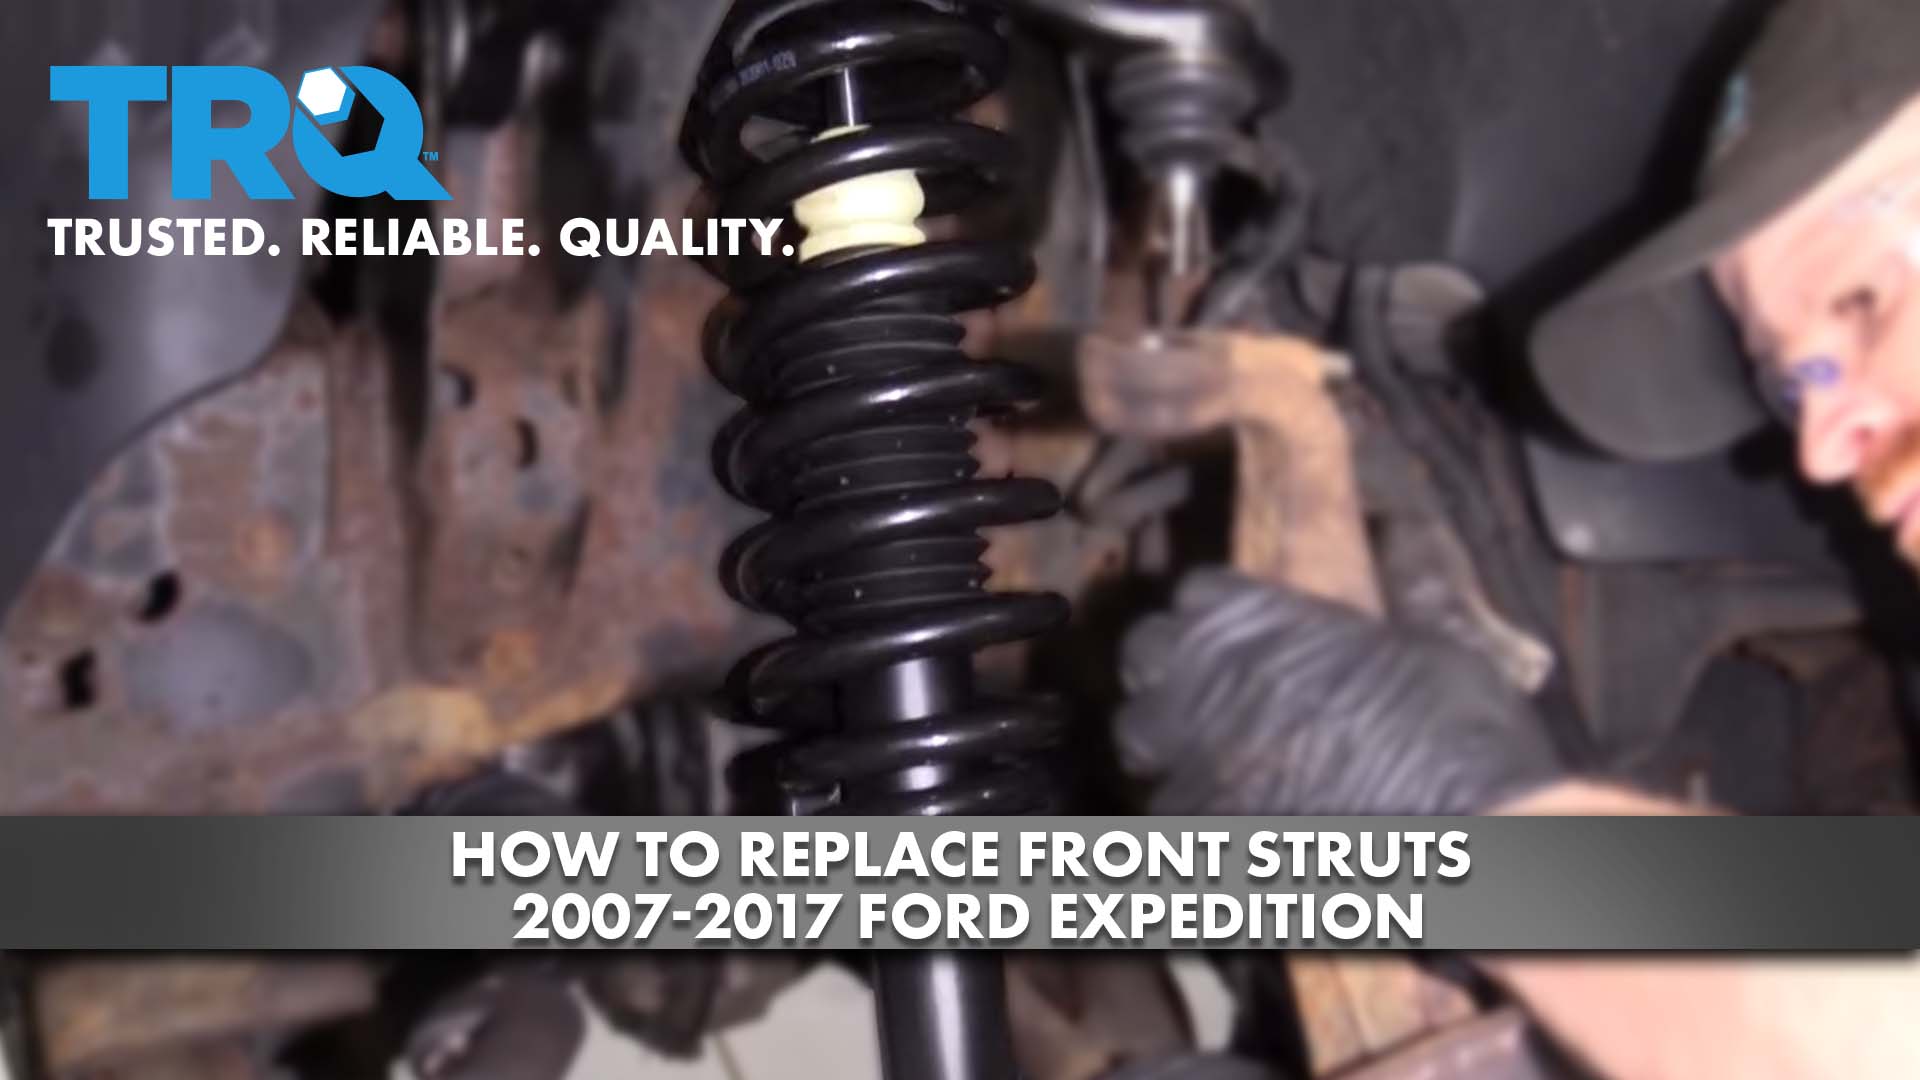
How to Replace Front Struts 2007-17 Ford Expedition
Created on: 2020-12-07
This video shows you how to install new reliable TRQ struts in your 2007-2017 Ford Expedition.
Tools needed
-
Torque Wrench
Hammer
Socket Extensions
Rust Penetrant
Channel-Lock Pliers
Pry Bar
Jack Stands
21mm Socket
Ratchet Strap
Socket Driver
8mm Socket
Wheel Chocks
Center Punch
Straight Cutters
30mm Socket
Floor Jack
Swivel
Okay, friends, one of the first things we need to do to get started on this job is to safely raise and support the truck. After you've done that, remove your center cover here. And then remove all six of your 21-millimeter lug nuts, and get the wheel off. Now that the wheel is off, let's go ahead and get this ABS wire disconnected. I'm just gonna come right along here and then remove this 8-millimeter bolt. Now, let's go ahead and remove our anchor bolt for our flex hose for the brakes. Let's go ahead and remove this little center cover. Now, let's remove our axle nut. Now, we're just going to push on this axle stub here. If it doesn't move, just go ahead and put the nut back on a few good threads, and then give it a couple of loving bonks with a hammer. Now, let's go ahead and get our cotter pinout for our tie rod. Set that aside for recycling. Let's remove the nut. Now, we're going to use a hammer and we're going to hit right on the knuckle right here to try to break this free. Now, let's remove our upper ball joint nut. Now, we're just gonna separate these two. Now, the next thing we need to do is remove the bolt that's going to be holding the front strut to the actual lower control arm. I'm going to hold the bolt side on this with a wrench. And then I'll, of course, remove the nut. There we are.
The next thing we're going to want to do is carefully pull down right along here. Now we can separate these two. Let's just go ahead and spray those mounting bolts from the top there. Now, we're going to go ahead and remove those three mounting nuts. All right. So, that's almost off of there. Let's leave it on a couple of threads and then we'll fully remove the other two. There we are. All right. So, now we're back to our last nut here. Let's make sure we hold up on that front strut so it can't fall out on us. All right. There it is, friends. All right, friends, let's go ahead and get our strut up in here. Start all of your nuts, snug them up. All right. Let's get this lower aspect in. Start the nut on there. Now, we're gonna apply a little bit of pressure underneath the lower control arm so we can bring this up so it'd be almost like it's sitting on the ground, and then we'll go ahead and snug this. Go ahead. Let's snug this up. Let's torque this to 406 foot-pounds. Now, with pressure still underneath there, let's go ahead and torque these upper mounting bolts as well. We're going to torque these to 30 foot-pounds. The next thing we need to do is get our axle inside the knuckle as we push the knuckle up. You want to be very careful not to damage your internal seal. Now, I'm just gonna take a pry bar, come in and under here, and then I'm going to try to put the ball joint through the knuckle. Go ahead and start that nut, snug it up, torque it to 85 foot-pounds.
What you want to do next is make sure that you have your slot lined up with the hole on your ball joint stud. If for some reason it isn't, you need to continue tightening until it is. Next, take your cotter pin, go ahead and put it through the slot and the hole, and then, of course, lock it down. Let's get our sway bar back up on here. Start on both of the nuts, snug them up and torque them to 41 foot-pounds. Do the same to the side of the vehicle. Let's make sure we install our grease fitting. Apply some grease. The next thing we're going to want to do is put on our axle nut. I like to use a little bit of red thread locker, bottom it out, and then torque it to 20 foot-pounds. Now that that's torqued, we're gonna go ahead and install this cover. You want to make sure that it's not damaged in any way. Go ahead and slide it right on there and bottom it out. Now, before we can continue on to putting the brakes together, we want to make sure that the hub mating surface in the back of the rotor mating surface is nice and clean. After you've done that, apply a little bit of copper Never-Seez. Let's go ahead and get our rotor back on here.
I'm going to start a lug nut on so it holds the rotor for me. Let's get our caliper reattached. We're going to use some thread locker, of course, on the bolts. Start them both in and then we're going to torque them to 185 foot-pounds. Let's get our vacuum lines reattached. Now, we're going to reconnect in our bracket. ABS wire. Let's snug them up. Let's start resecuring our ABS wire. Make sure you go up and in between the brake line here. Just like that. This looks good for now. Make my way down here, a little push clip. It's gonna go into your hole right there. The rest of it should just line up. We'll continue on. Making our way up here, let's make sure we reconnect in our ABS wire. Listen for a click. And then, of course, give it a nice tug. After that, you want to make sure that you secure it back in up here. Make sure everything is nice and secured and it's definitely not rubbing up against anything, and there's no way it can get caught. Let's get the outer tie rod end on here. Snug this up, torque it to 85 foot-pounds. The next thing we want to do is make sure that our slots line up with the hole in the stud for the tie rod. If for some reason it doesn't, you need to continue tightening until the next one does. Install your locking cotter pin and then lock it down. Let's get the wheel back up on here. Stud all of your lug nuts, snug them up and torque them to 150 foot-pounds. Torqued. Okay, friends, so that's pretty much it. Aside from making sure you pump up that brake pedal, and then get yourself safely down to an alignment shop.
Shop Products
 2007-13 Ford Expedition Lincoln Navigator Front & Rear 4 Piece Strut & Spring Assembly Set TRQ SCA57061

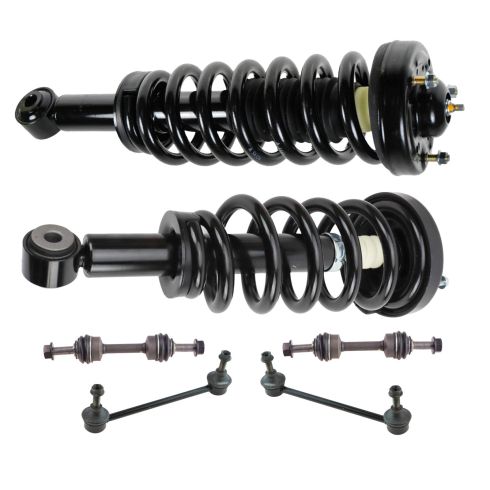
Ford Expedition Lincoln Navigator Front & Rear 8 Piece Suspension Kit TRQ PSA39165
Part Details:
- (2) Front Sway Bar Links
- (2) Rear Shock & Spring Assemblies
- (2) Rear Sway Bar Links
- (2) Front Strut & Spring Assemblies
- 8 Piece

How to Replace Shock Absorbers 2007-16 Chevy Silverado
You can learn how to change the rear shocks on your 07-13 Chevy Silverado or GMC Sierra. Watch this video where 1A Auto experts show you step by step!


