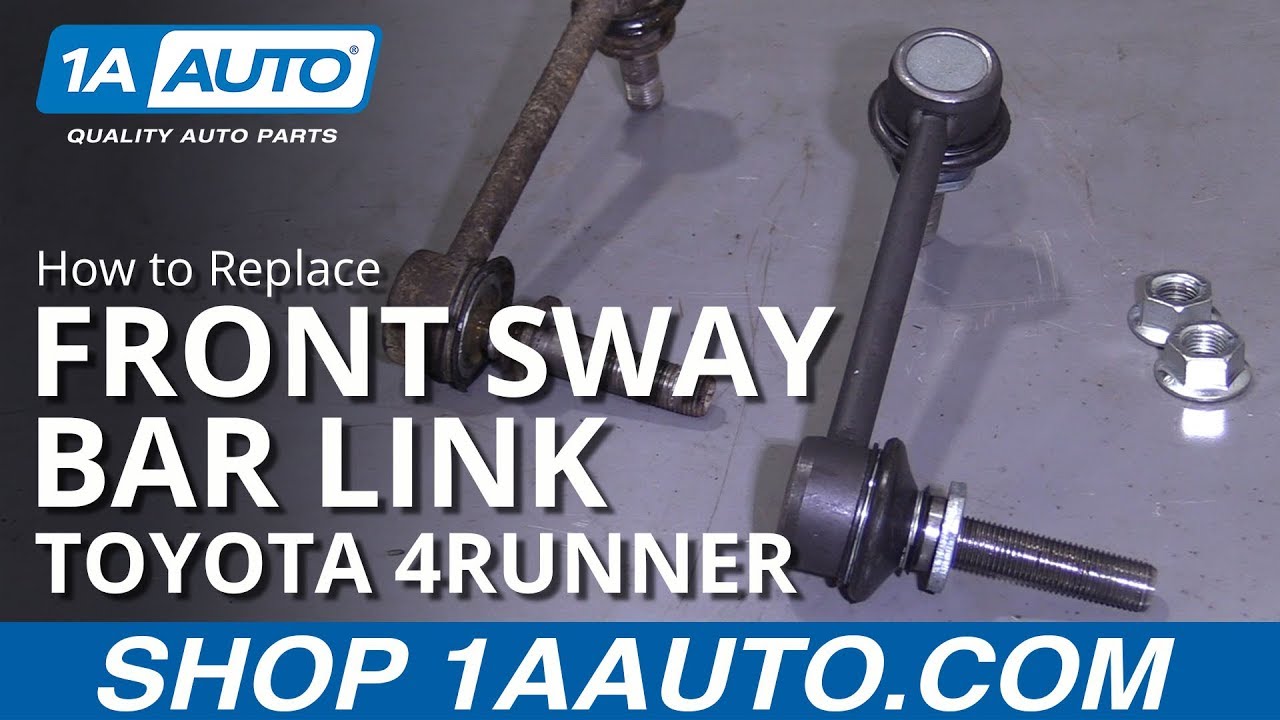
How to Replace Front Sway Bar Link 2002-09 Toyota 4Runner
Created on: 2019-09-28
This video shows you how to replace the front sway bar end links on your 02-09 Toyota 4Runner. 1A Auto shows you how to do it yourself and save money!
-
step 1 :Removing the Wheel
- Loosen the six 21 mm lug nuts
- Raise and support the vehicle
- Remove the six lug nuts
- Remove the wheel
-
step 2 :Removing the Front Sway Bar Link
- Remove the 17 mm nut from each of the link ends
- Hold the stud from spinning with locking pliers if necessary
- Remove the sway bar link ends from the sway bar and the knuckle
-
step 3 :Installing the Front Sway Bar Link
- Insert the longer sway bar link stud into the knuckle and the shorter into the sway bar
- Install the 18 mm nuts onto the sway bar link ends
- Hold the studs from spinning with a 24 mm wrench, if necessary
-
step 4 :Installing the Wheel
- Set the wheel onto the lug studs
- Install the six 21 mm lug nuts and tighten them by hand
- Lower the vehicle with minimal weight on the wheel
- Torque The 21 mm lug nuts to 83 ft-lb
- Lower the vehicle completely
Tools needed
-
21mm Socket
24mm Wrench
Torque Wrench
Rubber Mallet
Locking Pliers
17mm Socket
Jack Stands
18mm Socket
Floor Jack
1/2 Inch Breaker Bar
Hey, friends. It's Lynn here from 1A Auto. Today, we're going to be working on our 2006 Toyota 4Runner, and I want to show you how to remove and install a front sway bar link. If you need this or any other part, check us out, 1aauto.com. Thanks.
Okay, friends, so it's time to remove our wheel. To do that, you're going to remove all of your lug nuts. I'm going to use a 21-millimeter socket. If you're going to be using a ratchet, it might be easier to do this while the wheel's still on the ground so it can't spin while you try to loosen up your lug nuts. I'm using an air gun, so I've got my eye protection, my hand protection. Here we go.
This one, I'm going to leave on a few threads. Put my lug nuts up there. Now I have a spare hand. I'm going to try to wiggle this around. A lot of times on Toyotas, they don't want to break free right away. That's not really that big of a deal. You could use something as simple as a rubber mallet or if you have a pry bar, either way. What you want to do is make sure you have a lug nut on, at least a couple of threads, but it's still nice and loose. I'm going to grab a rubber mallet. Okay, got my rubber mallet. Going to come right under here. I'm going to bonk right on the edge of the rim. Okay? If you're using a real hammer that's not a rubber mallet, definitely don't hit your rim. You'll mar it up, cause issues. You could try bonking on the tire. You just have to be careful because when you bonk it's going to want to come back. Rubber mallet right on the rim. Here we are.
That lug nut did its job, made it so the wheel didn't come falling off and hurt anybody. That's super important. Safety is number one. Take our wheel off, and we'll roll it out of the way. Okay, so we have our sway bar link. We're going to use some locking pliers. We're going to try to hold onto this portion of the stud. So when we try to remove this nut right here, hopefully, the stud won't spin on us and we'll be able to get the nut off. So grab it with some locking pliers as tight as you can. For the backside or the nut side, you're going to use a 17-millimeter socket. You can use a ratchet, or impact, whatever you got. Here we go, safety glasses and on of course.
Got our nut off of there. Set this aside. Awesome. Do the same thing for this one down here. This one's going to be a little bit harder to get a impact gun into, so I'm just going to use a regular old ratchet. Obviously, you want to be careful when you go to loosen this that the pliers don't come down and put a pinch on your boot. Let's see. Turn this. Oh, yeah. All right, I'm not going to go ahead and touch this nut because I know that it's hot, but it's in there. Set that aside. This out of here. Awesome. Here's our sway bar link.
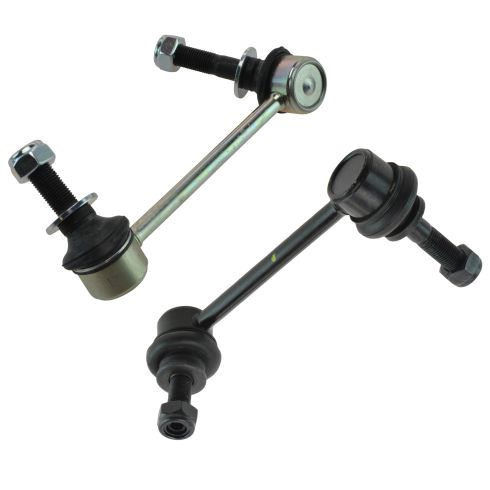
So here we are, friends, a quick product comparison for you. Right here, we have our original front sway bar link out of our 2006 Toyota 4Runner. And over here, we have our brand new, quality 1A Auto part. As you can tell, these parts are created equal. You've got the same length, which is very important. You've got the studs facing in the same direction, which is also very important. If you happen to get one and the studs are facing in the opposite direction than what you were looking for, odds are you're just holding the one for the opposite side of the vehicle. The installation for that would be the same as the other side, so you don't really have to worry about it.
Aside from that, you have brand new sealed boots, super important. You want to make sure you keep that grease in there and the moisture out. Comes with brand new locking nuts, also very important. It comes with everything you need to install. With that said, I don't see any reason why this wouldn't be a quality part to install onto the vehicle so I want to go ahead and do it. As always, if you need this or any other part, check us out, 1aauto.com. Thanks.
You'll notice you have a long stud and a shorter stud. The longer stud is obviously going to go through the deep hole and then you've got the shorter stud, which is just going to go through the sway bar there and it's a much thinner area. Start with whichever side you like, bottom or the top. Grab one of your locking nuts. Oops, get it on there. Awesome. I'll put this up in here just like that. Other locking nut. Also awesome.
Okay, so to tighten this up, we're going to use an 18-millimeter socket for the nut. We're going to use a 24-millimeter wrench to hold this area. I don't know, maybe you can see this one easier. It's kind of like a square, squared-off area. Just going to grab right onto it with your 24-millimeter wrench. As you tighten up the nut, this is going to hold it still. So start with whichever one you want. That feels nice and snug. Going to do the same to the other one. Awesome. So we've got that tight and this tight down here. That completes our sway bar link replacement.
Now, you would just put your wheel back on. Make sure you torque that down to manufacturer's specifications. Down the road you go. Now, we're going to grab our wheel. These wheels can be heavy, and I don't want you to hurt yourself. So instead of grabbing your wheel like this and trying to lift with your back and potentially hurting yourself, show you a little secret. You take your leg, assuming you're not worried about your pants getting a little dirty, just going to grab it like this, roll it right up your leg. Now, you can use your leg/ab muscles to lift it right up. Use your leg to hold it. Balance it. See, that works pretty good. I'm going to take my lug nut, my socket, put it right on here.
Now that we know we've got one locked in, we can release it, grab the rest of our lug nuts. We're going to start all these on. We'll bottom them out, and then we'll torque them down. All right, so let's bottom out these lug nuts. Perfect. We'll get this down on the ground, and we'll torque them down to manufacturer's specifications. Okay, friends, let's get our torque down. We've got our 21-millimeter socket. We've got our torque wrench set to 83 foot-pounds. We're going to go on a crisscross manner. Okay, I'm just going to go around one more time. It's a small price to pay for safety. Awesome.
Thanks for watching. Visit 1aauto.com, your place for DIY auto repairs, for great parts, great service, and more content.
Shop Products
Toyota Lexus Front Driver & Passenger Side 2 Piece Sway Bar Link Set TRQ PSA55921
Part Details:
- 2 Piece
- (1) Front Passenger Side Sway Bar Link
- (1) Front Driver Side Sway Bar Link

Grinding Whirring Noise from Manual Transmission Why You Need to Check Manual Transmission Fluid
Andy tears down a damaged manual transmission to discover the point of failure.
