How to Replace Front Sway Bar Links 2009-17 Chevy Traverse
Created on: 2018-02-26
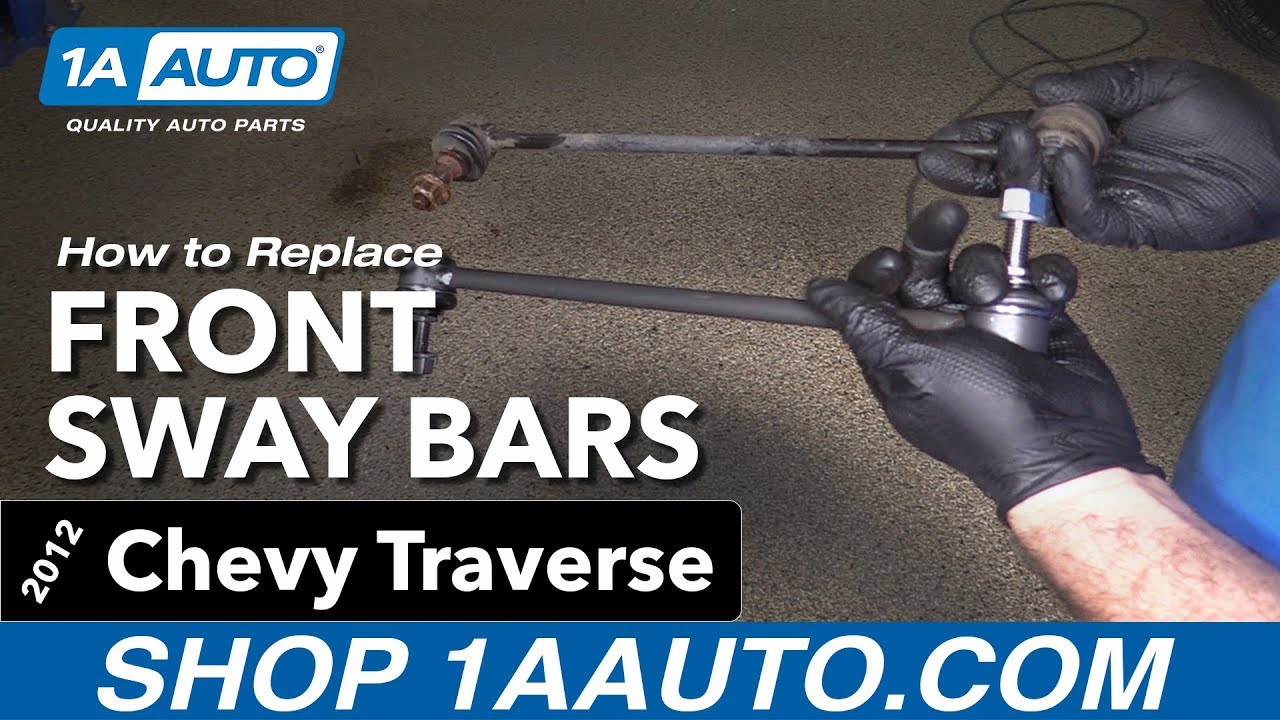
New Sway Bar Link from 1AAuto.com How to repair, install, fix, change or replace a broken, busted, bad, loose, or damaged sway bar link on 12 Chevy Traverse
-
step 1 :Removing the Wheel
- Loosen the 22mm lug nuts with the vehicle on the ground
- Raise the vehicle with a floor jack
- Secure the vehicle on jack stands
- Remove the lug nuts
- Pull off the wheel
-
step 2 :Removing the Sway Bar Link
- Counterhold the upper sway bar nut with an 8mm socket and breaker bar
- Loosen the nut with an 18mm wrench
- Repeat for the lower nut
-
step 3 :Installing the Sway Bar Link
- Insert the sway bar link into place
- Tighten the 18mm nut to the sway bar link by hand
- Counterhold the sway bar link with an 18mm wrench
- Tighten the upper sway bar link bolt with an 18mm socket and ratchet
- Torque the lower bolt to 57 foot-pounds
- Torque the upper bolt to 55 foot-pounds
-
step 4 :Reattaching the Wheel
- Slide the wheel into place
- Start the lug nuts by hand
- Tighten the lug nuts preliminarily
- Lower the vehicle to the ground
- Tighten the lug nuts to 140 foot-pounds in a crossing or star pattern
Tools needed
-
Hammer
Socket Extensions
Flat Blade Screwdriver
Torque Wrench
Rust Penetrant
Jack Stands
Complete SAE Socket Set
Ratchet
Wire Brush
Floor Jack
1/2 Inch Breaker Bar
Complete Metric Socket Set
Hi, I’m Mike from 1A Auto. We’ve been selling auto parts for over 30 years!
With the vehicle on the ground, you use a breaker bar and a 22 millimeter socket to loosen the lug nuts. Raise and support your vehicle with a jack and jack stands. We're using our two post lift. Use the socket. Finish removing the lug nuts. There. It's seized to the hub.
Take a couple lug nuts. Just thread them on lightly. Use a dead blow or a rubber mallet and hit on the tire. It will knock it free. Lug nuts will keep the wheel from falling off. Now it's loose, so you finish taking the lug nuts off. Just going to support it so it doesn't fall. Top of the sway bar link bolts through the strut. I'm going to use a wire brush and just clean the threads off, so that when I remove the nut that's holding it, it'll spin easier. Knock off some of the dust. Knock off some of the dirt, rust, and then I can spray some rust penetrant on here too.
This nut is 18 millimeter. I'm going to use an eight millimeter socket on this breaker bar to counter hold the end of the sway bar link so it doesn't spin while I'm trying to remove it. Just kind of make sure it gets on here. It's a little rusty. Push it on. Brace that against the knuckle and remove this nut. Let's see. Go this way with it. Spray some more rust penetrant on here to help get rid of some of the rusty, chunky bits that are coming off. The nut is self-locking. It's not perfectly round on the end. That's what locks it. It's going to be hard to turn, but it should turn. Just keep doing this until you thread it all the way off.
If you're replacing the strut, make sure you have a new sway bar link on hand because sometimes they break and they'll need to be replaced. As it gets towards the end and the locking part is coming off the threads, it should get looser and easier to turn. Let's see. Take this off now. Just going to spin it off with my fingers. Let's see, it's stopping on that socket. It got stuck. Just give it a couple turns. The socket's loose. Now it'll just come off with my fingers. Do the same for the inside one, and do the same for the lower one. It's just facing away and towards the inside, so you really can't see it directly. You can kind of see it from the side. I'm just cleaning off the threads. Spray it with some rust penetrant, and the breaker bar with the eight millimeter socket. Now it's loose. Just thread it off by hand, and pull it out of the sway bar and out of the wheel well.
This is the original sway bar link from our vehicle. Brand new one from 1AAuto.com. These are left and right. They are identical. They can be installed on either side. The new one from 1A Auto has a new nut. Instead of counter holding the end to tighten it, you're going to counter hold here. These will install perfectly and work great for you. Remove the nut and install it in the same way the original was. This one was facing in. The joint was on the outside part. Go through the sway bar. Thread the nut on for now. Tighten them afterwards. It'll get to the locking part of it. It's not perfectly round. That's how it locks. You'll feel like a tight. You can just stop. Take this top one off. It goes through the back of the strut. Just go underneath the ABS wire. You may have to bend them a little bit, which they do flex. Just install the nut and then tighten them down.
The backside of this is a six point. It looks like it would be a nut. It fits 18 millimeter. You put it on there to counter hold it. We use an 18 millimeter socket to drive this in. Just tighten this down. This will be the same for both of these, both the top and the bottom. I'll just get it tight, and I'll come back and torque it.
I'm going to do the same for the other side and install the lower one. There's not a lot of clearance here. I'm going to counter hold it with the long 18 millimeter on the hex drive that's on there, and then I'm going to use a short 18 millimeter to tighten it. Just repeat this until it's tight. Torque on the bottom sway bar end is 57 foot-pounds. Counter hold it. The torque for the top one is 55. There we are. Install the lug nuts by hand. I'm just going to use the socket. Thread these down. We will re-torque them with the vehicle on the ground. Torque the lug nuts in a cross pattern to 140 foot-pounds.
Thanks for watching. Visit us at 1AAuto.com for quality auto parts, fast and free shipping, and the best customer service in the industry.
Shop Products


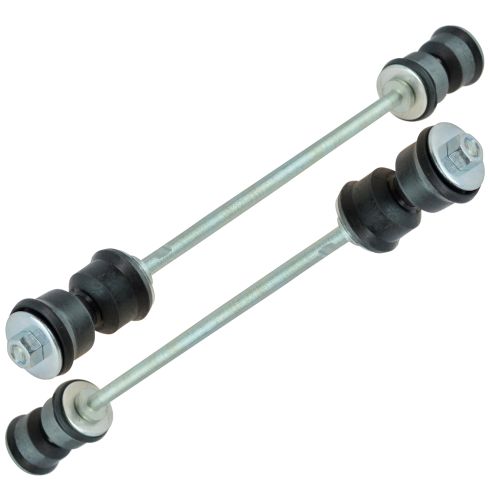
Chevrolet GMC Buick Saturn Rear Driver & Passenger Side 2 Piece Sway Bar Link Set TRQ PSA55958
Part Details:
- 2 Piece
- (1) Rear Passenger Side Sway Bar Link
- (1) Rear Driver Side Sway Bar Link

How to Replace Front Sway Bar Links 1998-2008 Ford Ranger
Check out this video to learn how to replace the front sway bar links on your 98-08 Ford Ranger.
