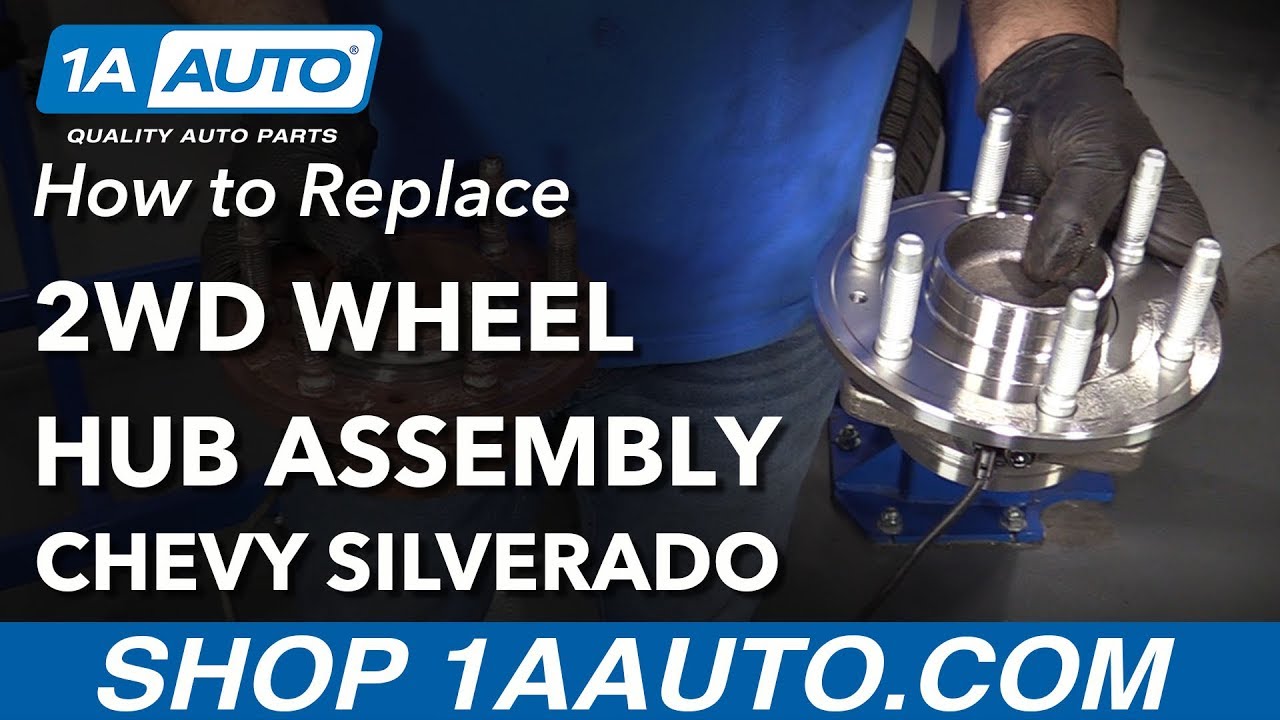
How to Replace Front Wheel Hub 2WD 2007-13 Chevy Silverado
Created on: 2018-11-15
How to repair, install, fix, change or replace a worn out, vibrating or groaning wheel bearing hub on 07, 08, 09, 10, 11, 12, 13 Chevy Silverado
-
step 1 :Removing the Wheel
- Pry off the wheel cover if equipped
- Remove the 22 mm lug nut caps to remove the center cap
- Loosen the 22 mm lug nuts
- Raise and support the vehicle
- Remove the 22 mm lug nuts
- Remove the wheel
-
step 2 :Removing the 2WD Front Wheel Hub Assembly
- Remove the two 18 mm brake caliper bracket bolts
- Pry with a screwdriver to compress the brake piston slightly
- Remove the brake caliper assembly and support it
- Remove the brake rotor
- Disconnect the ABS wire electrical connector, and pry out the wire retaining clips
- Remove the 15 mm wheel hub assembly bolts
- Remove the wheel hub assembly, hammering it out if necessary
-
step 3 :Installing the 2WD Front Wheel Hub Assembly
- Clean the wheel hub mounting surfaces of the knuckle, and brake backing plate
- Install the wheel hub assembly into the knuckle
- Install the three 15 mm wheel hub assembly bolts
- Torque the three 15 mm wheel hub assembly bolts to 133 ft-lb
- Install the ABS wire retaining clips
- Connect the ABS wire electrical connector
- Clean the inner surface of the brake rotor, if reusing it
- Install the brake rotor
- Install the brake caliper assembly with the two 18 mm caliper bracket bolts
- Torque the 18 mm caliper bracket bolts to 129 ft-lb
-
step 4 :Installing the Wheel
- Install the wheel onto the wheel studs
- Install the six 22 mm lug nuts and tighten them by hand in a crossing pattern
- Lower the vehicle with minimal weight on the wheel
- Torque the six 22 mm lug nuts to 140 ft-lb in a crossing pattern
- Lower the vehicle completely
- Install the center cap and tighten the 22 mm lug nut caps by hand
- Push on the wheel cover, if equipped
Tools needed
-
Hammer
Socket Extensions
Torque Wrench
15mm Socket
Pry Bar
18mm Socket
Ratchet
Wire Brush
Needle nose pliers
Trim Tool Set
22mm Socket
Hi, I'm Mike from 1AAuto. We've been selling auto parts for over 30 years.
What's up guys? I'm Andy from 1AAuto. Today I'm going to be installing this TRQ hub in this two wheel drive 2008 Chevy Silverado. If you need this part or other parts for your vehicle click the link in the description and head over to 1AAuto.com. I'm going to take a pry bar. I'm going to take this center cap off, this hubcap, just slide it over. Some models it may be a little bit different. This releases like this. There's one more clip over here just like that that comes off.
Then I'm going to take my 22 millimeter socket, take this center cap off. We can also use a seven eighth's socket. Going to take that off. I'm going to take this 22 millimeter socket and a breaker bar and I'm going to crack all these lug nuts free before we lift the vehicle. All right. Now those are all cracked free. You're going to raise and support the vehicle. We're using a two post lift. If you're doing this at your house you can use a jack and jack stands. Take that same socket and we'll take these lug nuts off. Sometimes you can just spin them off by hand. That last lug nut off, now take the tire off.
Next, I'm going to take an 18 millimeter socket and we're going to take these two caliper bracket bolts off. I'm not going to take the caliper off of the bracket we'll just take those off. I'll use a breaker bar. We'll crack these free. These are normally on there pretty tight so use a long breaker bar so you have some leverage. All right. Once those are broken free I'm going to switch to a ratchet. Take these two bolts out. Take that bolt out, set it aside. Take that bolt down as well. There is a lock tight or a thread locker on these bolts. You can use a thread locker to reinstall them or if you get new bolts generally it comes with them.
Next I'm going to take a straight blade screwdriver. I'm just going to go in here in between the caliper a little bit and just pry. That's just compressing the piston a little bit. Just do it slowly and that'll make taking this caliper and bracket off together a little easier. Slide that off. And I'm going to take a bungee cord, slide the bungee cord around the upper control arm and into the bracket for the brakes, for the brake caliper. We'll just let that hang like that. You don't want to put any pressure on the hose. Keep that out of the way just like that.
Next, we'll take this rotor off, slide it off. If your rotor was stuck on there you can take a hammer and you can hit in these locations right here. Be careful not to hit the studs. Slide that off. Next, before we take the bolts out for the hub we're going to release the electrical wiring harness for the ABS. Up here there's a connector. Disconnect this electrical connector, there's a little button on top, a little bit hard to get to so we're going to release this first. Just going to use this little trim tool underneath here, release the connector to push down on the button, just push that down. Disconnect the connector. Slide this over here. You can use the trim tool again to slide under here. Pry up on this piece, pull that out, and then over here as well. I'm just going to cut it off. Sometimes the rust will cause some issues when you're trying to get these things off. It's almost out. There we go. Break that off. That's okay.
Next on the back side there is three 15 millimeter bolts we need to take out. I'm just going to use a 15 millimeter socket and a ratchet, take these bolts out. If they're really rusted use some rust penetrant. These aren't too bad. Take that one out and just loosen these up. I'm going to use a breaker bar, try to break these free first. There we go. All right. Once those are broken free switch back to the ratchet. Take that one out and then we'll take the other two out the same way. All right and then take this last one out just like that.
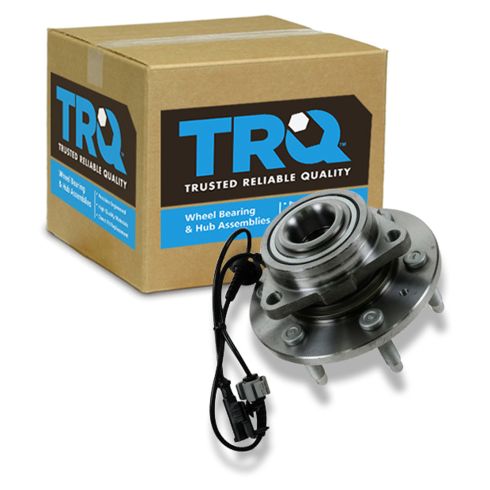
Next, this isn't too bad so I'm going to start with just taking a hammer. I'm going to tap it from the backside. Be careful. Once it loosens up it might fall to the ground so watch out for your feet. So, it's starting to separate a little bit because you can see the backing shield is loose so that's a good sign. So I'm just going to cap it from this side as well. Just go back and forth. There we go. Let it loose and pull it out. There is the old hub. Here is the new hub from 1AAuto.com. It's a TRQ hub. The sensor is the same, the backside looks the same, front studs, everything's machined the same. Get yours from 1AAuto.com and you'll be ready to rock and roll.
Before we install the hub I'm just going to take a wire brush and we'll just clean this area out. Get some of that rust off. Maybe take a die grinder also to be a little bit easier. And then, if there's any spots of rust on the backing shield you can clean that off. This one's not too bad. Now take the new hub, slide the wire harness through the shield just like that. We will reposition it in the correct location like that. Take the bolts, slide the bolts in your position. You may have to loosen up the hub, pull the hub out a little bit to get the holes to line up. It's a little easier once you get the first bolt started.
So, the first bolt is in. Now take the other two bolts, get those started. All right. Those are started. You want to keep in mind to watch out for the ABS harness. We don't want that to get tightened down. When you're tightening down the hub sometimes they get in the way and you can pinch a wire. Now we're going to take our 15 millimeter socket and ratchet. We'll snug these up. Got those snug, now I'm going to torque them. I'm going to torque those with a torque wrench to 133 foot pounds. First one, second one, and the last one. There we go.
Next we're going to install the ABS wiring harness. You can slide this connector right into here, this retainer. Make sure it's locked in there good. This one is going to go in this little bracket right there. We'll slide this under my bungee cord and then this one is going to go in here just like that. Part of that retainer broke off from before so I'll just take a screwdriver, push it down, use some wire cutters to try to pull it through. There we go. And we'll secure this to the frame. Make sure that lines up. That's good right there.
Now we're going to take our rotor. Before I put it on there I'm just going to take a wire brush and we're just going to clean any excessive rust build up on the backside of that because we're reusing this rotor. It looks pretty good. Make sure none of the rust got on the hub. Slide this rotor on. If you had a bolt that held down the rotor you're going to want to install that. This vehicle doesn't have one. Just take one of the lug nuts and put that on so it holds the rotor pretty good. Now we'll take the brake caliper off the bungee cord. Re-install that on the rotor just like that. Going to take the two caliper bolts, get that one started there. If you want to put some thread locker on you can do that.
I'll take a 18 millimeter socket and a ratchet, start snugging these bolts down. You're going to remember that when you do this job that you're going to want to pump the brake pedal a couple of times before you drive away. Even though you didn't do brakes in this job you did pull the brake caliper off and there is still going to be an air gap there so pump the brake pedal. All right, those are snug. Now we're going to torque those. Torque those two bolts to 129 foot pounds. This top one as well. Just like that.
Take our lug nut off. We installed the tire. Put the lug nuts on. Snug these lug nuts down. All right. Now we're going to lower the vehicle and torque those lug nuts. Now I'm going to torque these with a 22 millimeter socket and a torque wrench to 140 foot pounds. You're going to torque them in a star pattern that tightens the wheel down evenly. Just double checking they're nice and tight. Position the center cap. Take the socket, just tighten these down. Take this hubcap, now line this up with the valve, the tire valve. Push it on just like that. Now I'm going to pump the brake pedal because there is going to be an air gap between the brake pads and the caliper piston and this will get rid of that air gap so you'd be good to go.
Thanks for watching. Visit us at 1AAuto.com for quality auto parts, fast and free shipping, and the best customer service in the industry.
Shop Products
 Chevrolet GMC Cadillac Front Driver & Passenger Side 2 Piece Wheel Bearing & Hub Assembly Set TRQ BHA53629

Chevrolet GMC Cadillac Front Wheel Bearing & Hub Assembly TRQ BHA48300
Part Details:
- 6
- 3.06 in
- 5.5 in
- 179 mm
- 3.09 in
- 78 mm
- 33
- 140 mm
- 78 mm
- No
- Yes
- Yes
- Triangle
- 7.05 in
- 3
- M14x1.5
- Taper
- Gen 3

How to Replace Rear Bearings 2001-05 Honda Civic
New Wheel Bearing & Hub Assembly from 1AAuto.com


