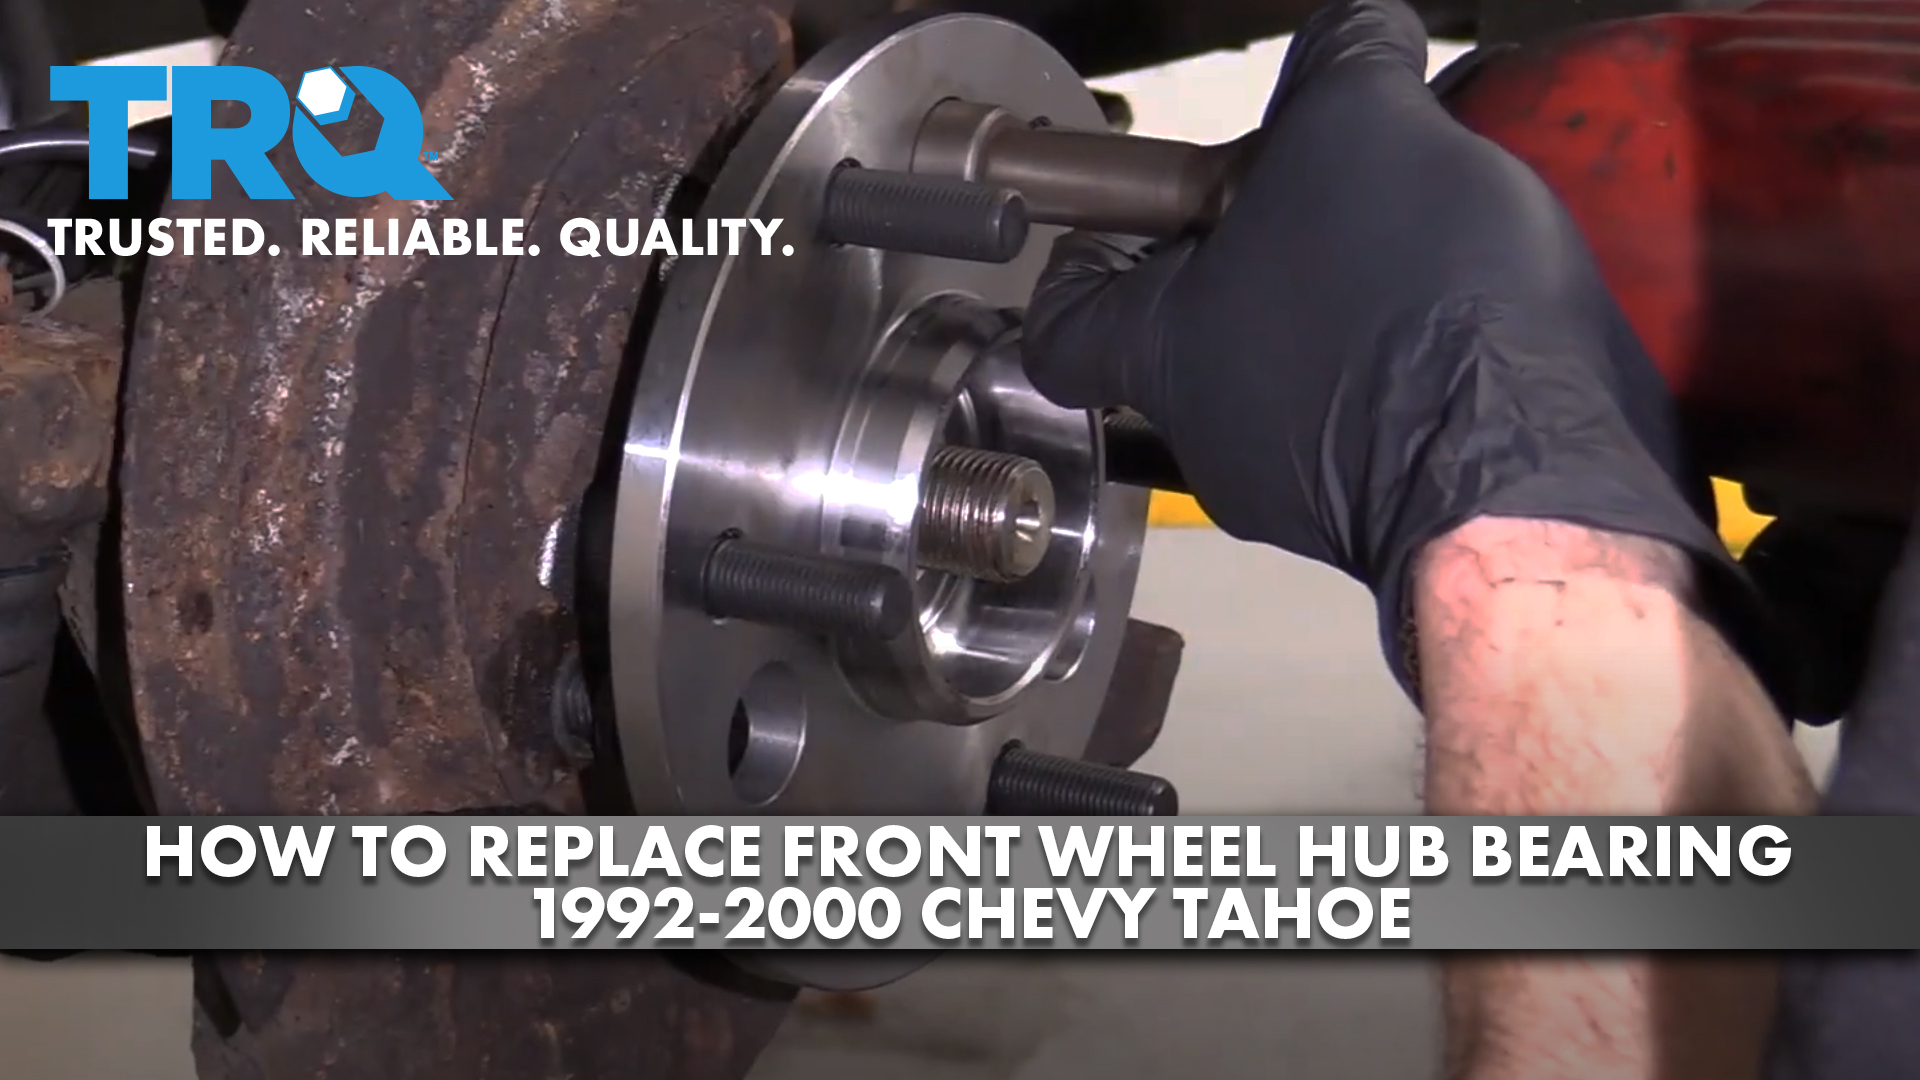
How to Replace Front Wheel Hub Bearing 1992-2000 Chevy Tahoe
Created on: 2021-01-20
This video shows you how to do the replacement yourself on your 1992-2000 Chevy Tahoe.
Tools needed
-
13mm Socket
Torque Wrench
Hammer
Rust Penetrant
Pry Bar
Jack Stands
Trim Tool Set
Brake Parts Cleaner
Pick
Socket Driver
Paper Towels
Copper Anti-Seize
Wheel Chocks
Center Punch
Ratchet
Floor Jack
Wire Brush
1/2 Inch Impact Gun
13mm Wrench
Okay, friends. One of the first things we need to do is safely raise and support the vehicle from under the frame. Let's get the center cover off of here. Remove all six of your lug nuts and remove the wheel. Now, let's remove our axle nut. Remove the washer. Let's spray this area with some penetrant. Let that soak, move along.
Now that the wheel's off of here, we have a nice clear view of this area. Let's continue on to pushing back our caliper piston. Typically, to do that, you can use a pry bar, come right in between this area right here, and then we're just gonna slowly and carefully pull on this like that. Next, we need to remove our caliper sliders. There's one slider, do the same to the other one. Go ahead and grab on to that caliper and give it a nice wiggle, see if we can get it to break free. Set this up here so it's not putting any tug on there. Remove the rotor. The next thing we wanna do is disconnect our ABS wire. You just pull on this tab. Can pop that off of there. It's always a good idea to make sure you inspect all of your connections, make sure you don't see any funny colors. Assuming you don't, set it aside. We're gonna remove this 13-millimeter headed bolt here. And then if you follow it along, you'll find a nut with a bolt coming from the bottom. Let's get them both out of there.
Now, I'm just gonna use a little fork tool or even a pry bar. Just get underneath this, pop it out of the frame. Let's get these off of here. Now, looking behind this hub area, you're gonna be able to see where there's three mounting bolts, one up top and then two that are down diagonal from there. If you were to spin your front hub, you're gonna notice that there's gonna be a couple holes. Go ahead and line those up with the bolts and then start removing them.
Now, the next thing we're gonna do is just take our axle nut, start it on the axle just a few threads and then we're gonna continue on to bonking on our wheel bearing trying to break it free from the knuckle itself.
Let's go ahead and pull this off of here. There it is, friends.
Now, let's just go ahead and clean up the area. Get any grease out of here and, of course, clean up the mating area so it's nice and smooth. All right. Now, let's just clean up this entire area, paying special attention to the bolt holes as well. All right. Before we can go ahead and put in our brand new bearing, we wanna of course make sure that we clean up the threads on our mounting bolts. Let's do that now.
All right. Now, it's time to install our brand new wheel bearing. Let's go ahead and carefully slide it over the axle. We wanna make sure that the splines match up. And of course, we wanna make sure that the ABS wire is gonna be located in this general area right here and not over where the caliper is gonna be. Now, that's in there, let's go ahead and put our plate on it. That's gonna be a shield that's gonna protect the ABS wire. Now, we'll just go ahead and start in all three of our bolts. We'll snug them up and then we'll torque them to manufacturer specifications. Now, let's torque this to 133 foot-pounds. Now, let's secure our ABS wire. You're gonna notice you have little prongs, set those so they're facing down towards the control arm/ball joint. Take your bolt from the bottom to the top, start on that nut. Let's bring the other end all the way over here. Let's grab that ABS wire, connect it in. Let's go ahead and push this tab into the frame. Make sure it's nice and secure. Now, let's just go ahead and start snugging everything up.
Now, let's coat the cleaned area with some copper never-seize. Let's get that rotor on there. I'm just gonna start one of these lug nuts to hold the rotor from moving around. Now, let's carefully put our caliper over the rotor here. Now, we'll just start in both of our sliders and we'll torque them to 38 foot-pounds. Now, let's go ahead and put on the axle nut. We're gonna tighten this up by hand so it's nice and snug, and then we'll put on the wheel, torque everything down. Now, let's start on all of our lug nuts. Now, let's go ahead and torque this axle nut to 103 foot-pounds. Now, we're gonna go ahead and torque our lug nuts to 140 foot-pounds. Now that everything is torqued, let's continue on by putting on our center cover. Go ahead and snug up all of those plastic nuts.
Shop Products


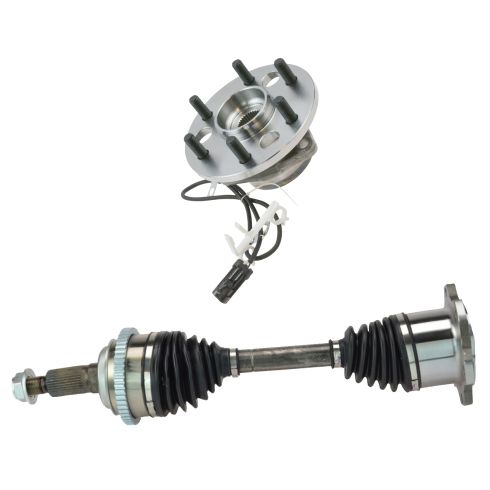
Chevrolet GMC Front 2 Piece Drivetrain Kit TRQ BHA52942
Part Details:
- Tapered Roller Bearing
- 2 Piece
- (1) Front CV Axle Assembly
- (1) Front Wheel Bearing & Hub Assembly

How to Replace Front Wheel Bearing 2000-06 Toyota Tundra
How to repair, install, fix, change or replace a worn out, vibrating or groaning wheel bearing hub on 00, 01, 02, 03, 04, 05, 06 Toyota Tundra
