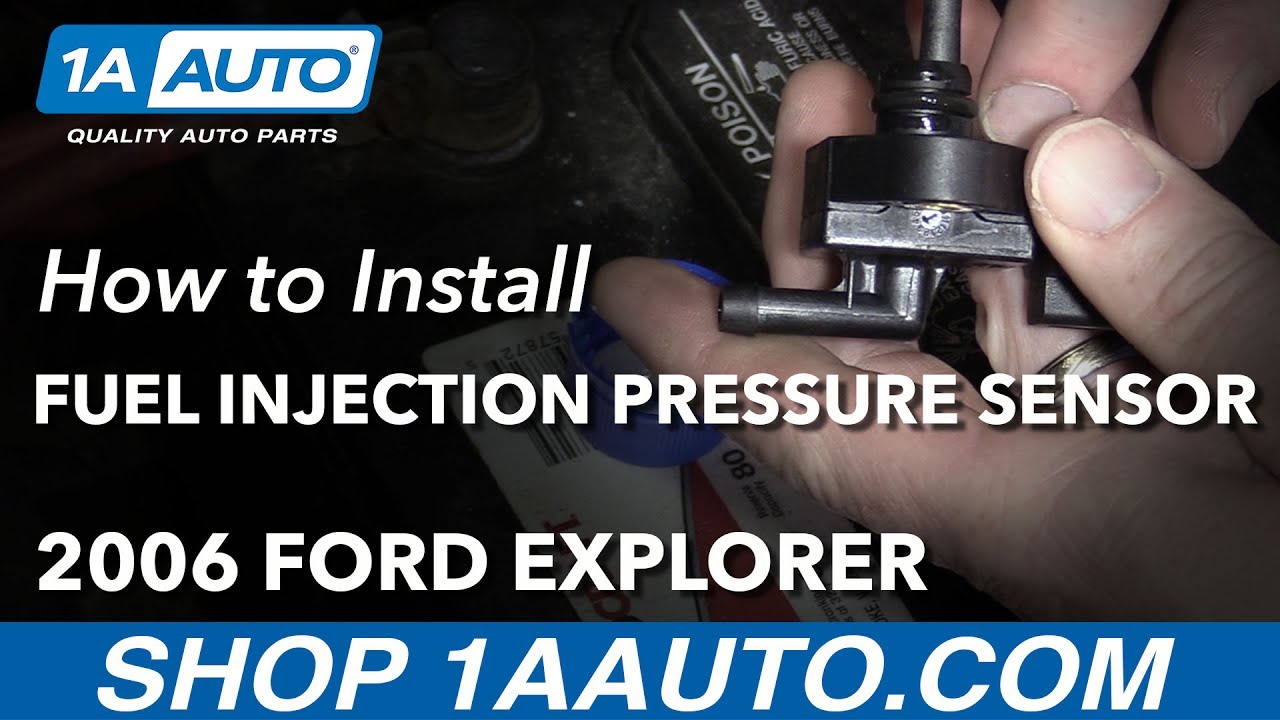
How to Replace Fuel Injection Pressure Sensor 2006-09 Ford Explorer
Created on: 2017-06-05
New Fuel Injection Pressure Sensor from 1AAuto.com How to repair, install, fix, change or replace a damaged, bent, or clogged fuel injector pressure sensor on 06, 07, 08, 09 Ford Explorer
-
step 1 :Disconnecting the Fuel Pump Fuse
- Run the engine
- Open the fuse box cover
- Pull out the 4th 30 amp fuse (fuel pump fuse)
- Let the engine die
-
step 2 :Disconnecting the Battery
- Loosen the 8mm nut on the negative battery cable
- Move the terminal out of the way
-
step 3 :Removing the Fuel Injector Pressure Sensor
- Twist off the vacuum hose
- Disconnect the wiring harness
- Remove the two 8mm bolts from the sensor
- Remove the sensor
-
step 4 :Installing the Fuel Injector Pressure Sensor
- Clean the mating surface
- Place a bit of gasoline around the sensor
- Insert the sensor into place
- Tighten the two 8mm bolts to the sensor
- Connect the wiring harness
- Twist on the vacuum hose
-
step 5 :Reconnecting the Fuel Pump Fuse
- Insert the fuse into its slot
- Replace the fuse cover
-
step 6 :Reconnecting the Battery
- Place the negative terminal on its post
- Tighten the 8mm bolt to the terminal
Tools needed
-
Socket Extensions
Paper Towels
8mm Socket
Ratchet
Engine Oil
Hi, I'm Mike from 1AAuto. We've been selling auto parts for over 30 years! We're dedicated to delivering quality auto parts, expert customer service, and fast and free shipping, all backed by our 100% satisfaction guarantee. We've created thousands of videos to help you install our parts with confidence. That saves you time and money, so visit us at 1AAuto.com, your trusted source for quality auto parts.
In this video, we're going to show you how to replace the fuel injection pressure sensor. This is a 2006 Ford Explorer with a 4.6-liter motor. Pretty much the same for any Fords from this era with this engine in it.
We hope you like this video. If you do, please click subscribe, check out all of our other videos for Explorers as well as other Fords and other years, and makes, and models. If you need the part in this video, click the link down in the description to 1AAuto.com. We want to be your source for all your parts needs.
Here are the items that you'll need for this repair.
With the hood open, you'll want to locate the fuse box on the driver's side right behind the battery. Pull up on this tab. When you have the engine running, you want to pull out this number four 30 amp fuse. I'm going to pull out once beforehand just to make sure it'll come out. That is the fuel pump fuse. You'll have the engine running, pull that out, and then the engine will die. That will relieve some of the pressure in the fuel line. With the engine running, pull out this fourth 30 amp fuse.
Loosen and disconnect your negative battery cable. It should be an 8 millimeter. This looks like about a 13 millimeter.
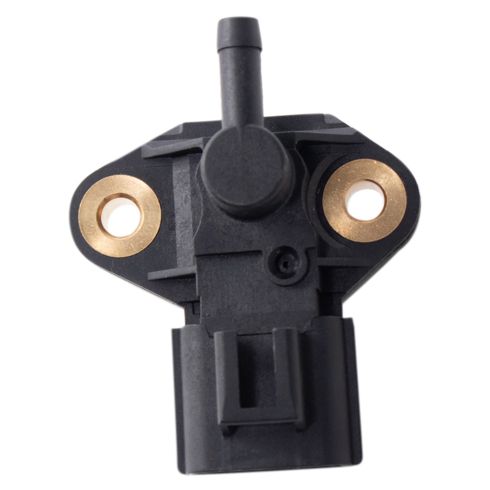
Your fuel injection pressure sensor's right here. There's two leads: electric and vacuum. Vacuum, twist, and pull. The electric tab right on top, push down and disconnect, and two 8 millimeter bolts hold it in place. Remove the bolts and twist on the sensor and pull up and out. This side is our old sensor from our 2006 Ford Explorer.
Here’s a new sensor from 1A Auto. Cosmetically, they have some slight differences, but everything's going to bolt in, fit, and function just like the original. The plugs are the same. The vacu-port is the same. I'm going to carefully clean the surface with some carburetor choke and throttle body cleaner. Spray it on the rag. Then basically wipe out from the middle. Make sure we don't get anything inside.
This cap from my motor oil, just take a little bit of residue from the motor oil. You don't want to put too much on here, just really, really, light coat of oil to make sure it goes together correctly. Then, push it down and in. Put your two bolts back in. By hand at first to make sure they go in correctly, and then tighten them up with your 8 millimeter socket ratchet and extension. Tighten them up evenly. Get one side seated down and seat down the other side. Once you get them seated down, tighten them about another 1/4 turn.
Reconnect your vacuum line, and reconnect your electrical lead. Make sure you hear a click when you put this in. Put your fuel pump breaker back in, or fuse back in. Put this back on.
Reconnect your battery. Turn your key on once or twice, just to let the fuel pump build pressure, and then start it up.
Thanks for watching. Visit us at 1AAuto.com for quality auto parts, fast and free shipping, and the best customer service in the industry.
Shop Products

How to Replace Fuel Pressure Regulator 2003-04 GMC Envoy XL
Replace the fuel pressure regulator in your 03-04 GMC Envoy. You can learn how by watching this video from 1A Auto.

