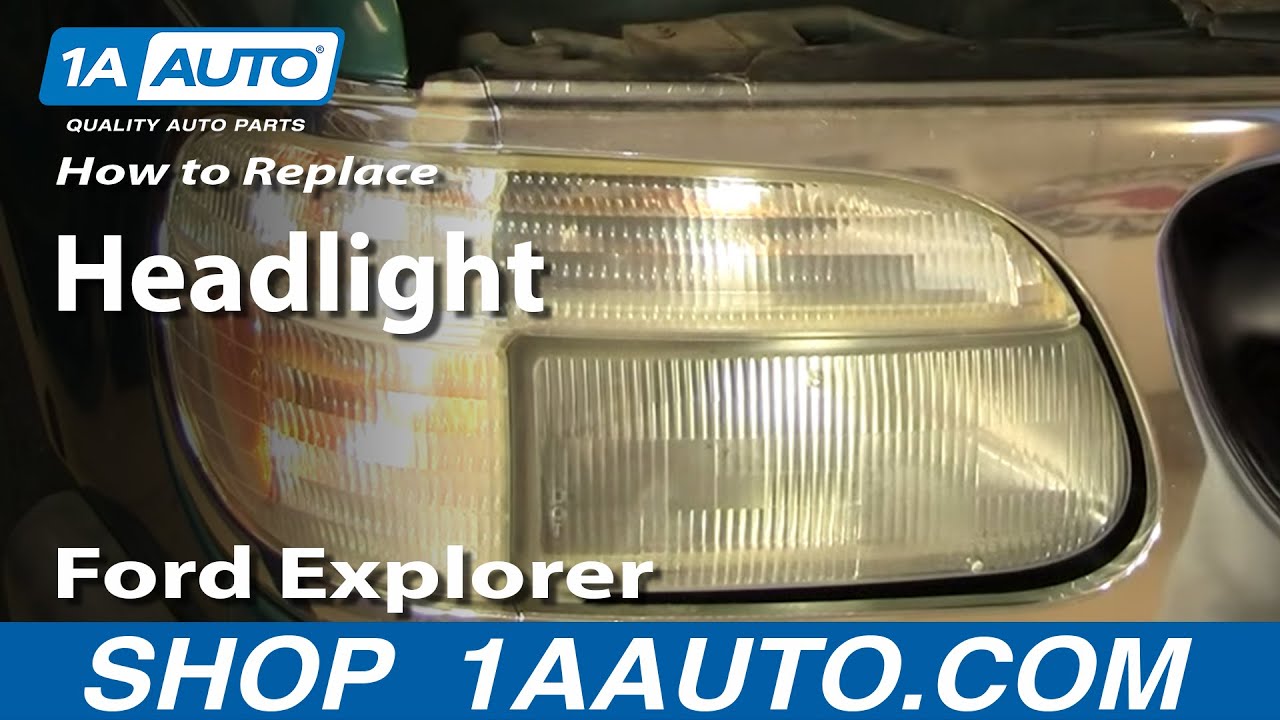
How to Replace Headlight 1995-2001 Ford Explorer
Created on: 2010-10-01
Check out this video to learn how to replace the headlight housing on your 95-01 Ford Explorer or 97 Mercury Mountaineer.
-
step 1 :Handling the Bulbs
- Note: DO NOT TOUCH the bulbs- the oil from your fingers will burn into the light and foul your bulb.
- Clean with rubbing alcohol and a soft cloth if the bulbs do get touched.
-
step 2 :Just the bulbs
- Open the door above the headlight assembly.
- Pull back the rubber ring around the bulb and twist and pull to remove the bulb.
- Unplug it from the harness.
- Replace and snug the rubber ring down onto the base of the bulb.
-
step 3 :Remove the headlight assembly
- Unscrew the two Phillips screws at the top of the headlight.
- Remove the parking light assembly and unplug the bulbs.
- Unclip the headlight assembly where the adjustors clip to the car with a flat blade screwdriver.
- Unplug the harness.
- Remove the adjustor clip from the car if it doesn't come out with the assembly.
-
step 4 :Install headlight assembly
- Adjust the adjustor bolts to match the old assembly.
- Plug the bulbs and harness into the new headlight assembly
- Clip the headlight assembly back into place.
- Plug the parking light bulbs into the parking light assembly.
- Line it up and screw in the two Phillips screws using your Phillips screwdriver.
Tools needed
-
Flat Blade Screwdriver
Phillips Head Screwdriver
Brought to you by 1AAuto.com your source for quality replacement parts and the best service on the internet.
Hi, I'm Mike Green. I'm one of the owners of 1A Auto. I want to help you save time and money repairing or maintaining your vehicle. I'm going to use my 20-plus years experience restoring and repairing cars and trucks like this to show you the correct way to install parts from 1AAuto.com. The right parts, installed correctly, that's going to save you time and money. Thank you and enjoy the video.
In this video, we'll be replacing the headlight on this Ford Explorer. This is a '98. It's the same procedure for a '95 to '01. We cover both just changing the bulb and replacing the whole assembly as well. Only tools you'll need are a Phillips screwdriver and a flat blade screwdriver.
On this Explorer, it is pretty easy. There's a little door that you push a little tab. Comes up like that. If you are just looking to service your light bulb, you can see that kind of round ring right in there. You just reach your hand down in, twist that ring till it loosens up and you can pull it back, and then you can pull your headlight out. Then you can pull your headlight up like that. Pull your headlight up, then you got to grab hold of this piece, thing here, or you can just use a screwdriver like that. Pull your bulb off. You want to transfer this ring onto your new bulb. Plug it back in. You're going to want to do your best not to touch the bulb as you're putting it down back in here. It's pretty tough. As you work it down and in, push it back against the air box. It does only go on a certain way, so you kind of twist it a little bit to get it to fit right. Work your ring back around. Twist it right on and lock in.
If you need to replace your whole assembly because it got broken, remove the two screws here and here. Pull up on the bottom and out. You can push out behind there too. Bring this out. Twist off this bulb. This one twists, and then this one over here you can pull the ears back. When I say the ears I mean these little things. Pull them back and off. Kind of reach right in here behind and work this one out by pushing down with your thumb or a screwdriver, right on the little teeth that latch it in right there. Once you have this one released, once you get the inside released, then there's a little tab right here. Since I got my big head of hair into the shot, here's a close-up of what you're actually doing. You're working a screwdriver in and releasing that clip. You can press down and release the top adjuster. Then you can pry out on this bottom one. I've already got it, so it came out a little easier. The light kind of comes up and out. I'm going to take off my let's use my screwdriver. Your headlight's out.
Now that you have the light out, with this last adjuster, the little tabs are on the side, so I'm basically just reaching in with a finger. I'm wedging my finger on the outside to push the tab in, and then I'm pushing the other tab on the other side. Here are the little tabs you're pushing in. Basically, you will wedge your finger on that side to get that one and then this one's pretty easy to press in. Then you can pull it out.
Here's our new light from 1A Auto, the old light. See, the new one's going to be nice and clear and bright. You can do this if you want to freshen up the front end of your car or if you had a light broken. What we're going to do, actually, is we're just going to kind of set it up by making these all equal. I'm going to measure the distance from here to here, make it the same there to there. That just gives me a good preliminary aim. It is the same thing with my other two adjusters. Just kind of make sure that everything is similar.
On this one you want to swing this adjustor up and around. Plug your harness in. You want to put this up and in. Stays right in this diagonal, this little triangle groove here. Make sure your light bulb for the parking light is up on top and that this clip here is getting onto that slot there, so we got to get over in there, like that. Then this clip has to slide into those grooves there. There's a bottom to this inside one as well. You're going to push it over. It slides in, that's sliding in. That's up. Then push it right in. Take the plastic off.
Compliment the new light with a new parking light assembly. We'll plug that in. Put that in and twist. Put this one in and twist. As you're going to put this in, make sure this connector is not turned too far up or too far down. It needs to be kind of straight because it goes into a little relief here. Make sure our little, there are little pins that line up with grommets in the grille back. Make sure they're lined up. Push in. Lots of new screws up here.
Interesting view. Look what that new set of lights did for that side. Then there's the old side. Kind of a before on the right and an after on the left.
We hope this helps you out. Brought to you by www.1AAuto.com, your source for quality replacement parts and the best service on the internet. Please feel free to call us toll-free, 888-844-3393. We're the company that's here for you on the internet and in person.
Shop Products


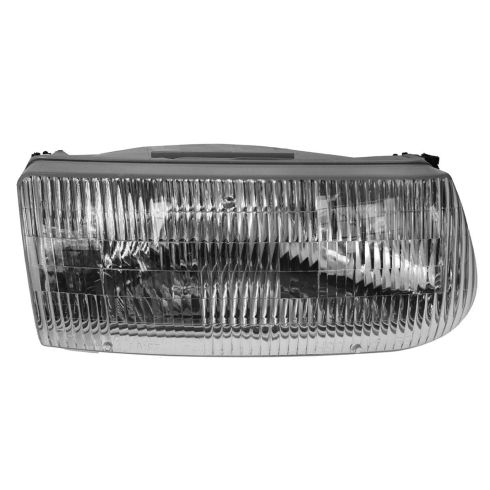
Ford Explorer Mercury Mountaineer Passenger Side Headlight Assembly DIY Solutions LHT01322
Part Details:
- Features and Benefits
- 9007 High / Low Beam
- PC (Polycarbonate)

How to Replace Headlights 2007-14 Chevy Suburban 1500
Watch this video to learn how to replace and service the headlight assembly and bulbs on your 07-14 Chevy Suburban 1500.
