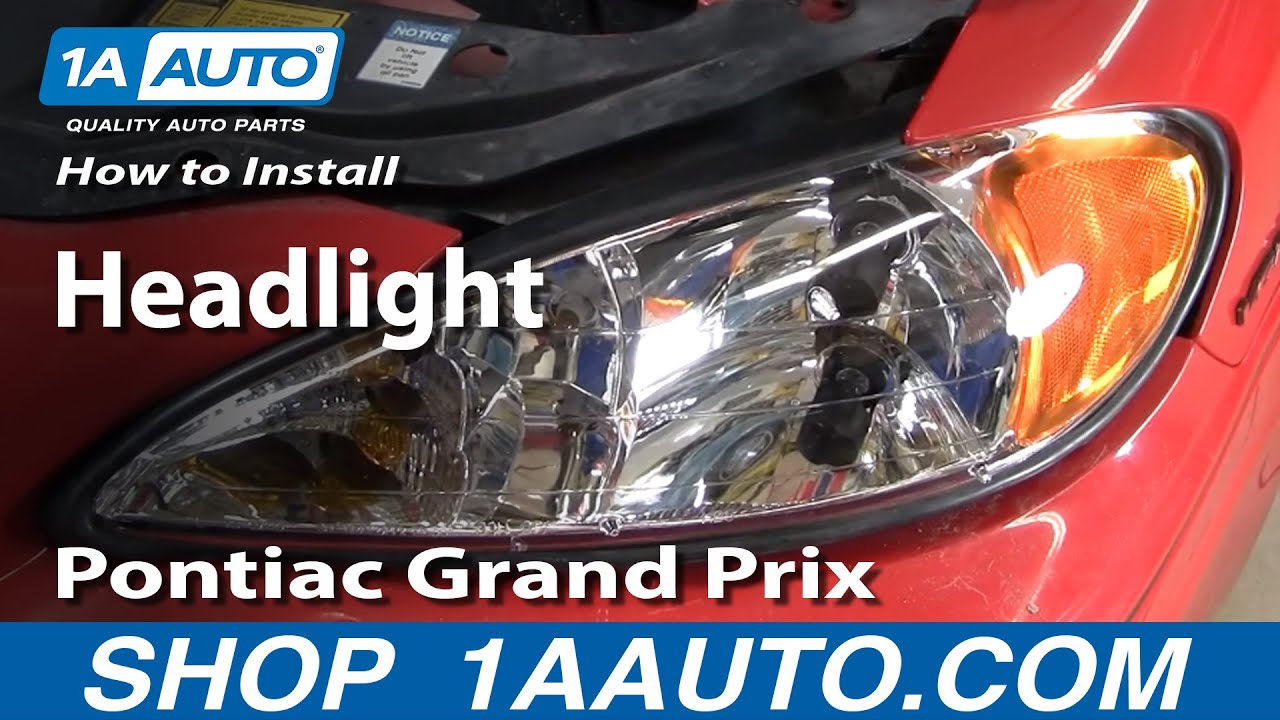
How to Replace Headlight 1999-2005 Pontiac Grand Am
Created on: 2010-03-02
Watch this video to learn how to replace a cloudy or cracked headlight or change a burnt out bulb. The experts at 1A Auto teach you how to replace the headlights on your 99-06 Pontiac Grand Am.
-
step 1 :Remove headlight
- Pull up the two plastic clips on either side of the headlight.
- Lift up the plastic cover.
- Use your pliers to pull up on the two tabs.
- Pull the headlight forward and out.
- Disconnect the bulbs and wiring.
-
step 2 :Aim the lights
- Measure the adjustor bolts on the old light and adjust the new ones to match.
- Transfer the old wiring clip onto the new light.
-
step 3 :Install headlight
- Note the peg holes in the car that line up with the adjustor pegs.
- Plug in all the wiring and bulbs.
- Line everything up and put the light in.
- Replace the tabs and clip the cover back on.
Tools needed
-
Flat Blade Screwdriver
Phillips Head Screwdriver
Slip-Joint Pliers
Brought to you by www.1AAuto.com-- your source for quality replacement parts and the best service on the Internet.
Hi, I'm Mike Green. I'm one of the owners of 1A auto. I want to help you save time and money repairing and maintaining your vehicle. I'm going to use my 20+ years' experience restoring and repairing cars and trucks like this to show you the correct way to install parts from 1AAuto.com. The right parts installed correctly, that's going to save you time and money. Thank you and enjoy the video.
In this video we'll be replacing a headlight on this '99 Pontiac Grand Am, the same as any '99 . '06 Grand Am. It is a fairly simple procedure. The tools you'll need are a flat blade screwdriver, pliers, and a Phillips screwdriver. Now maybe you want to replace your headlight because it got broken or damaged, or maybe you want to give your Grand Am a little facelift. You can see what I mean by there's kind of a half and half shot with a new headlight on the driver's side. As we pan over and see the whole thing you can see that replacing your headlights can give a pretty good facelift to your car that makes the front of this car look just about new actually.
Removal of the headlight is actually pretty easy. There are clips on this plastic trim piece here. You want to pull up the middle of the clip and then you can pull the clip itself out. This clip here you want to undo as well. Move this tray here. This comes out from under there. Underneath here there are two tabs; one here and one right down here. I'm going to reach in with my pliers and pull up on those tabs. You can kind of shake them back and forth a little bit to get them. You can pull them back some too. They have a little walking tooth here so you pull back on them and then up. The inner one can come out. The outer one just stays in there. It could take some force to pull your light free. Make sure this outer one is up. We should be able to see here- Then you can disconnect your signal. You just pull on the headlight and twist here. You want to disconnect this clip. I just get my screwdriver in there like that and pull it out, and there's your headlight.
What we want to do is kind of preliminarily aim it. What we'll do is we'll measure each adjuster. From there to there I got just about 5/8 of an inch and I have adjusted this one to be the same. You got to make sure you measure from the same point; 5/8 of an inch and 5/8 of an inch. Down here you can see I've got about an inch and on my new one I've adjusted it out to about an inch. Then the same thing with this one here, I measured it out.
These are the adjusters and you just use a screwdriver to turn them in and out. It is the same here. Move the screwdriver in and out. This one here- imagine this is on the car. This is how you would adjust it. You go right underneath the headlight and then if you want to move it you basically hold on to this plastic piece and then turn your screwdriver to either make it shorter or smaller.
Once you have had that preliminary adjusted the other thing I like to do is take the old clip off, and you should just be able to use a pair of pliers. Then put it into the new one. It's always good to use those clips just because they keep the wiring harness where they wanted it in the factory. The last piece is your new headlight. You'll want to align these things up. This one you want the screws straight up, adjusting the screw pretty much straight up. Then on this you want this aligned pretty straight up.
We're getting ready to put the light in. Let's just take a look at all the square peg round holes. Here's your lower adjuster. You can see it's kind of a square block with two ridges. You can see right here that's where that actually goes. So it's made to line up in there. Same thing with this; this is your lower one. I got it upside down. It's round shaped with big long ridges. That's designed to go into this slot here. Then your upper one again is another block with the ridges on it. It goes up into this one. You can see they're all designed so that it can only go in a specific way. Basically, when you put the light up in there you're going to want to do the side first, get it in, and then do this side because you can reach in from the top and side and move these around just a little bit to get it in. That's where you want to make sure that you set it up pretty much like the light you took out so it will go in there easily.
Now we're going to put the light back in. I like to start by making sure this gasket didn't fall off. Put that in and lock it. I like to start from the inside out. Put that in and lock it. Connect the headlight. Then connect the parking light, side marker light I guess. Then I'm going to put the wiring harness into the little grommet we switched over. It's all set to go in. Let's start by getting this one in. You have to reach in there just a little bit to guide it. Before you push it too far, I'm just making sure that I get this gasket kind of right. Then I'm going to, with my thumb, just hold it so doesn't slide out of there. Now I can see all these from up here and making sure that they're going where I need them to go. That bottom one is in. My top one I can reach in here a little bit and it's in. Then again, just making sure this gasket is going where it should go.
Before I push too far I've got to lift up, up here, got a lift up on that to make sure that the light can go through. Now let this slide out, but it should go back in. It went back in pretty good. I'm going to put this in. It looks like I'm in down here. I've got that in. Then this one, I'm just going to push a little more. To make sure I'm just pushing in and jiggling the metal as well. It just went down in. You might need to grab on with your pliers and push down, but I managed to get it in. It's all locked.
Now to just finish up, tuck that down in. The smaller clip goes on. Push the pin down to lock it. Then the larger pin over here; push the pin down and lock it. Then test your headlights, make sure all of the signals and side markers work. Then you're all set. I hope this helps you out.
Brought to you by www.1AAuto.com-- your source for quality replacement parts and the best service on the Internet. Feel free to call us toll-free 888-844-3393. The company that's here for you on the Internet and in person.
Shop Products


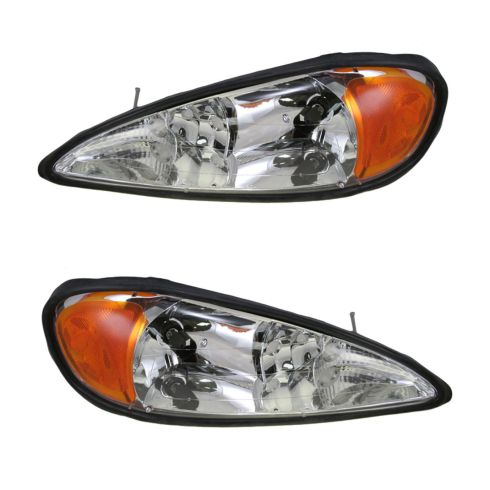
1999-05 Pontiac Grand Am Driver & Passenger Side 2 Piece Headlight Set DIY Solutions LHT03077
Part Details:
- 2 Piece
- (1) Passenger Side Headlight Assembly
- (1) Driver Side Headlight Assembly

How to Replace Headlight 2001-05 Chrysler PT Cruiser
Watch this video for help with replacing a headlight and headlight bulb in a 01-05 Chrysler PT Cruiser.
