How to Replace Headlight 2001-03 Honda Civic
Created on: 2012-07-13
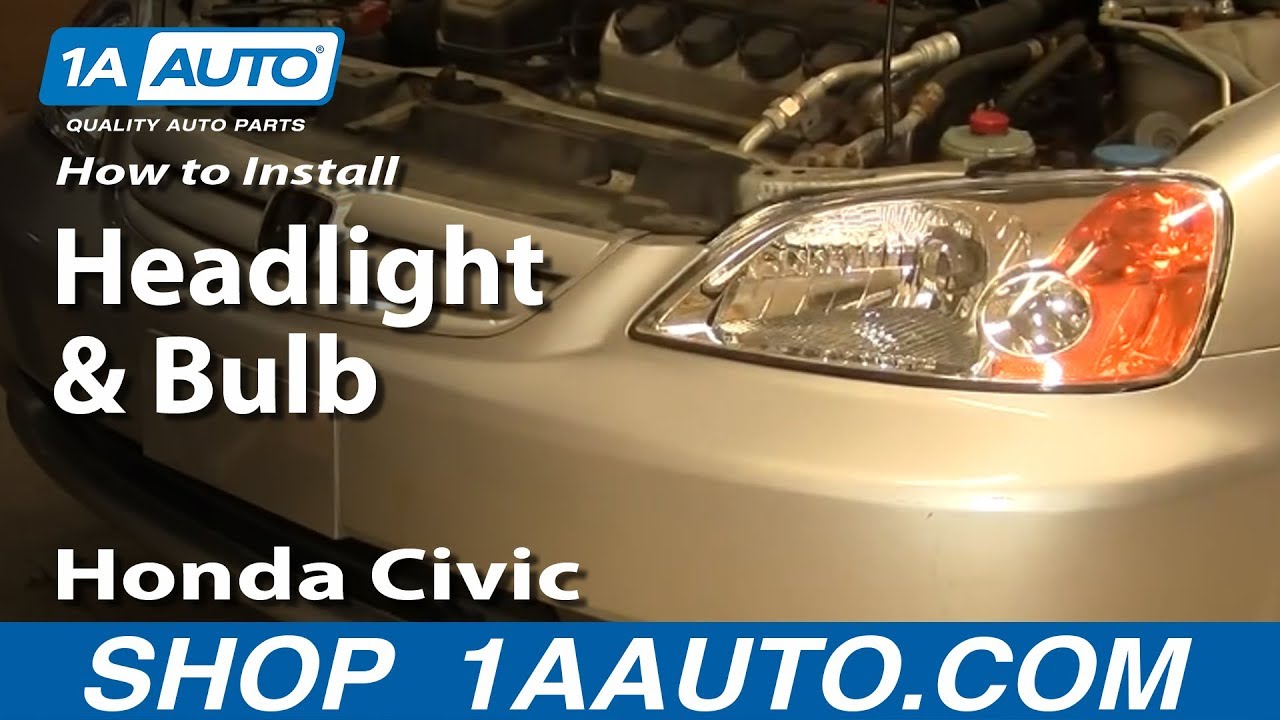
Watch this video to learn how to replace and service the headlight assembly and bulbs on your 01-03 Honda Civic.
-
step 1 :To replace just the headlight bulbs
- Pop the hood and secure it.
- Reach behind the headlight assembly.
- Pull aside the rubber boot and unclip the retaining wire.
- Remove and replace the bulb.
- Anchor it with the retaining wire and seal it in with the rubber boot.
-
step 2 :Remove the front bumper cover
- Remove the pushclips on the top and bottom of the bumper cover
- Unbolt the 8mm bolts under each wheel well with your ratchet and socket.
- Pull off the bumper and set aside.
-
step 3 :Remove the headlight assembly
- Unbolt the three 10mm bolts
- Pull out the headlight assembly and unplug the wiring harness and bulbs.
-
step 4 :Install the new headlight assembly
- Plug in the bulbs and wiring
- Bolt the headlight assembly into place
- Clip the bumper cover back on and bolt in the two 8mm bolts.
Tools needed
-
Socket Extensions
Flat Blade Screwdriver
Phillips Head Screwdriver
8mm Socket
10mm Socket
Slip-Joint Pliers
Ratchet
Brought to you by 1AAuto.com. Your source for quality replacement parts and the best service on the internet. Hi, I'm Mike from 1A Auto. I hope this how-to video helps you out and next time you need parts for your vehicle, think of 1AAuto.com. Thanks.
In this video we're going to show you how to service the headlights on this 2003 Honda Civic. We're going to show you both just changing the bulbs, if that's what you need to do, and we're also going to show you changing the entire assembly itself. The reason we're going to do that, here's a look at our car before a new set of headlights from 1A Auto, and here's a look at a car after a new set of headlights from 1A Auto. Again, here is before. The headlights are dimmed and cloudy. There are companies that offer polishing for the headlights and those work for about a month and then you have to basically re-polish them all the time because that's really nothing more than a coat of wax. New set of headlights, though, from 1A Auto go from this, to looking like this. It takes miles off the front of your car.
The tools you will need for this project are a flat blade screwdriver, a Phillips screwdriver, 8 and 10 mm sockets with a ratchet extension and pliers and hammer. Pliers and a hammer are maybe optional. To replace the entire headlight assembly you do have to remove the front bumper cover and the pliers and hammer are basically if you have some pins or clips that don't come out. Sometimes they're a little stubborn.
We're going to change a bulb. I can show you on the passenger side. Right back in here is your connector. Pull that right off and then you pull a boot off here. You can see the back of your headlight there. You will feel in here there's a little ring. You push it in towards the front of the car and then up. Then that retainer comes to the side. Pull your bulb out. This is in good shape so put a new bulb in. Just make sure it gets seated in there correctly. Take your retainer. Push it down. Push it towards the front and then lock it on. Now take your rubber boot, put it around the headlight, push it in place all the way around the perimeter. Then, take your connection and push it on.
Here's just another view of that out of the car. Pull the boot off. There's the retainer ring. Push it in and up. The headlight bulb comes out. Back in. Push the retainer ring in and lock it and then put your boot back on. Start in the front remove four clips and what you do is just pry up on a center clip here and then do it from a couple different angles. Once you get that up the center pulls out and then the clip pulls out. We'll just speed up the film here as I just take those last two clips out.
Up underneath it's the same thing. My vehicle does have a couple of Phillips screws here, but I don't think these are original so, they could either be Phillips screws or some other type of fastener. There is one on each side and then there are clips just like the top side. These are usually a little more difficult because they usually have all kinds of sand lodged in them. I'm actually just going to speed it up here.
Like I said, they are the same thing you do on the top. You pull the center of the clip out and then pull the clip itself out, but, again, on the bottom they get all kinds of sand lodged into them. You will see me fighting with them and even use a hammer. Basically, what you can do is once you will probably get 2 or 3 of them out but the other ones you might break the edges of the center off. If you end up breaking them off, then you can use a hammer and a screwdriver and actually just push the center right through. You won't be able to reuse the clip, but at least you can get it out. Generally, if you have two or three clips for the bottom, you can put them back together. Obviously, it's always best to use the number of clips that the factory provided and you can actually buy, usually a hardware store has these clips in stock. You just have to look through their hardware and they have a similar type of clip. They are usually only a few cents each. On each side there's an 8 mm bolt right up here. Pull through the front wheel. Take and pull out on the side. Other side. Out from the headlight and the whole thing comes right out.
To remove your headlight there are three 10 mm bolts you will have to remove. One here, one on the side, actually right here, and then one under - I'm going to go this way - there's a bolt right up there. I'm going to fast forward here as I take that first bolt off. These bolts kind of get rusty and they make break on you. If one of them breaks it's not a big deal, if you break more than one then your headlight's probably not going to stay in there well enough. Here's a quick tip if your bolt gets stuck in the socket. You just put a screwdriver right up through the other side of the socket, drop it and the bolt will come out.
I'm going to fast forward here some more as I remove the other bolt on the top and then the bold from the side and then the bolt up underneath and you will see I spend pretty much most of my time there. It's a little difficult to get to. I usually just use the ratchet handle and a socket and get it up under there and basically just kind of crank away on it. There's not a lot of room to move the handle. You just have to kind of go at it and be patient.
Now, grab your light and lift it up in the front and pull it out some. Then, reach in behind, disconnect the man headlight connection and then turn counter-clockwise the other two connectors and pull them out. The light comes right out. The headlight comes right off. Pull some of the plastic back here. Put it down into place. Put your marker light back in. Push it in. Twist it clockwise to lock. Then the signal light up here. Clockwise to lock. Connect the assembly. Then, slide it into place. Now I just start in the couple bolts up top then the other bolt down on the bottom on the outside. Make sure you put that bumper cover bracket up into the correct position.
Like getting it out, the most challenging one is the one underneath to get back in. I basically just kind of feed it in there with my fingers very gingerly and get it started and then, just like taking it out, I get the wrench onto it and just patiently work it back in. Just like before, there's not a lot of room to turn the handle. You just have to do it in small spurts. Once you get it tight, then tighten up the other three bolts. You just want to make sure you feed it underneath the headlights. Got a couple of my clips here. Go underneath your handle there. I'm just going to put this up. Put one of these clips in place just to kind of hold it. Push the inner fenders inside the fascia. Put these two clips back on. Get underneath. Push this up here and here.
I'm just going to kind of fast forward here as I put three of the clips back in the bottom and also reinstall the two Phillips screws that hold the cover to the inner fenders at the corners. Keep that speed momentum going as I reinstall the two 8 mm bolts that hold each corner of the bumper cover up over the front wheels.
There it is all back together and we did add a new set of headlights which really makes it pop.
We hope this helps you out. Brought to you by www.1AAuto.com- Your source for quality replacement parts, and the best service on the internet. Please feel to call us toll-free 888-844-3393. We're the company that's here for you on the internet and in person.
Shop Products

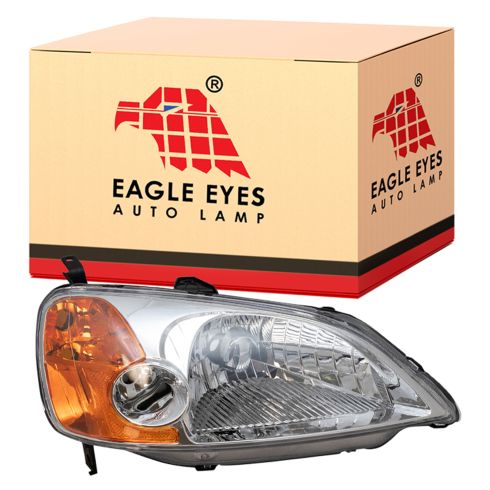
2001-03 Honda Civic Sedan Passenger Side Headlight Assembly Eagle Eyes HD301-A001R
Part Details:
- Features and Benefits
- PC (Polycarbonate)

How to Replace Headlight and Bulb 1997-99 Cadillac Deville
Watch this video to learn how to replace and service the headlight assembly and bulbs on your 97-99 Cadillac Deville.


