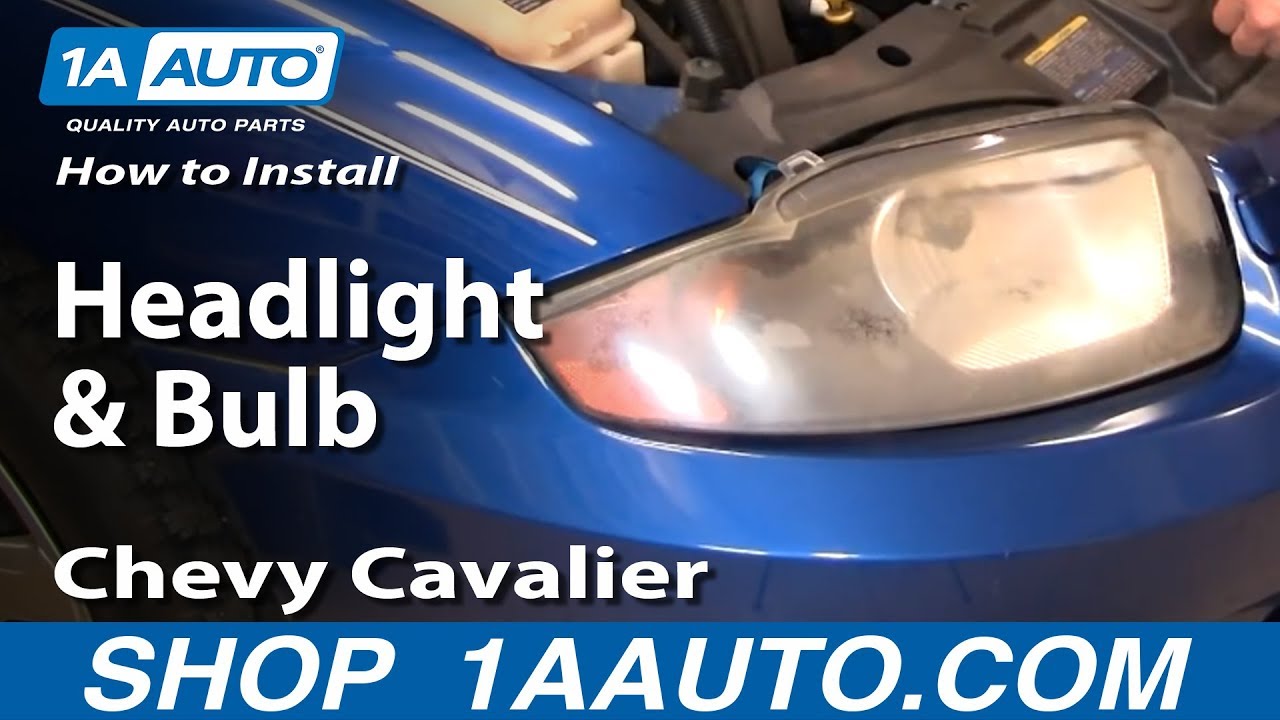
How to Replace Headlight 2003-05 Chevy Cavalier
Created on: 2012-09-28
Watch this video to learn how to replace and service the headlight assembly and bulbs on your 03-05 Chevy Cavalier.
-
step 1 :Removing the Headlight from the Body
- Pry up the six clips in the front panel.
- Remove the panel.
- Remove the two 13 mm bolts from the headlight.
- Pull the light up and out.
- Disconnect the top wire harness.
-
step 2 :Changing Smaller Bulbs
- Push the tab and turn the bulb counter clockwise.
- Pull the bulb straight out. And place a new bulb in its place. (If replacing the smaller bulbs)
- Twist back into place
-
step 3 :Changing Headlight Bulb
- Twist cap counter clock wise.
- Twist ring counter clock wise and pull the light out.
- Pull to disconnect bulb, and push in a new bulb.
- Replace ring and cap.
-
step 4 :Reinstalling New Headlight Assembly
- Twist smaller bulbs in.
- Reconnect harness.
- Put the headlight back into place.
- Replace the bolts.
- Tuck panel back into place and push clips in. (The center two are the larger clips)
Tools needed
-
13mm Socket
Flat Blade Screwdriver
Brought to you by 1AAuto.com your source for quality replacement parts and the best service on the internet.
Hi, I'm Mike from 1A Auto. I hope this helpful video helps you out. The next time you need parts for your vehicle, think of 1AAuto.com. In this video, we're going to show you how to service the headlights on this 2003 Chevy Cavalier. It's a pretty easy procedure. We're going to show you both if you just need to change bulb as well as if you need to replace the whole assembly because yours are clouded or faded or even broken. The only tools you'll need are a flat blade screwdriver and a 13 mm wrench or a 13 mm socket with a ratchet.
Okay, starting with a flat blade screwdriver, there's a little clip that you actually can pry up in the center and then pull them up and out. Okay, there's one, two, three, four, five, six of them. Speed up the tape here as we remove the rest of those clips. Okay, let's remove those. Let put this here for now. There is two 13 mm bolts, you can either user a socket and ratchet like this or just a wrench will work as well. Again, we'll speed it up here as we remove the bolts that hold the headlight to the radiator support. Okay, pull the light up and out. Right about here, this will disconnect.
If you want to change one of these bulbs here, there's a tab here, push the tab and twist it counterclockwise. The bolt just pulls straight out. Push it back in. Same thing with the smaller one here. If you change the headlight, you'll have to grab this here, twist it counterclockwise and then there's a ring here, twist it counterclockwise. The light pulls out. You disconnect this again just like up top. Ok then reconnect, put the light back in. Put your lock ring back on. There is a seal here which will seal this right in here. Make sure it's gone back on.
This one is the original light here and a new light from 1A Auto, a little bit more detail and clear. Remove all the plastic here. Put it down in, reconnect this bulb and twist to lock it bringing this bulb right in. Bring this bulb in and twist to lock, reconnect the harness here. There is a little clip here that goes back into a square hole back in here. You'll want to put the lights down and in and just peak right down and see that clip. After you start the bolts in, then just use your socket and ratchet and tighten them down and you'll be all set. Replace both sides if you want nice, clear headlights to see in the night and obviously if you have a broken one, a new headlight from 1A Auto is going to help you out.
Okay. I'll put this back in, tuck the front down and in. Okay. Tuck each side and into the fender and the clips push down and then lock. The two here at the center are the larger, with kind of the larger washers. Just fast forward here as we finish up putting that panel on and putting all the clips in.
We hope this helps you out. Brought to you by www.1AAuto.com your source for quality replacement parts and the best service on the internet. Please feel free to call us toll-free, 888-844-3393. We're the company that serves you in the internet and in person.
Shop Products


2003-05 Chevrolet Cavalier Driver & Passenger Side 2 Piece Headlight Set TRQ HLA74261
Part Details:
- (1) Passenger Side Headlight
- (1) Driver Side Headlight
- 2 Piece
- Standard Replacement
- PC (Polycarbonate)
- Assembly

How to Replace Headlight 1998-1999 Toyota Avalon
Watch this video to learn how to replace and service the headlight assembly and bulbs on your 98-99 Toyota Avalon.
