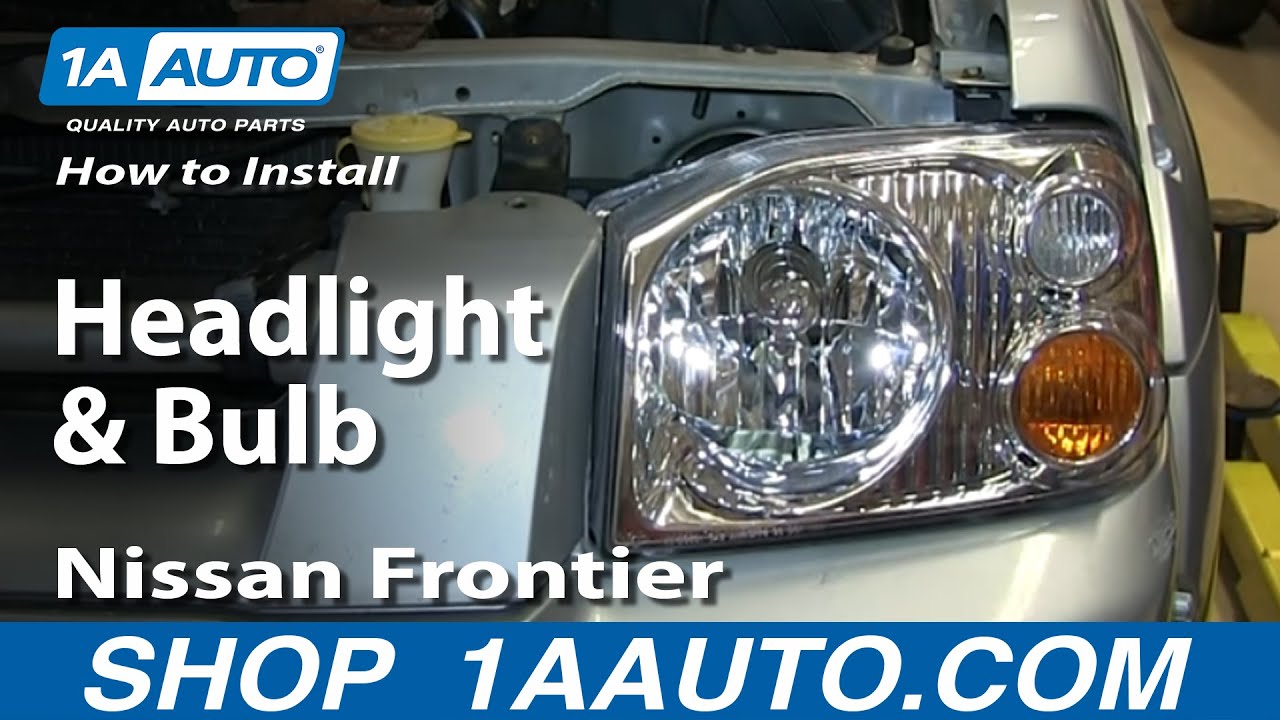
How to Replace Headlight and Bulb 2001-04 Nissan Frontier
Created on: 2013-10-07
Watch this video to learn how to replace and service the headlight assembly and bulbs on your 01-04 Nissan Frontier.
-
step 1 :Removing the Headlight
- Remove the two 10mm bolts from the headlight
- Pull the headlight forward and out
- Disconnect the headlight wiring harnesses
-
step 2 :Servicing the Headlight Bulbs
- Twist the ring off the headlight bulb socket
- Pull out the headlight bulb socket
- Push in the new headlight bulb socket
- Twist on the ring
- Twist the smaller bulb sockets out of the light
- Pull the bulbs out of the sockets
- Push on the new bulbs
- Twist the sockets into the light
-
step 3 :Installing the Headlight
- Twist the bulb sockets out of the old headlight
- Unclip the wiring harnesses from the old headlight
- Twist the bulb sockets into the new headlight
- Clip the wiring harnesses to the new headlight
- Push the headlight into place
- Insert the two 10mm bolts into the headlight
Tools needed
-
Socket Extensions
10mm Socket
Ratchet
Swivel
Brought to you by 1AAuto.com, your source for quality replacement parts and the best service on the Internet.
Hi, I'm Mike from 1A Auto. I hope this how-to video helps you out, and next time you need parts for your vehicle, think of 1AAuto.com. Thanks.
In this video we're going to show you how to how to replace the headlights. We're going to show you; we're going to show you changing the bulbs, as well as well as if you wanted to replace the whole assembly. At 1AAuto.com, we sell very nice replacements. The only tools you'll need are a 10mm socket with a ratchet and extension, and you'll also need a swiveling extension and you'll see how to use that later.
Here are the new headlights from 1A Auto, so you go. Here's our truck. In the before, you can see the lights are kind of cloudy and faded. It takes away your vision at night as well. With new headlights from 1A Auto, that's all we changed; it makes it nice and bright and takes a couple of years, a few miles off the front. Again the old headlights are cloudy, milky, sandblasted; the new headlights are nice and clear.
Now to start you want to remove these two 10mm bolts. There's one here and then there's one under this bracket here, which on this vehicle is actually missing. But you can see that's what it looks like. For the bolt under the bracket you're going to want to use a swivel bit like that and then put your socket onto it. Then you would just reach it down in there. Once the bolts are removed you can pull the light out and away from the vehicle. On the back of it, there are two harnesses. You want to push the tab on the tops of each of them and pull them out.
If you're just looking to replace the bulb you turn the ring on this light here; pull that off. Then the socket will pull right out and then you can push it back into place and twist that ring back on. For the smaller bulb down here you want to twist the socket and pull it right out. Then the bulb pulls straight out and you would just push your new one right back in and then it twists right back into place. Now for these two, these are the same way to do each of these. You twist them, the bulb pulls out, push the new one in, and twist it back in.
Here, we have the old part on the left and the new part from 1A Auto on the right and there is a clear difference. The only you do have to do is take off this harness from your old light, and all you've got to do is pull it out of each of those clips and twist the sockets out. Now you want to take your new headlight and put the sockets; twist them in. You want to run that harness through each of those clips. Now, you want to take your headlight; plug those two harnesses back into the back of it and push it in from the side. You want to make sure that you have it lined up. Then push it back into place. We'll fast forward as he replaces that one 10mm bolt up top there. Now we did actually find a 10mm bolt to replace the missing one so we can show you how this swiveling head works.
Just one more time to try and sell a new set of headlights from 1A Auto: with the old ones and then here's the picture with the nice clear ones from 1A Auto.
We hope this video helps you out. Brought to you by www.1AAuto.com, your source for quality replacement parts and the best service on the Internet. Please feel free to call us toll-free, 888-844-3393. We're the company that's here for you on the Internet and in person.
Shop Products


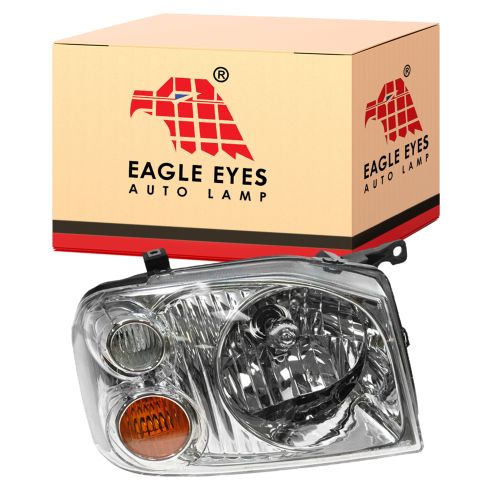
2001-04 Nissan Frontier XE Passenger Side Headlight Assembly Eagle Eyes DS501-B001R
Part Details:
- Features and Benefits
- 9007 High / Low Beam
- PC (Polycarbonate)

How To Install Replace Headlight Pontiac Sunfire 1995-2002 1A Auto
Watch this video to learn how to replace and service the headlight assembly and bulbs on your 95-02 Pontiac Sunfire.
