How to Replace Headlight Assembly 2002-04 Jeep Liberty
Created on: 2014-04-18
Watch this video to learn how to replace and service the headlight assembly and bulbs on your 02-04 Jeep Liberty.
-
step 1 :Removing the Headlight
- Remove the four T20 Torx bolts from the top of the grille
- Pull the grille up and out
- Remove the two T20 bolts from the headlight bracket
- Pull the headlight out
- Disconnect the headlight wiring harness with a flat blade screwdriver
-
step 2 :Servicing the Bulbs
- Twist the bulb socket counterclockwise out of the light
- Pull the bulb off of the socket
- Push on the new bulb
- Twist the bulb clockwise into the light
-
step 3 :Installing the New Headlight
- Reconnect the wiring harness to the headlight
- Line up the bolt holes on the headlight bracket to the bolt holes on the vehicle
- Replace the two T20 bolts into the headlight bracket
- Line up the lower four tabs with the four holes near the bumper
- Tilt the grille in and lean it back
- Push in the sides over the lights
- Replace the four T20 Torx bolts
Tools needed
-
Flat Blade Screwdriver
T20 Driver
Brought to you by 1AAuto.com, your source for quality replacement parts and the best service on the Internet.
Hi, I'm Don from 1A Auto. I hope this how-to video helps you out, and the next time you need a part for your vehicle, think of 1AAuto.com. Thanks.
In this video, we're going to show you how to service the bulbs as well as replace the entire headlight assembly on this 2004 Jeep Liberty. We show you on the passenger side, but the driver side is the same procedure. The items you'll need for this include new headlights from 1AAuto.com, a T20 Torx driver, and a flat blade screwdriver.
Along the top of your grill, you'll see these four T20 Torx bolts. Just go ahead and remove those. Then pull your grill forward, up, and off. Now, remove these two T20 Torx bolts, and we will just fast forward as Don does that. Pull the light forward, pry up on this tab, and pull the harness free.
Now, to service your bulb, you just twist this ring counterclockwise and pull the bulb out. Push your new bulb in and twist this ring clockwise to lock it. On the left is the old headlight; on the right is the new one from 1A Auto. You can see they're identical, and they're going to fit exactly the same.
Connect your harness to your new headlight. Then line up this tab, push it back into here, and then replace those two T20 Torx bolts. Place these four hooks into these four slots, then angle the grill back, and then just press in either side, replace those four T20 Torx bolts, and we'll just fast-forward as Don does this. Then, you're all set.
We hope this video helps you out. Brought to you by www.1AAuto.com, your source for quality replacement parts and the best service on the Internet. Please feel free to call us toll-free, 888-844-3393. We're the company that's here for you on the Internet and in person.
Shop Products


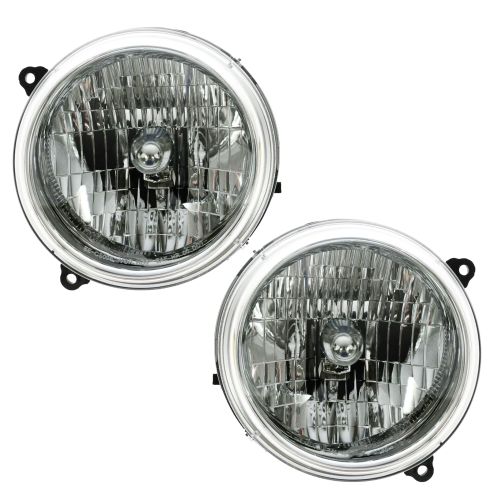
2002-04 Jeep Liberty Driver & Passenger Side 2 Piece Headlight Set DIY Solutions LHT03259
Part Details:
- 2 Piece
- (1) Passenger Side Headlight Assembly
- (1) Driver Side Headlight Assembly

How to Replace Headlight 1998-1999 Toyota Avalon
Watch this video to learn how to replace and service the headlight assembly and bulbs on your 98-99 Toyota Avalon.
