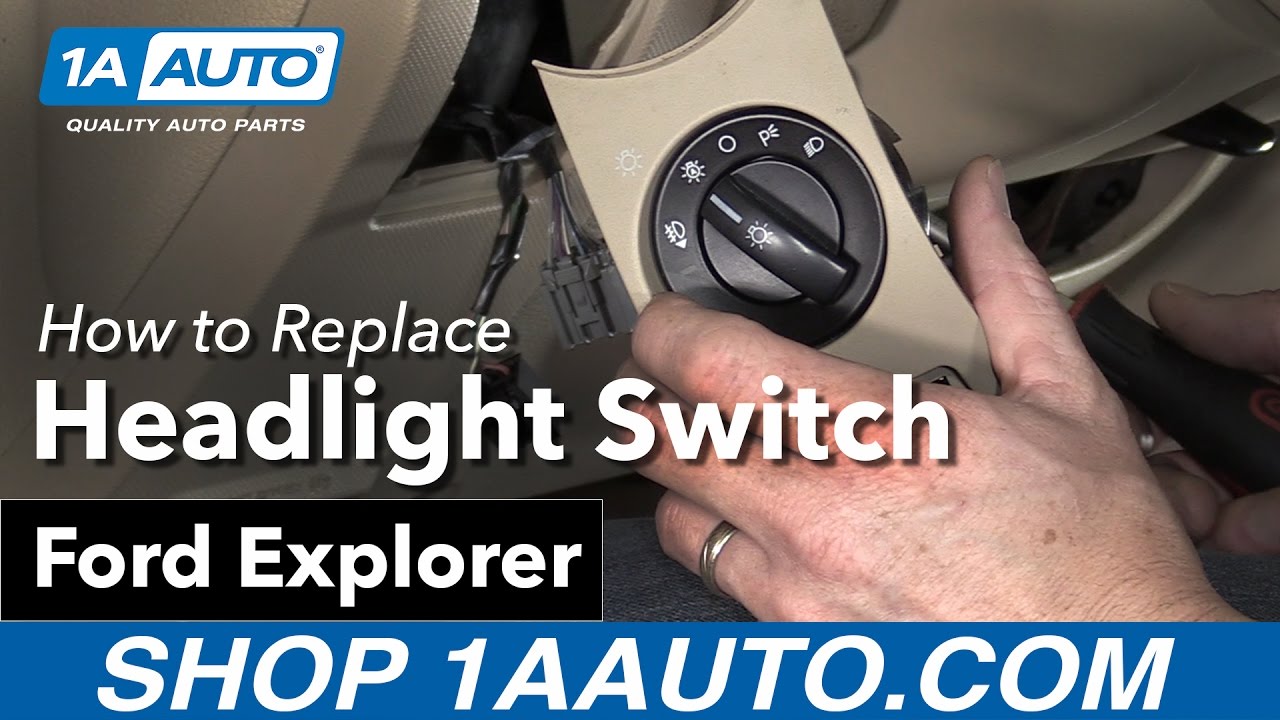
How to Replace Headlight Switch 2006-10 Ford Explorer
Created on: 2017-05-22
How to repair, install, fix, change or replace a damaged, worn out, faulty or shorted headlight switch on 06 Ford Explorer
-
step 1 :Removing the Headlight Switch
- Pry up the air outlet bezel with a trim tool
- Remove the bezel
- Press the tabs down and pull out the switch trim panel
- Disconnect the wiring harnesses
- Remove the three Phillips screws from the switch
- Remove the switch
-
step 2 :Installing the Headlight Switch
- Press the switch into the panel
- Tighten the screws to the headlight switch
- Connect the wiring harnesses
- Press the panel into the dash
- Press the air outlet bezel into the dash
Hi, I'm Mike from 1AAuto. We've been selling auto parts for over 30 years! We're dedicated to delivering quality auto parts, expert customer service, and fast and free shipping, all backed by our 100% satisfaction guarantee. We've created thousands of videos to help you install our parts with confidence. That saves you time and money, so visit us at 1AAuto.com, your trusted source for quality auto parts.
In this video, we're going to show you how to replace the headlight switch. This is a 2006 Ford Explorer. It’s the same process for Explorers from '06-'10. That generation, as well as Mountaineers.
Please click subscribe. Check out all our other videos for Explorers, Fords, and all kinds of different makes and models. For all your parts needs, check out 1AAuto.com link in the description.
The items you'll need for this repair include: Phillips head screwdriver
First, you'll want to remove the air outlet bezel. You can use plastic trim tools available at 1AAuto.com so it doesn't mar your finish here. Slide it in. The clip’s on there, right in the side, so you want to slide it down, pull out, and twist. Then pull straight out and your louvre comes off.
Then there's two tabs at the top of each side. Push down on the tabs as you push out, and this whole panel comes out. Then you can disconnect the leads on here and this one here has a tab. The headlight switch is held in with three Phillips screws, and we'll remove those. With the screws out, pull it straight out and off.
To reinstall, just make sure your graphics are on top. With the locating tabs, it only really goes in one way. And reinstall your three screws. Reconnect your headlight harness. Reconnect your dimmer harness. Two tabs at the bottom, those go in place first. Then push that in place and the little dimples at the top should be on top so you can see them. Put your AC duct grate in place.
Thanks for watching. Visit us at 1AAuto.com for quality auto parts, fast and free shipping, and the best customer service in the industry.

Poor gas mileage Check your tire tread wear for a suspension problem and save money on gas
Sue shows you how different patterns of wear on your tires can clue you in to suspension problems that are holding your car or truck back from getting the best fuel economy it can!
