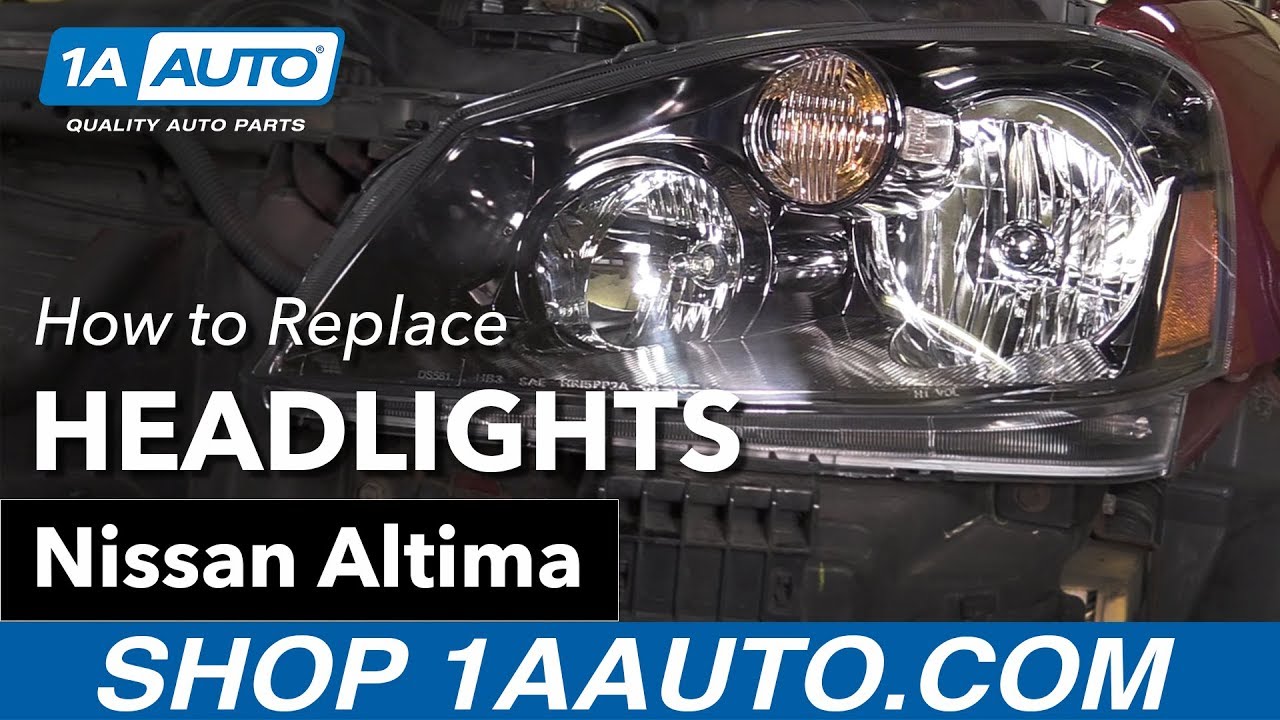
How to Replace Headlights 2005-06 Nissan Altima
Created on: 2017-08-24
Watch this video to learn how to replace and service the headlight assembly and bulbs on your 05-06 Nissan Altima.
-
step 1 :Removing the Bumper Cover
- Remove the six push clips with a prying tool
- Turn the wheel to access the wheel well
- Peel back the splash shield near the headlight and remove the 10mm nut beneath
- Remove the 10mm self-tapping screw on the front of the bumper
- Repeat the process on the other side
- Remove the 10mm screws underneath the bumper on the splash shield
- Pull down the shield
- Pry out the push clips from the splash shield
- Pull out the bumper cover and remove it with an assistant
-
step 2 :Removing the Headlight
- Remove the 10mm bolts from the headlight
- Pull the headlight out
- Disconnect the headlight wiring harness
-
step 3 :Installing the New Headlight
- Install the new grommet if needed
- Reconnect the wiring harness to the headlight
- Line up the bolt holes on the headlight bracket to the bolt holes on the vehicle
- Replace the 10mm bolts into the headlight
- Test the headlights
-
step 4 :Installing the Bumper Cover
- Lift the bumper cover over the impact foam and into the clip underneath the headlamp
- Tighten the 10mm screws into the bumper on both sides
- Tighten the 10mm screws underneath the bumper on the splash shield
- Press in the clips to the splash shield
- Press on the six clips to the top of the grille
Tools needed
-
Socket Extensions
Flat Blade Screwdriver
Phillips Head Screwdriver
10mm Socket
Ratchet
Trim Tool Set
Hi, I’m Mike from 1A Auto. We’ve been selling auto parts for over 30 years!
Open the hood. The handle is under the dash. Release the safety catch. It's right here. The hood prop rod is actually on the bottom of the hood. That goes here on the side of the fender. Remove the six push clips on the top of the bumper and grille. You can use a plastic prying tool.
You can get this from 1AAuto.com if you don't have one or a flat bladed screwdriver. Work the prying tool under each side of the clip. Work it up and slide it underneath. You basically just have to get it to unlock. That's okay if the center part comes out. You can push it back together.
Take the prying tool and pry out this part. Push this back together so it doesn't get lost. Remove the last clip. With the vehicle on the ground you can turn the wheels to the inside, then peel the plastic splash shield open a little bit, reach up with a 10 millimeter socket and ratchet and undo this bolt here. Or you can lift and support the vehicle and take the wheels off and have a little bit better access, which is what we're going to do so we can show you what we're doing. We're going to reach up with a 10 millimeter socket, remove this one, and peel back the fender liner.
There's also a second screw that's up in here. Actually, it is a 10 millimeter self-tapping. We're going to reach in and undo it. Remove these Phillips head screws from under the bumper. There is one here, here, and there's one here and here. This will loosen the splash shield from inside the bumper so you have more access in there. You can actually pull it down and away.
Normally, there is an underbody shield that is connected to here that goes underneath the engine for aerodynamics. On our vehicle it is missing. There are push clips, and they are push clips just like the ones on top that you have to pry out with a screwdriver and then push out. You will have to undo those to loosen this bumper from the bottom part. Obviously we don't have those, so we're going to skip that step.
Just like the driver's side, remove the 10 millimeter self-tapping screws. They're on the inside of the front bumper. There's one close to the wheel well and one further in closer to the headlight. Ours was missing on both sides, so we don't have to remove it. Now the bumper is really loose, so you'll need an assistant to help you pull it off. So with someone helping you, put one hand in the grille opening, your other hand by the wheel opening.
We're going to pull it away from the wheel opening and kind of pull to the front. There is a clip under the headlamp. If it's stuck, you may need to pull it off. Driver's side came off really easy for me. Then we just lift the bumper off and put it someplace safe while you do your other work. With everything exposed now we can see what's holding in the headlamp.
There's two 10 millimeter bolts on the top, a 10 millimeter bolt down here on the bottom, and a 10 millimeter bolt over there on the side through the fender. So I will start with the two top ones using a 10 millimeter socket and ratchet. The headlamp should lift out. All our connectors are exposed.
Unclip this one here by pushing in this tab to unlock it. These can be pretty tight. I'll use a small flat-bladed screwdriver to push the lock tab in. Gently pry the connector out a little bit because it's not unlocked yet. This one's just really stuck in there, so now I've got a better spot I can really push down on it and try to work it off. That was real stuck. Sometimes that happens. Next undo this connector here. That one was a lot easier. Let's see, will this one come out with just my fingers? Yup. Place those aside. Lift our headlight, headlamp out of the vehicle.
Here we have our old headlamp. You can see it's all yellowed and pitted and worn out. It's even got a broken tab that somebody's tried to repair. This is our brand new headlamp from 1AAuto.com. It's nice and clear and clean. It even comes with a protective covering on it when it ships, so before you install it you'd peel this cover off. See, it's an exact match for the old one. Comes with bulbs installed. Has the same mounting tabs. Has the same connectors. It actually comes with new bolts. It comes with new bolts. If you need this little Rivnut, it comes with a new one. It also comes with a grommet that this tab goes into on the vehicle.
If you need to adjust this headlamp, the adjustment is here. This lamp also comes with alignment dots molded into the lens. So this one will look great and give you great vision going down the road. I'm going to remove the old grommet. Just take a flat-bladed screwdriver, break it out. Take our new one, pop it in.
Reconnect the electrical connectors for the headlights. Start with this one here. Push it in till it clicks. Push this one in. Reach underneath, and get this one. Support it while I clip it in. Slide the headlamp into place. This pin is going to go under that new grommet we installed. Capture one of our new bolts. You can use a Phillips head screwdriver or a 10 millimeter ratchet on these bolts.
Install our new bolt into the side and install the last bolt down the bottom. Just repeat this procedure for the other side. Low beam headlights, high beams, and the four way flashers. The low beam lights, high beams, four way flashers. Get someone to help you lift the bumper into place. Going to place it over the impact foam and into the clip under the headlamp. It might take a little bit of maneuvering a bit. There it goes. Now the bumper is loosely in place.
It's time to put the clips and the screws back in. There are two self-tapping screws with 10 millimeter heads on both sides of the bumper. There's one that goes in here and one that goes in the outside here. Our vehicle is missing the inside one probably because it's sort of difficult to get to, so I'm going to reinstall just this outside one. If your vehicle has both of these, make sure you try to install both. We're just going into plastic so once I feel them get tight, I'm going to stop. The same as the driver's side there is a 10 millimeter self-tapping screw that goes on the inside here, and then one that goes on the end of the bumper here. Ours is missing the inside one on this side also, so I'm going to put the outer one through the bracket and up into the fender.
Reinstall the Phillips head self-tapping screws that hold on the bottom of the fender liner, so I just need to slide it up on the inside of the bumper here. Two of these on each side, driver's and passenger's side. Lined up. At this time if your car has the under shield that goes here, you'd reinstall it and reinstall your push clips along the edge of the bumper. Repeat for the other side with the splash shield installing the Phillips head self-tapping screws.
These clips, these type of push clips are used in most cars and they just push in like this. This one's all busted and broken. If you've got busted and broken ones you can get new ones from 1AAuto.com. You'll have to remove this one and with your new push clips, they may look a little bit different, but they operate in the same exact manner. They'll go into the hole. I push it. It will lock and snap in and the whole thing is nice and tight. Reinstall the six push clips on the top of the grill and bumper. Line up the holes, and push the clips in.
This is a basic tutorial on how to aim the headlights on your vehicle. Find the axis of your headlights. This is usually indicated with a small dot or the headlight bulb size on the lens. If not, it's the actual center point of your headlight bulb. Transfer this mark to a vertical wall with a preferably dark color that will allow you to back up 25 feet. Pull up and find the center line of your vehicle, as well as the center line of your headlight axis. Mark the wall with the height of the headlights and a straight line going across at that axis height. Back your vehicle up 25 feet from the wall to the front edge of your vehicle's headlights. Turn your headlights on and locate the adjusting screw usually on the backside of your headlights.
You'll want to rotate this until the passenger hotspot or focus of the beam is approximately two inches below the line and the driver's side is four inches below the line. We change the heights on each side so you can still get a good beam to the offside of the road on the passenger's side and have the driver's side low enough to not blind oncoming traffic.
Thanks for watching. Visit us at 1AAuto.com for quality auto parts, fast and free shipping, and the best customer service in the industry.
Shop Products

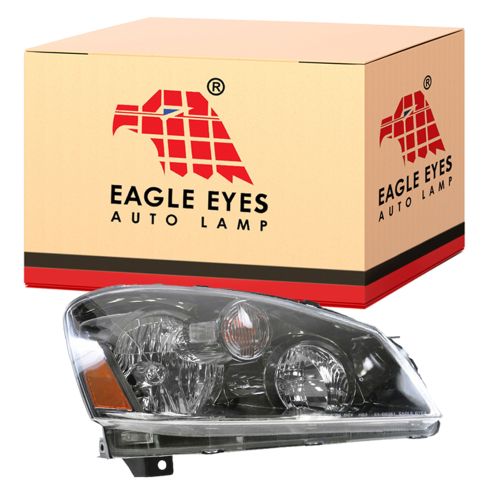
2005-06 Nissan Altima Passenger Side Headlight Assembly Eagle Eyes DS661-B101R
Part Details:
- Features and Benefits
- HID
- PC (Polycarbonate)

How to Replace Headlights Bulbs 2006-08 Dodge Ram
Watch this video to learn how to replace a cloudy or cracked headlight or change a burnt out bulb. The experts at 1A Auto teach you how to replace the headlights on your 06-08 Dodge Ram.


