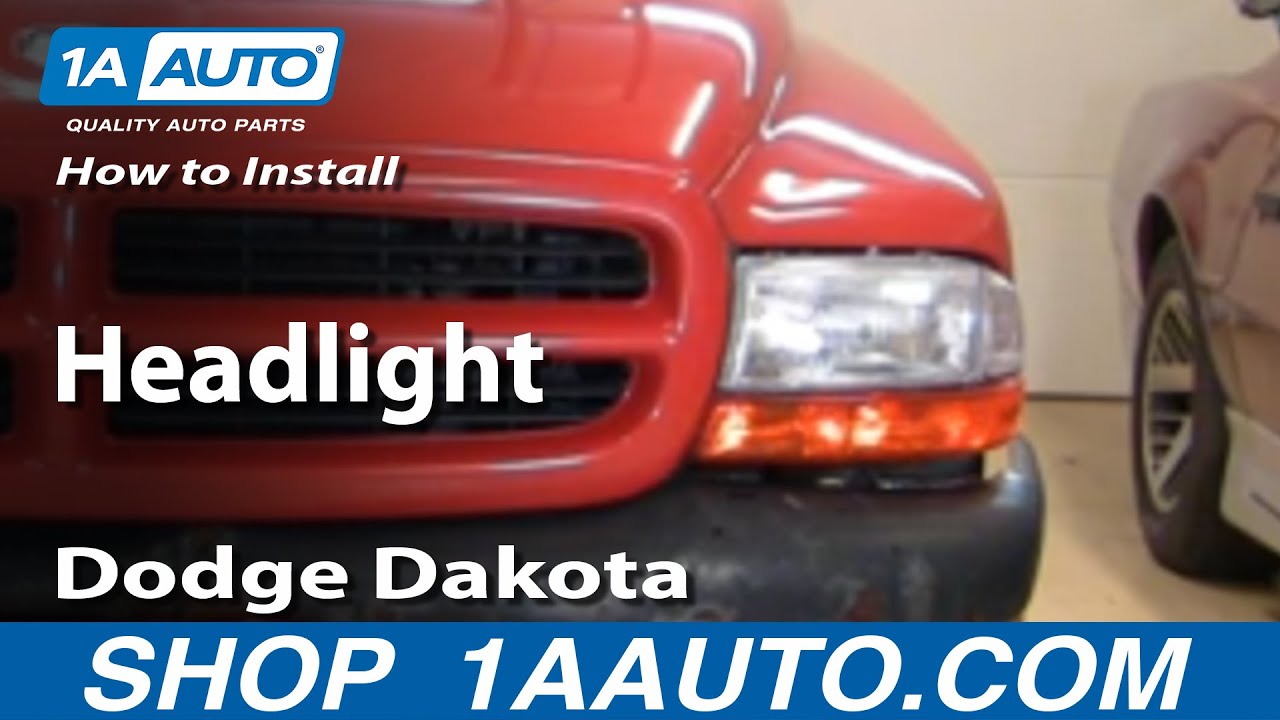
How to Replace Headlights 1997-2004 Dodge Dakota
Created on: 2010-03-17
Check out this 1A Auto tutorial if you need to replace a hazy or broken headlight assembly on your 97-04 Dakota or 98-03 Durango. 1A Auto makes it easy!
-
step 1 :Remove the parking light
- Remove the gasket from the pins securing it to the side of the headlight.
- Remove the screw on the bottom corner of the headlight using your T10 Screwdriver.
- Remove the parking light and unplug the bulbs.
-
step 2 :Remove the headlight assembly
- Remove the 3 bolts securing the headlight.
- Remove the little pin securing the headlight using a cloth and screwdriver.
- Unplug the harness.
- To remove the bulbs just twist the locking ring and unplug the bulb.
- Remove the pin that had been fastening the headlight in by pinching it and pulling it out to use later.
-
step 3 :Install the new headlight assembly
- Clip the pin into the new headlight that you removed in the last step.
- Line up your headlight and click it into place.
- Make sure your marker light is in the right spot.
- Bolt everything back in.
- Plug the parking light bulbs in.
- Screw the parking light in with your T10 Torx driver
- Pin the rubber gasket on, making sure to fold the gasket in the first time you close the hood.
Brought to you by 1AAuto.com your source for quality replacement parts and the best service on the internet.
Hi, I'm Mike Green. I'm one of the owners of 1A Auto. I want to help you save time and money repairing and maintaining your vehicle. I'm going to use my 20 plus years experience restoring and repairing cars and trucks like this to show you the correct way to install parts from 1AAuto.com. The right parts installed correctly, that's going to save you time and money. Thank you and enjoy the video.
In this video we'll be replacing a headlight on this 2000 Dodge Dakota, same as any '97 to '04 Dakota and '98 to '03 Durango. Tools you'll need are a T10 sized Torx screwdriver, a flat blade screwdriver and a 10 mm wrench or a socket and ratchet. Maybe you're replacing your headlights because they got taken out by a rock or you had a little incident or something but also you can really freshen up the front end of your truck as you can see here. Here's the truck with new headlights on it, so here's the old faded yellowed ones and then once again the new headlights. You can see that new headlights on the same truck really take a lot of miles off the front end.
Remove the parking lights first, you need to take this gasket and just remove it from these pins here. Next there's a screw at the bottom corner of the headlight and you can see it right there, this is a T10 torque screw. I'm going to remove that. That my want to just stay in there, hopefully it will ok and then once that screw is out you can actually just take parking light and pull it. These untwist and finally there's a little side mark over here that untwists and pulls out. You can replace your signal lights or you can start with the bulbs if you need to.
Now that you have the parking light off there's three bolts, I'm going to show you two of them here. That one right in there, right in the middle of the screen, that's the upper one and then there's a lower one and it's over here, right there. I'm going to remove those two and actually the third one; you can see it right behind that bulb right there. Those are 10 mm bolts you give me the ratchet and a socket. The other thing you want to do is you want to remove this bumper here and you kind of just press on the back of the bumper with your finger and pull it out. Then there's a little clip, you can just use a screwdriver and pry out.
Now we have those three bolts out but there's still a little pin holding it right here. You can unplug the back of your headlight and now your headlights free to replace. On the drivers side you can reach behind and get this but it might be actually just as easy to remove the whole headlight assembly. The passenger side your air box is in the way so if you're just looking to replace the headlight blub you will need to remove the whole light and then the headlight bulb is just like most it has a walking ring. Then the bulb comes out. The last part is when we pulled the headlight out this little part of the socket didn't come with it so its pretty easy to get in there. You're just going to have to squeeze it and pull it out with your fingers. You can see our new headlight from 1A Auto and our old headlight. Everything's the exact same just a whole lot brighter and a whole lot nicer. The new one has everything has got the tin on the back here with the clips, it has the rubber gasket and the only thing I saw is you do need to save your the little pin that goes right here. You'll just need to take this pin out of your old headlight and there's even a little indentation in it and it just goes right through on the new light.
To install our new headlight just connect the headlight bulb. If you were watching closely make sure this side marker goes up above where you bolted in and when you put it in and then line up that pin back there, push it in and actually you can take now the rubber gasket and put it in up here. Pull down through on the little tabs and then this little tin goes in. Start from the lower bolt is the easiest one. Start this bolt, black one. I've got my air ratchet and what I'm going to do is while I'm tightening this I'm going to lift up on the light to get it up right close to here, give it as nice of a position as possible.
You're going to put the parking light in so I'll just go ahead and twist. Put these ones on first. Twist and there's the little side marker again and twist. Now these kind of teeth all have slots they go in and it is possible to put them in incorrectly but basically you push it up against the light and to the side against the light and slide it in and then it's in. Now we use our T10 torque screw and put it through there. There it is and tighten it up. Put this rubber on to those two and you're all set. The first time you close the hood you want to make sure you close it slow, kind of push that gasket in and then put the hood down because the first time you close it, it may kind of flop out incorrectly.
Brought to you by www.1AAuto.com your source for quality replacement parts and the best service on the internet. Please feel free to call us toll free 888-844-3393. The company that's here for you on the internet and in person. Thank you.
Shop Products


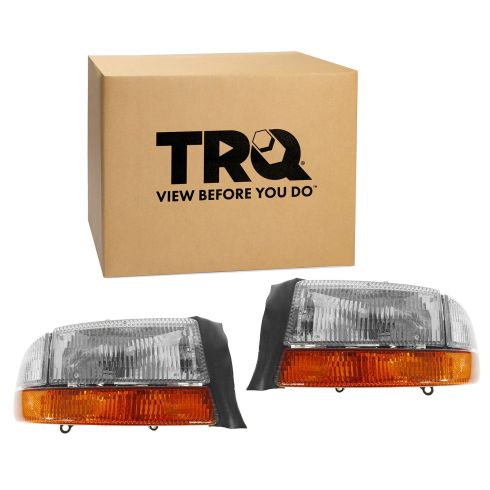
Dodge Dakota Durango 2 Piece Headlight Set TRQ HLA88324
Part Details:
- 2 Piece
- PC (Polycarbonate)
- (1) Passenger Side Headlight
- (1) Driver Side Headlight
- Standard Replacement
- Assembly
How to Replace Headlight and Bulb 1997-99 Cadillac Deville
Watch this video to learn how to replace and service the headlight assembly and bulbs on your 97-99 Cadillac Deville.
