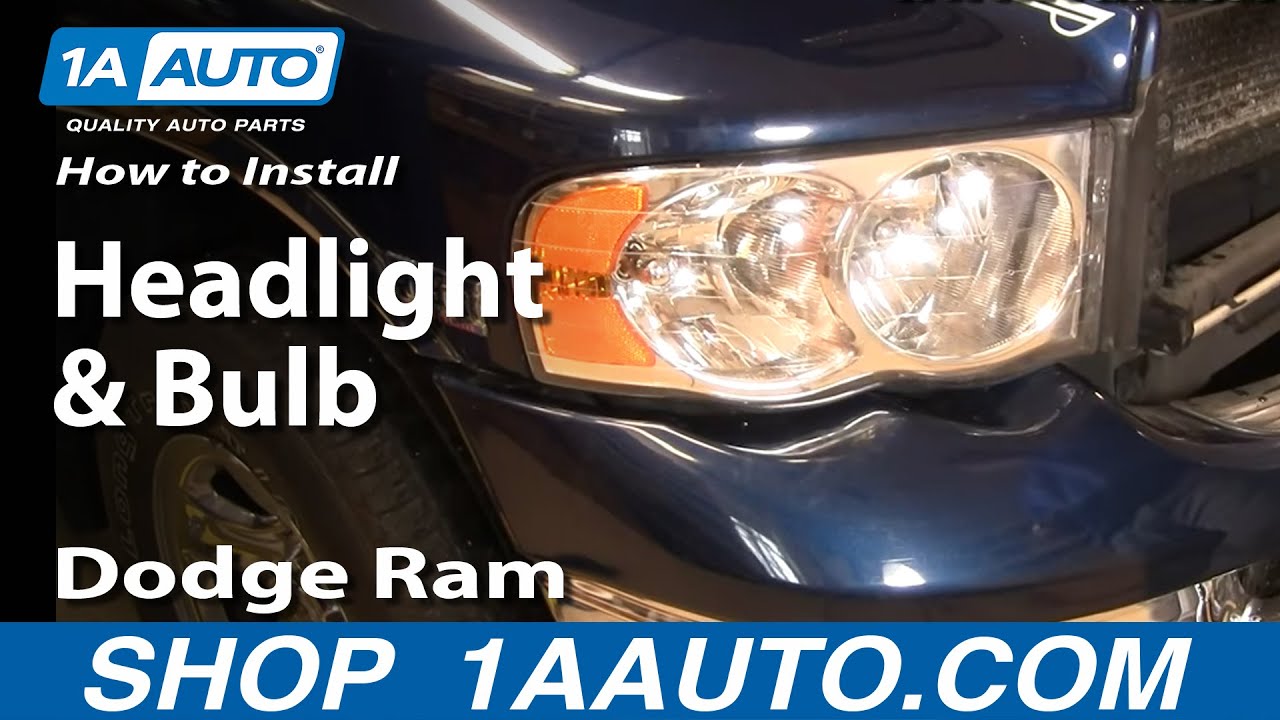
How to Replace Headlights 2002-05 Dodge Ram 1500
Created on: 2011-04-06
Watch this video to learn how to replace a cloudy or cracked headlight or change a burnt out bulb. The experts at 1A Auto teach you how to replace the headlights on your 02-06 Dodge Ram.
-
step 1 :Handling the Bulbs
- Note: DO NOT TOUCH the bulbs- the oil from your fingers will burn into the light and foul your bulb.
- Clean with rubbing alcohol and a soft cloth if the bulbs do get touched.
-
step 2 :Remove the headlight assembly
- Open up the hood.
- Use a Phillips head screwdriver to remove the screw securing the gasket.
- Remove the 10 mm bolts securing the headlight.
- Pull the headlight assembly out.
- Unplug the harness.
-
step 3 :Install headlight assembly
- Plug the bulbs and harness into the new headlight assembly
- Push it in until the lock clicks into place.
- Bolt in the 10mm bolts using your 10 mm socket and ratchet.
- Secure the gasket with your Phillips Screwdriver.
Tools needed
-
Socket Extensions
Phillips Head Screwdriver
10mm Socket
Ratchet
Brought to you by 1AAuto.com, your source for quality replacement parts and the best service on the internet.
Hi, I'm Mike Green. I'm one of the owners of 1A Auto. I want to help you save time and money repairing and maintaining your vehicle. I'm going to use my 20+ years experience restoring and repairing cars and trucks like this to show you the correct way to install parts from 1AAuto.com. The right parts installed correctly. That's going to save you time and money. Thank you and enjoy the video.
For this video we're going to change the headlight on this Dodge Ram 1500, this is a 2004. This video covers both changing the head light if you've broken one or it's damaged or yellowed; also if you just want to change the bulbs. The tools you'll need are a 10 mm socket and ratchet with an extension as well as a small screwdriver might help you out for some things.
Obviously you want to open up the hood. If you're worried about scratching the paint on your truck just use a little painter's tape. Slide it; slide it right in there underneath. There's a clip here; some trucks the lights they have clips all the way up. These usually just have a little Phillip's head inserted into them. Once you pull that out then this clip comes out. Then I actually pull it out of the light, stick it back in and just stick the pin in there a little bit for safe keeping.
Now there's 10 mm or T-30 screws; I'm going to use a 10 mm socket right there, there, and then there's a third one right in there. We'll fast forward through moving those top two or I'm sorry those inner two. You might want to put a little bit of penetrating oil or lubricant on the back of them to make them a little easier. You put this in and you push your bumper cover down just a little bit. Get that in there and again if you're worried about the paint you push down on the bumper cover so that the tool doesn't come in contact with it. Generally the bolt doesn't come out with the wrench. Most likely the bolt won't come out with the wrench so we'll just drop down there onto the floor.
At this point there's one more lock right up in here. On the top of this side you can actually reach in and feel for it and unlock it. When you reach back in there what you want to reach for is these two little tabs. You'll feel back in there for those. Like I said on this side you can unlock those pretty easily, but on the driver's side you'll just have to pull it out.
That's a good little piece of information there, but really what you can do is grab on to the side of the light and pull it out like you'll see me do now. You grip onto it really firm and give it a good pull and it will come out. Then you'll want to push down on your bumper cover and bring the whole thing out. Actually my lock stayed in there. You can see this pulled out right here; so here I have a new light from 1A Auto. If this piece stays in your vehicle you can just take a little screwdriver and take it off of your light. Then just install your light like that.
Again on the passenger side I believe you can reach your headlight bulb if that's all you're looking to replace. You just want to pull that harness off. Here is your marker bulb, you pull it out and the bulb just pulls out and pushes back in. Your headlight, this ring turns and then your bulb can come out. Push it back in. Obviously if you're looking to replace a whole light the assembly comes out. Here's the new light from 1A Auto.
Shop Products

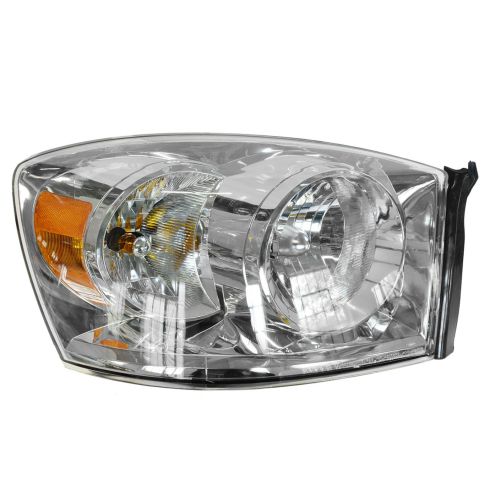
Dodge Ram 1500 2500 3500 Passenger Side Headlight Assembly DIY Solutions LHT02056
Part Details:
- Features and Benefits
- H13 High / Low Beam
- PC (Polycarbonate)

How to Replace Headlights Bulbs 2006-08 Dodge Ram
Watch this video to learn how to replace a cloudy or cracked headlight or change a burnt out bulb. The experts at 1A Auto teach you how to replace the headlights on your 06-08 Dodge Ram.


