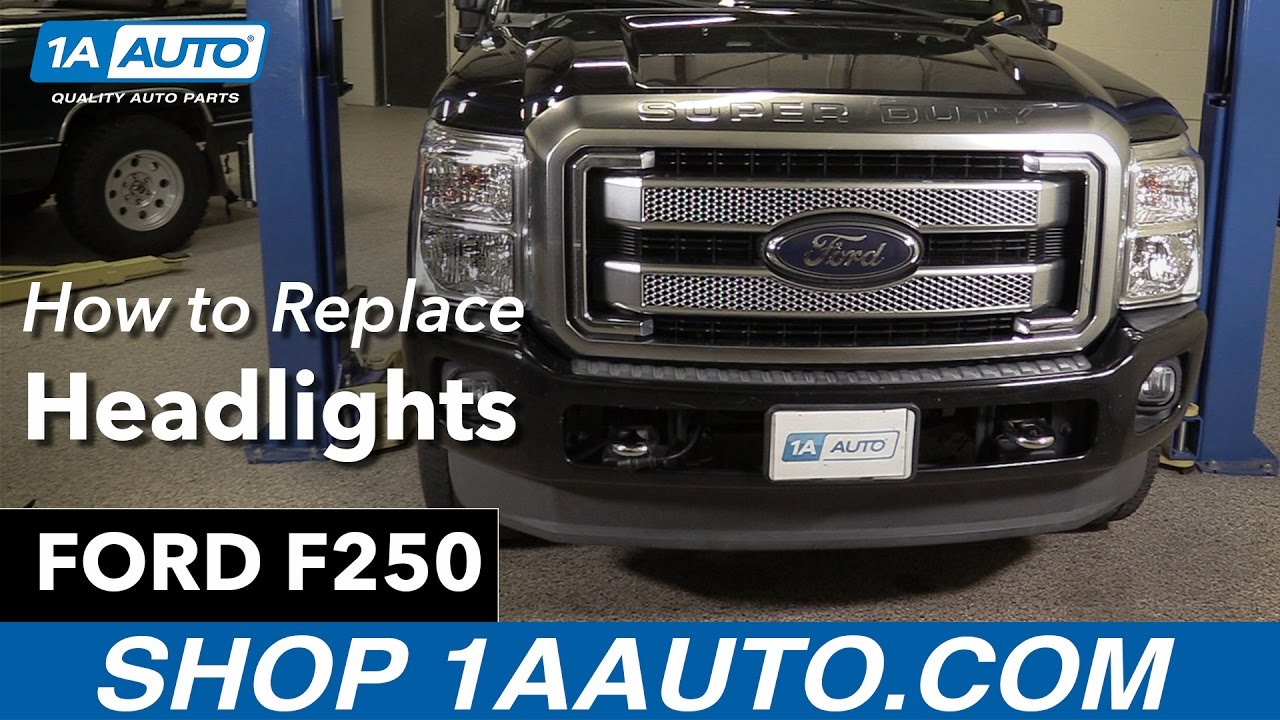
How to Replace Headlights 2011-16 Ford F250 Diesel
Created on: 2017-04-20
Watch this video to learn how to replace the headlights on your 2013 Ford F250.
-
step 1 :Removing the Grille
- Remove the four 10mm bolts along the top of the grille
- Press the clips one by one along the bottom of the grille
- Remove the grille
-
step 2 :Removing the Headlight
- Remove the four 10mm bolts from the headlight
- Wiggle the headlight out
- Disconnect the wiring harnesses from the headlight
-
step 3 :Installing the Headlight
- Connect the wiring harnesses to the headlight
- Line up the headlight to the vehicle
- Tighten the four 10mm bolts to the headlight
-
step 4 :Aiming the Headlights
- Click the teeth on the adjustor wheel with a flat blade screwdriver
-
step 5 :Installing the Grille
- Line up the mounting tabs on the grille to the slots on the truck
- Press the grille into place
- Tighten the four 10mm bolts to the grille
Tools needed
-
Flat Blade Screwdriver
10mm Socket
Ratchet
Hi, I'm Mike from 1AAuto. We've been selling auto parts for over 30 years! We're dedicated to delivering quality auto parts, expert customer service, and fast and free shipping, all backed by our 100% satisfaction guarantee. So visit us at 1AAuto.com, your trusted source for quality auto parts.
In this video, we're going to be working with a 2013 Ford F-250 Super Duty. We're going to show you how to remove and replace both front headlights. We're replacing an aftermarket set with some nice new OEM ones from 1A Auto.
If you like this video, please click subscribe. We have a ton more information on this and many other vehicles. And if you want these headlights for your truck, you can follow the link down in the description over to 1AAuto.com.
Here are the items you'll need for this repair.
Open your hood. We'll then remove the four 10 millimeter bolts along the top of the grille. We'll do this using a 10 millimeter socket and ratchet. Carefully lean the grille forward, and locate the metal clips at the bottom. I'm using a long flat blade screwdriver to push down and release these clips. There are five of these clips going along the bottom of the grille. We're just going to do the same thing on all of 'em. Just carefully pull back, push down on the clip, and slide the grille out little by little, until we've released them all and we can pull our grille off the truck. Now you can slide your grille forward and off of your truck. Your five clips are located here, along the bottom and sit into these slots where we just pushed through those openings there.
This is what our light pattern looks like with the aftermarket headlights on it at about six feet from our board. We'll show you the comparison once our OE replacement headlights go on. Your headlight has four 10 millimeter bolts securing it in. One of them is down here, between the bumper and the bottom of the headlight, so we're going to use a quarter inch drive, 10 millimeter socket and ratchet with a long extension just to make it easier to get at. Now you could probably do this with a three-eighths, but that little bit of added size could risk scratching or damaging something, and we don't want to do that.Carefully wiggle the headlight out, and this is a lot more wiring than your vehicle is going to have, because of all of the auxiliary lights. But we'll unplug everything and remove it from our truck. We'll need to cut this wiring off because it's auxiliary for the aftermarket headlights and our OE units won't use that. We'll now remove our headlight from the vehicle.
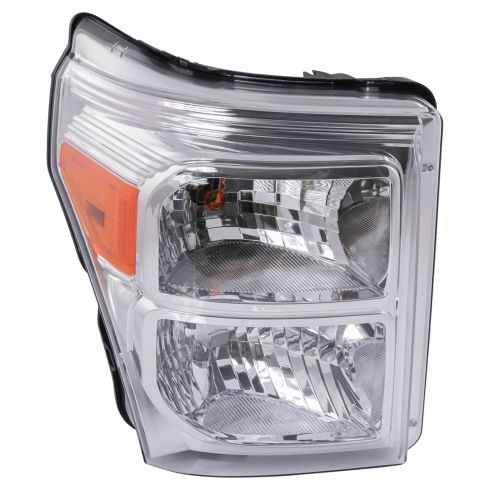
Here we have our old part that we removed from the vehicle, and our new part from 1AAuto.com. As you can see, there are some very serious aesthetic differences here, where this is an aftermarket halo projector style headlight and this is an OE replacement unit from 1A Auto. The major things are the same. The size and shape of the headlight. Again, this is an OE unit, so we have the nice bright chrome projector housings. You can see the Ford down there on the lens cover. On the back side, we have all new bulbs and sockets, our headlight adjuster, the alignment tabs for the top and bottom as well as all four 10 millimeter bolt locations. The back side of the aftermarket housing is kind of a mess. We have had very difficult to access adjusters all over the place. The bulbs are here, but we have all this mess of wiring and ballasts and plugs and harnesses that were just kind of hanging in the back of our truck and required us to tap and potentially damage the factory wiring harness.
However, it's the same alignment tabs, and same four bolt mounting locations. The lenses here - our truck only has 90,000 miles on it - and these headlights aren't original to the truck, and while we don't know how long they've been on there, even at 90,000 miles, the amount of pitting and corrosion that's taken place in these lenses is just unacceptable. This is really going to hurt the light output of our vehicle. You can see how nice and clear and bright the new style ones are. So we'll install these on our truck, get our lights and bright, safe, and legal, and fix us up right.
So now we'll plug in the OEM headlights and these connectors are all the same, so they'll just pop in. If needed, your headlight adjustment is right here, and you would just put a small screwdriver in there and click the teeth over to adjust it. So, we'll align up the tabs on our new headlight, snap that into place, and reinstall our four 10 millimeter screws. These are just going into plastic, so just get 'em snug.
You can see that our new headlight on the right side has a much larger hotspot on it, and even from just bolting it in without messing with the adjustment, it closer to level with the left side, which is what we want, or if anything the left side to be a little bit lower. So it looks like once we have our new headlights in, we should be aimed pretty close. Repeat these steps on the opposite side.
So now we have both of our OEM replacement headlights installed in our truck and aiming them at the light board here again, we're only about six feet away from the board. Realistically it should be about 25, but you can see that the driver's side, or the left side, is just a little bit lower than the passenger side, which we do want to be just a touch higher on the passenger side for proper headlight alignment.
The left side should be lower than the right side because the left side is obviously going to be aimed at oncoming vehicles, so you can have that a little lower as to get the farthest output without blinding oncoming traffic. And the right side sits higher so you still get that light output on the side of the road to watch for animals or pedestrians on the side of the road or sidewalks.
The beam is much brighter and wider and it's a lot closer to being in the correct place. So these OE headlights are not only safe and legal, but they are functioning a lot better than the aftermarket units we replaced.
Line up the mounting tabs in the bottom of the grille and push them all into place. We can now reinstall our four 10 millimeter bolts. Close your hood, and you're good to go.
Thanks for watching. Visit us at 1AAuto.com for quality auto parts, fast and free shipping, and the best customer service in the industry.

2011-16 Ford Passenger Side Headlight Assembly DIY Solutions LHT02905
Part Details:
- Features and Benefits

How to Replace Headlight 2001-05 Chrysler PT Cruiser
Watch this video for help with replacing a headlight and headlight bulb in a 01-05 Chrysler PT Cruiser.

