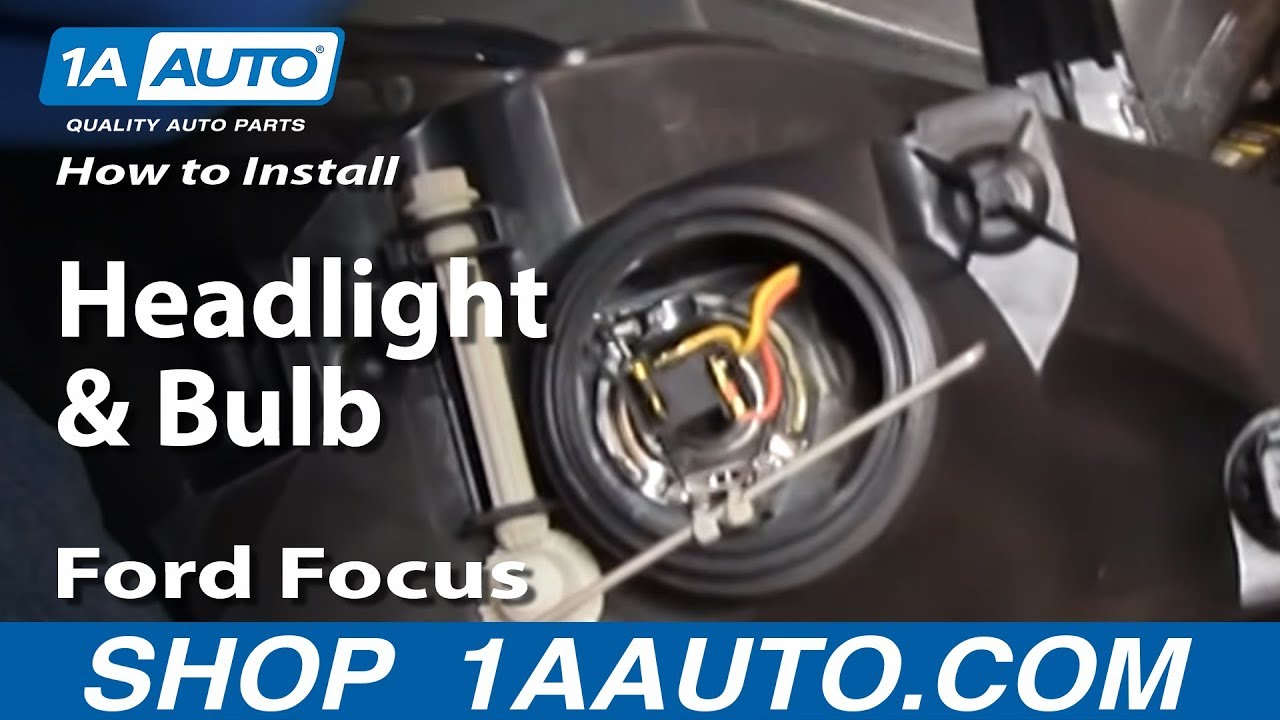
How to Replace Headlights Bulbs 2002-04 Ford Focus
Created on: 2012-10-03
Watch this video to learn how to replace a cloudy or cracked headlight or change a burnt out bulb. The experts at 1A Auto teach you how to replace the headlights on your 02-04 Ford Focus.
-
step 1 :Accessing the Headlights
- Remove the clips using a Phillips screwdriver to twist the center up and then pull the clips free
- Pull the plastic panel over the grille free
- Twist the parking lights counterclockwise and remove
- Remove the four 10mm bolts securing the grille
- Remove the grille
-
step 2 :Removing the Headlight
- Remove the three 10mm bolts holding in the headlight
- Remove the 10mm bolt underneath the headlight (you may need a jack stand to get under the car)
- Pull the headlight free and disconnect the wiring harnesses
-
step 3 :Preparing the New Headlight Assembly
- Remove the rubber boot on the back of the headlight
- Remove the wire ties carefully
-
step 4 :Changing a Bulb
- Remove the rubber boot on the back of the headlight
- Push the wire retainer in and towards the center
- Pull the headlight out
- Remove the bulb from the harness and replace
- Push the light back in and reset the retainer
- Place the rubber boot back on the back of the light
-
step 5 :Reinstalling the Headlight Assembly
- Snap the wiring harness into place
- Replace the three bolts along the top side of the headlight
- Replace the 10mm bolt under the headlight
- Slide the grill into place and clip the bottom in
- Reinsert the bolts that secure the grille
- Replace the plastic panel over the grille. Put the front down first
- Replace the clips in the plastic panel
Tools needed
-
Socket Extensions
Flat Blade Screwdriver
Phillips Head Screwdriver
Jack Stands
10mm Socket
Ratchet
Brought to you by 1AAuto.com, your source for quality replacement parts and the best service on the internet. Hi, I'm Mike from 1A Auto. I hope this how to video helps you out. Next time you need parts for your vehicle, think of 1AAuto.com. In this video, we're going to show you servicing the headlight on this 2003 Ford Focus. We're going to show you both changing the bulb as well as changing the entire assembly. Actually, to change the bulb, the easiest way is to pull up the entire assembly.
Tools you'll need to do this are Philips screwdriver, a small flat blade screwdriver, a 10mm socket and ratchet and extension and jack and jack stands. Jack and jack stands aren't necessarily required but these cars do sit pretty low so it's a lot easier if you jack up the front end and you can get to one of the bolts that in down underneath. First there's a series of clips, you want to use a Philips screwdriver, if you turn them lightly, the center just comes right out. You might need a small flat blade screwdriver standing by to pry them up a little bit if they don't come out. Speed it up here. Basically use the screwdriver to kind of unscrew the inside of the clips and once they get out to a certain amount, you can just grab them with your fingertips, turn them counterclockwise and pull the same time. The center come up and out and then you want to pry the rest of the clip up and out.
Okay, now you can take out these parking lights. Just twist counterclockwise and remove and same thing over here, counterclockwise and remove. Now there's four 10mm bolts holding these on, one, two down in there, three, and four. Fast forward here as I use a 10mm socket with a ratchet and extension. Take the top bolts out. Those bottom bolts, you just need to loosen up three or four turns and then the grill will pull out. Now in each headlight, there are three 10mm bolts, one down here, one here and one here on the fender. Fast forward again as I remove, the first one is actually a clip, it's like the clips that hold the grill, you unscrew it. The center comes up out and you pull it up and out and then remove the other two bolts.
Okay, now I'm looking up underneath. Here's the backside of your side marker light. Obviously your tire is over here, the fender and there's a bolt that holds the headlights, the bottom of the headlights right here. It's 10mm as well. Remove that. The light comes right out. There's a connecter right back here, there's a little button. Disconnect it. Okay, a new light from 1A Auto, much brighter, more clear and we do have to remove, these are floating, the headlight float inside, the manufacturer had to secure them. You have to remove these wire ties very carefully.
Okay, as you can see inside here, if you're just looking to change a bulb, there's a little wire retainer. You push it in and then towards the middle and then the retainer comes down and your headlight will come out and then remove the headlight from the harness and that's what you would to replace and put it back in. Make sure you get it in behind the retainer. This is sometimes the most fun part. Okay, put the bulb in there correctly. Push the retainer in and get the lock back down. Okay, with your new light, put this dust cover on nice and securely.
We'll fast forward as I kind of work that on, just get one corner on and then just kind of push it in going around and then make sure that the outside lip is pushed on as well. Okay, it looks ready to go in. Remove this plastic off the edge here. Remember to plug in your harness connection, make sure it goes on there nice and tight and it clips right in place. Speedup here as I put the three fasteners back on. The one closest to the inside, you can just put the clip in and push it down and then tighten up the two bolts.
Don't forget to go up from underneath. Put the bolt in. I usually thread it in by hand first and then tighten it up with my socket and ratchet. Okay, finish up here as I put the grill back in place. Put it in place. Like I said, you don't have to take the bottom ones out so you kind of slide it in and clip it in place and then get the top down on and then put the other two bolts in, tighten them up and make sure you put the parking lights back in place. Just finish up by putting that close out panel back down in. You put the front end under the grill first and then put it back down on, get that intake tube up in the right place and then put your clips right in.
We hope this helps you out. Brought to you by www.1AAuto.com, your source for quality replacement parts and the best service on the internet. Please feel free to call us toll-free, 888-844-3393. We're the company that's here for you on the internet and in person.
Shop Products

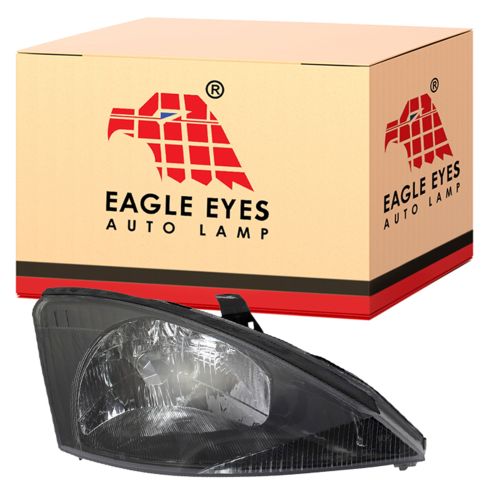
2003-04 Ford Focus Passenger Side Headlight Assembly Eagle Eyes FR319-B101R
Part Details:
- Features and Benefits
- Halogen
- PC (Polycarbonate)

How to Replace Headlight 1998-1999 Toyota Avalon
Watch this video to learn how to replace and service the headlight assembly and bulbs on your 98-99 Toyota Avalon.
