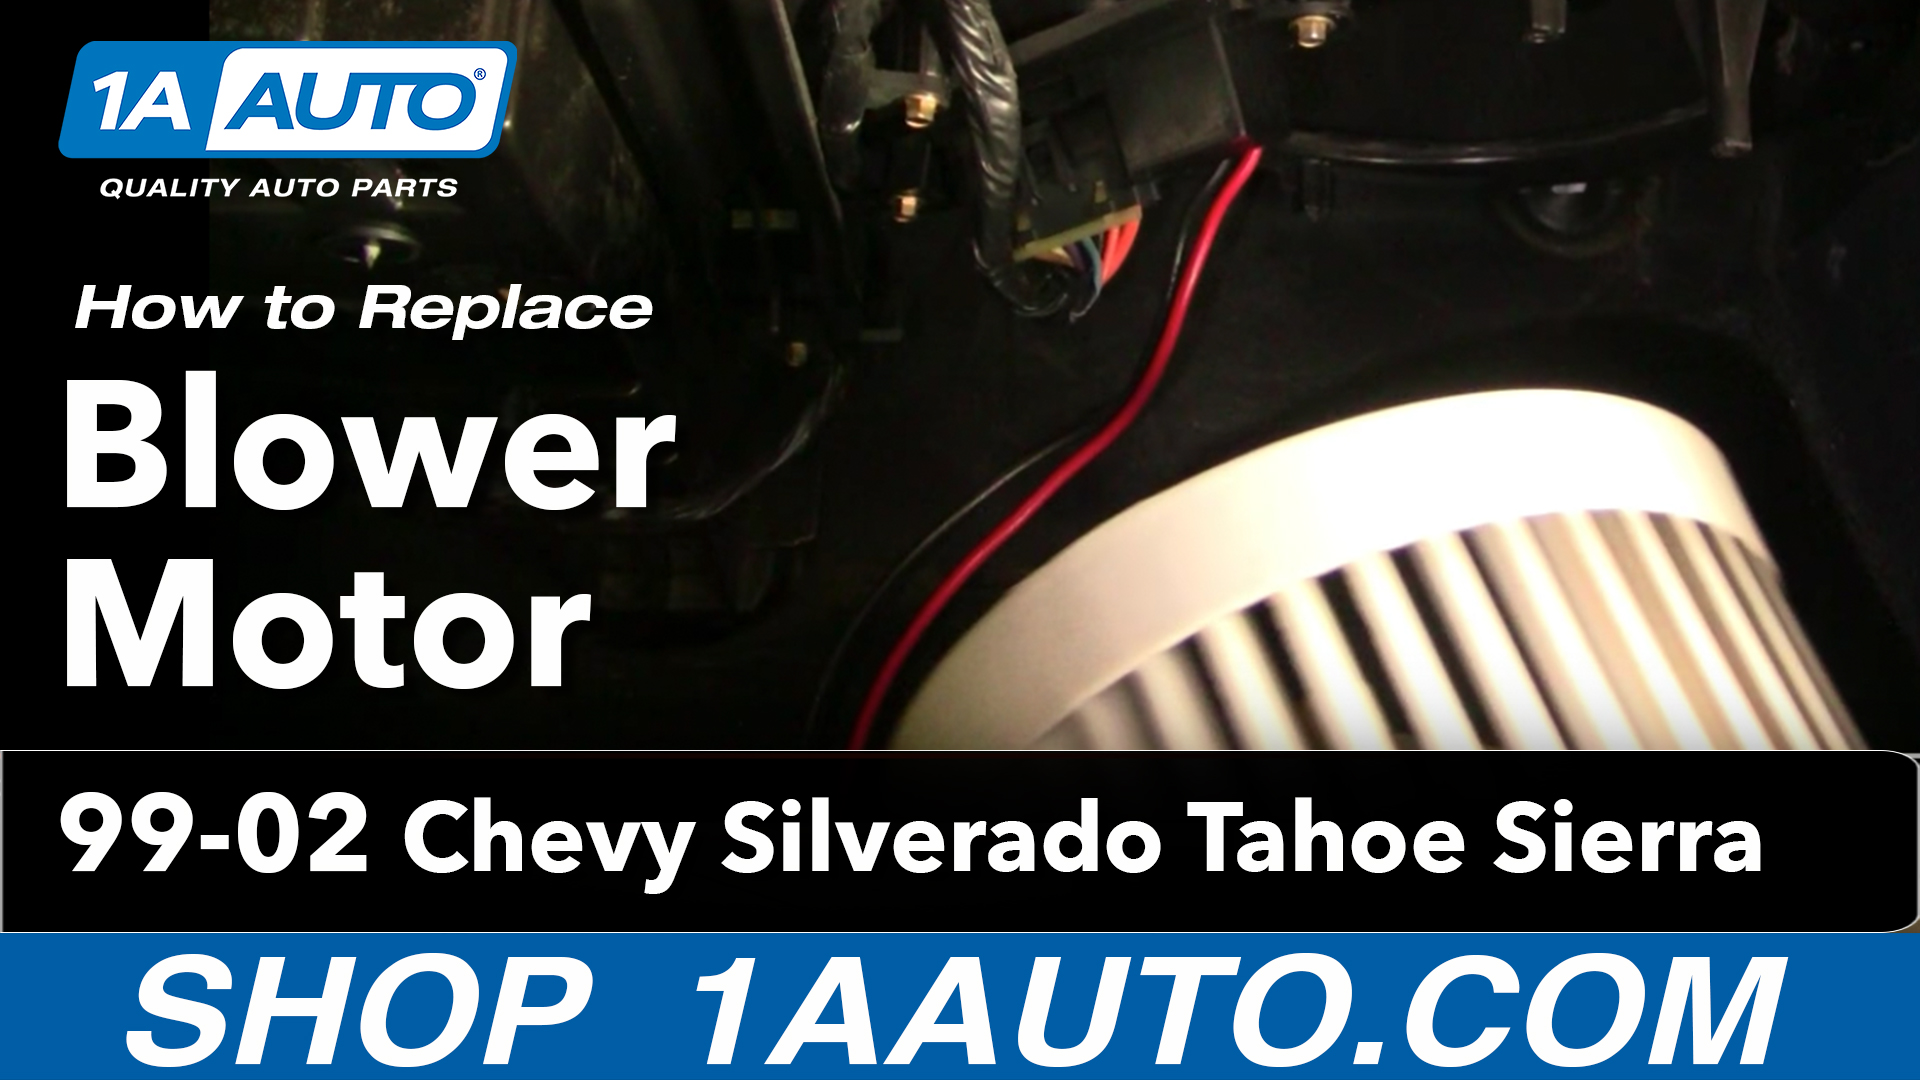
How to Replace Heater Blower Motor 2001-02 GMC Sierra 2500 HD
Created on: 2011-01-04
Watch this video to learn how to fix heat or A/C that isn't blowing properly. The experts at 1A Auto show you how to replace a broken or failing blower fan blower motor on you 99-02 Chevy Silverado or Tahoe; or GMC Sierra or Yukon.
-
step 1 :Remove Fan
- Remove the four 7mm bolts securing the cover under the dash
- Remove the 7/32 bolts securing the blower motor
- Unplug the resistor
- Remove the three screws holding it in using your T25 torx bit or a 5/16 socket or a flat blade screwdriver
- Pull it back toward the back of the car, down and out
-
step 2 :Install new fan
- Line up the blower motor by pushing upward and outward
- Tighten the 7/32 bolts to the blower motor
- Insert the cover into place
- Tighten the four 7mm bolts to the blower motor
Tools needed
-
Socket Extensions
7mm Socket
Ratchet
7/32 Inch Socket
Brought to you by 1A Auto.com-- your source for quality replacement parts and the best service on the internet.
Hi, I'm Mike Green. I'm one of the owners of 1A Auto. I want to help you save time and money repairing and maintaining your vehicle. I'm going to use my 26 plus years experience restoring and repairing cars and trucks like this to show you the correct way to install parts from 1A Auto.com. The right parts installed correctly, that's going to save you time and money. Thank you, and enjoy the video.
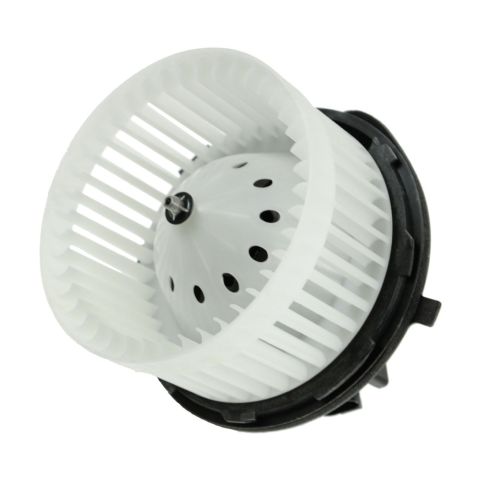
In this video, we're going to show you blower motor replacement on this 02 GMC Sierra. This procedure is exactly the same for any 99-02 Silverado or Sierra as well as 2000-2002 Tahoe, Suburban, Yukon, Yukon XL. It's also similar for the 03 and up trucks; 03 to 10 or 11 trucks that have the twist in style motor. The only tools you need are a 7 millimeter and 7/32 inch sockets with a ratchet and a small extension.
On the passenger side, there are four 7 millimeter bolts to remove: one there, one in there, there's one up in that hole right there. I can't really video it. Then it'll be here closer to the gas pedal. There is one right there. Once you removed those bolts, just reach in and pull it down and out of the way. Up underneath, this was the shield for the fan. There's a bolt here. One, I can't really film directly opposite of it. Feel up in there for it. You got 7/32 bolts. You want to remove them both. You can see I have a little extension on my racket and socket. I really need that.
Okay, just fast-forward here. I'm turning the wrench. Then, eventually, it comes out easy enough so I can put my hand up in there and I try to wrest the way out with my fingers. This is the bolt. This one here. Okay, you can see- you can't see this. Now you could see up in there is your connection, your harness connection. You can usually just stick here; your finger in there, and press the tab and pull that out. It allows your shield to come down.
Looking up in there, at this point, there's actually a tab right here. You need to pull down on that tab. Okay. You reach out there with this hand and this finger. I'm pulling down on the tab, and then I'm twisting the motor. Twist. Comes right down and out.
Apologies for that camera work. I didn't realize until after I shot that I didn't get a very good view of that. Basically, you pull down on that tab that I showed you before and then you twist the motor. It will be counter clockwise to then it'll come down and out.
This truck is a video mule. I'll just put the original back in because it's exactly working fine. You just push it up, work it up in there. A crate gets in the way here. Okay. Push the motor up in. Then spin it. Okay. It looks nice and secure. Now get the wire through your shield, and then connect it. You can do that either way. You can put the shield up in there first. I find this just a little bit easier. Shield. Shield in place. Strap this bolt first. You reach up in here. Feel your other bolt. You do it by feel. Get that and started. I'm going to take them out.
Okay. The final part is to put your cover back in place. You want to push it up in there. You push it; it gets the firewall first. I'm sorry about shaking around a little bit here, just trying to film with one hand and push up in there with the other. Push the front of it up in the end first. Then make sure you have everything lined up. Okay, as you could see here, there's the passenger side out the holes. Make sure those are all lined up. Then start your end bolt here. Then I recommend starting the one over near driver's side. Once you have those lined up, then the other two middle ones go in pretty easily.
We hope this helps you out. Brought to you by www.1AAuto.com-- your source for quality replacement parts and the best service on the internet. Please feel free to call us toll free, 888-844-3393. We're the company that's here for you on the internet and in person.
Shop Products

How to Replace Blower Motor with Fan Cage 1982-88 Chevy Camaro
Need to replace the blower motor on the 82-88 Chevy Camaro. This video will help you do it yourself
