How to Replace Heater Blower Motor 2001-05 Honda Civic
Created on: 2016-05-25
How to repair, install, fix, change or replace a bad or broken blower motor on 01, 02, 03, 04, 05 Honda Civic
-
step 1 :Removing the Blower Motor
- Disconnect the blower motor connector
- Remove the screws from the blower motor with a flat blade screwdriver
- Remove the blower motor
-
step 2 :Installing the Blower Motor
- Insert the blower motor into place
- Tighten the three screws with a flat blade screwdriver
- Connect the blower motor connector
Tools needed
-
Flat Blade Screwdriver
T25 Torx Driver
Brought to you by 1AAuto.com, your source for quality replacement parts and the best service on the Internet.
Hi, I'm Mike from 1A Auto. I hope this how-to video helps you out, and next time you need parts for your vehicle, think of 1AAuto.com. Thanks.
In this video, we're going to show you how to replace your heater and A/C blower motor. This is a 2003 Honda Civic, pretty much the same for 2001 to 2005 Civic as well as other vehicles. You'll need a new heater blower motor from 1AAuto.com, as well as a flat blade screwdriver, T25 Torx Bit, or 8mm socket and ratchet.
The blower motor is located under the passenger dashboard, all the way to the right side. Disconnect the connector on the blower motor and undo these three screws. The screws have provisions for 8mm sockets, flat head screwdrivers, and a T25 Torx Bit. We're going to use a flat blade screwdriver, because it's the most common tool to have.
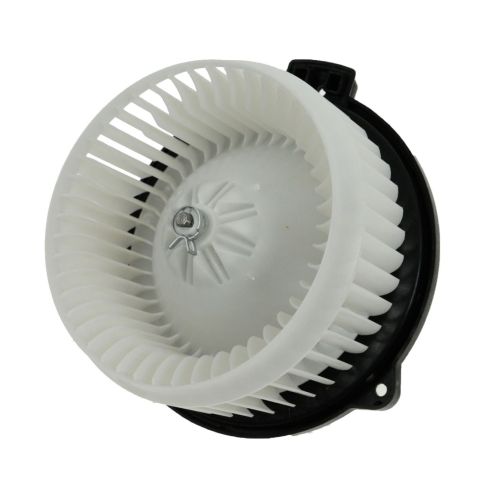
Remove the blower motor from the HVAC unit. Here we have our old part from the vehicle, and our new part from 1AAuto.com.
As you can see, they're exactly the same. We have the same size fan, same mounting locations, top and bottom. Flip them over, we have the same 2-Pin Connector on each. Your blower motor is what's responsible for circulating air through your vents. This means getting your heat and A/C actually blowing through the car. If you're turning your switches on and you're not hearing this motor spin, or the motor's making a lot of noise, you're not getting proper airflow through your vents, a blower motor could be your problem.
This part from 1A Auto is going to bolt right in just like the original piece, direct fit. Reinstall the blower motor into the HVAC unit. Start all three screws by hand so you don't have to support the motor. Make sure it goes in straight. Tighten them back up with your flat blade screwdriver, Torx Bit, or 8mm socket, depending on whatever you want to use. Once your screws are tight, reinstall your 2-Pin Connector.
Thanks for tuning in. We hope this video helped you out. Next time you need parts for your car, please visit 1AAuto.com. Also check out our other helpful how-to and diagnosis videos.


How to Replace Blower Motor 1992-2000 Chevy Tahoe
If you need a new blower motor, watch this video to learn how to install one in your 1992-2000 Chevy Tahoe.
