How to Replace Hood Latch 1999-2007 Chevy Silverado
Created on: 2020-06-24
This video shows you how to install a new hood latch on your 1999-2007 Chevy Silverado.
Tools needed
-
Socket Extensions
10mm Wrench
10mm Socket
Ratchet
Needle nose pliers
Okay, friends, so one of the first things we need to do to start this hood latch repair is we're going to come right here to these three 10-millimeter headed bolts. You'll see two on the driver side and one over on the passenger side. Remove all three. There we are. Do the same to the rest. And if you don't feel like using a wrench, use a 10-millimeter socket with an extension.
Come right through the grille, go ahead and remove it. Okay. There it is. Hold onto this because there's nothing else holding it on. The next thing we need to do is get the release cable off of here. If you squeeze those two ears, you should be able to get it off. Okay. Just draw that out. Bring it down through the slot. Then take this. Bring it right up and out of there.
There it is, friends. Now, it's time to get our nice new latch in there. We're going to install it in the reverse process. So, just take that cable, put it around the backside there, pull it through. Now, I'm gonna go ahead and give it a tug. And I'm going to slide those ears through. Make sure they lock in completely.
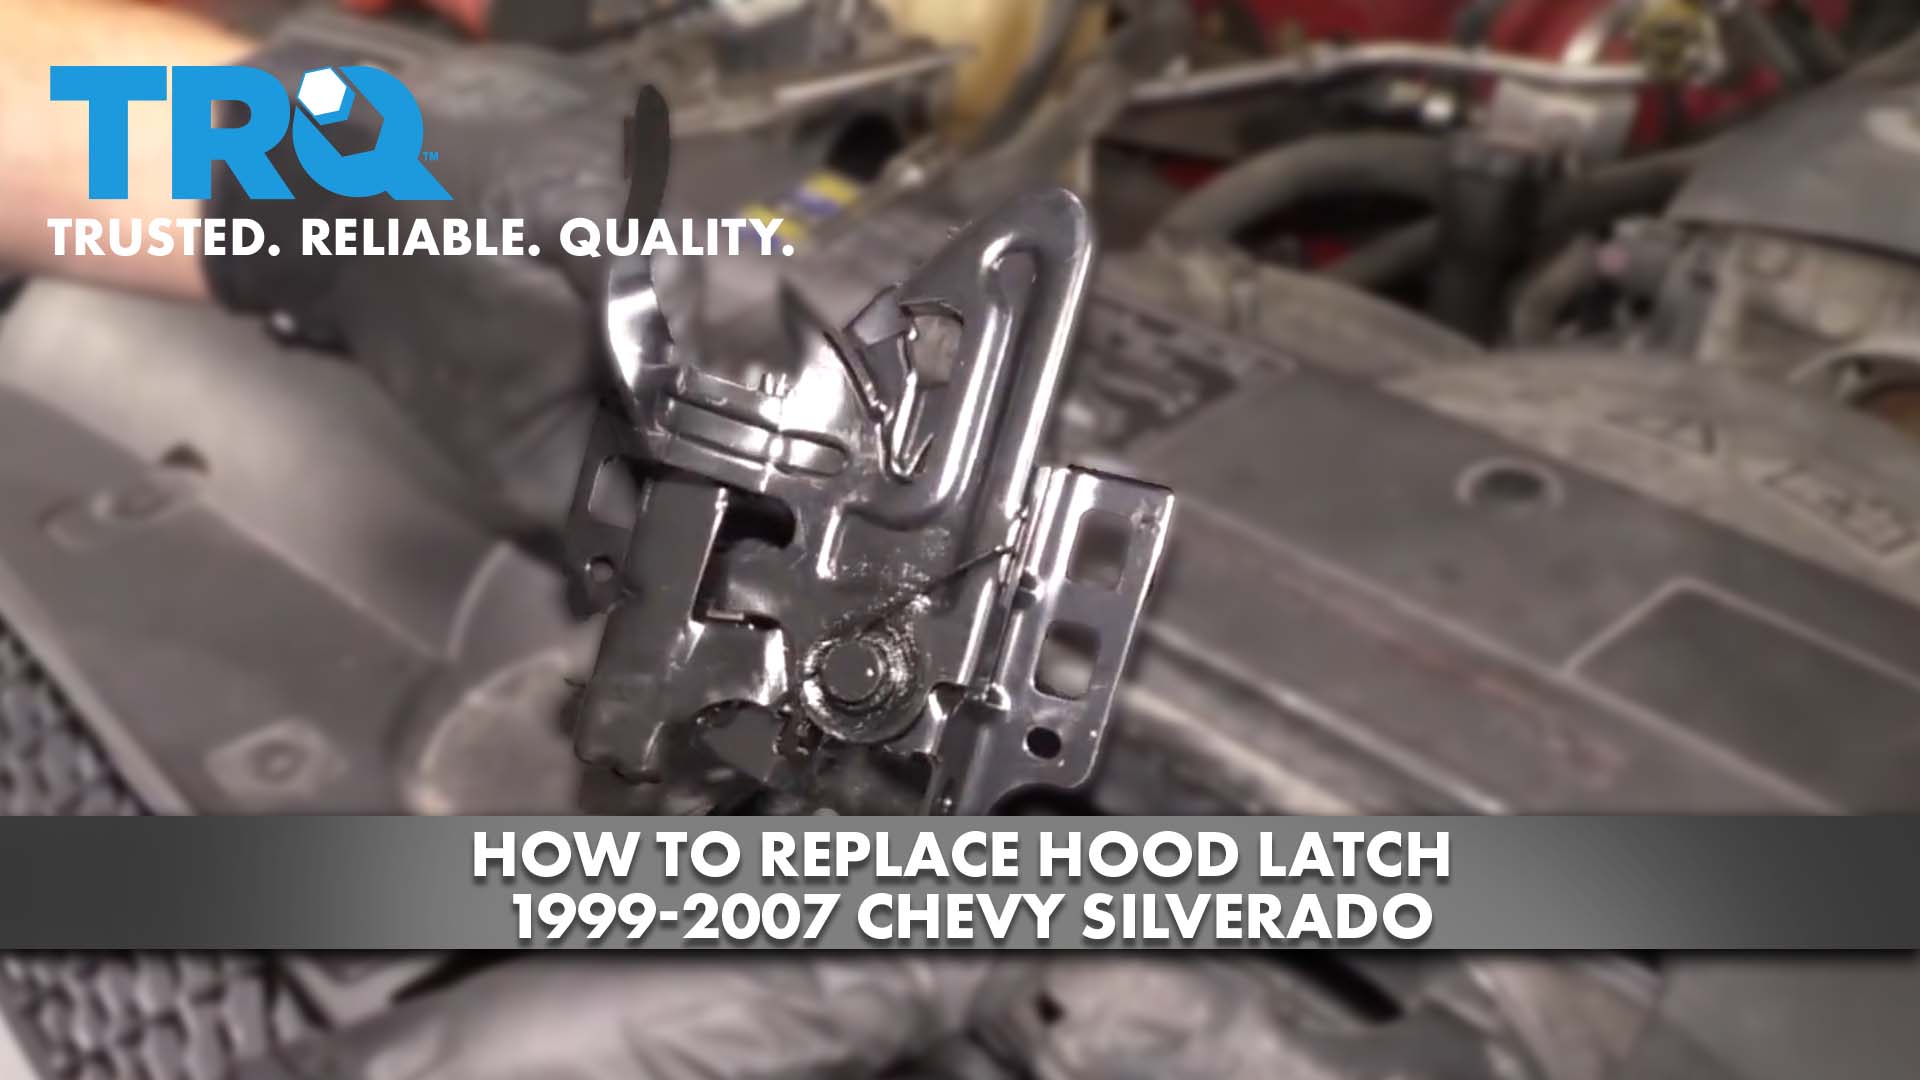
Bring this down. Start in all your screws before you tighten any of them down. Okay. Those are close enough. This can still move around. So, next, we need to take a look at our old latch. If you look, you should be able to see some circles where the old washers for the bolts used to be. You're going to want those markings to be in approximately the same place on the new latch.
That's going to be a great starting point. If I was to tighten this up in a completely up position where my old one was in the completely down position, more than likely my hood's not going to be aligned properly and it might not even open. So, I'll just start it where the old one was, and we'll go from there. All right. Let's give it a quick test. Give it a nice tug. Make sure it doesn't move around too much up or down. That feels good. Our next test is to go pop the hood and hopefully, it breaks free and opens up.
So, that's what we were looking for right there. We wanted to make sure that this latch is going to be working properly right from the get-go. If for some reason the hood came down but it didn't latch in, you need to fix your adjustment. Maybe the hood came down and it did latch in, but you noticed you had to push down on the hood to get it to completely unlatch, once again, you need to complete your adjustment. Once you get it just right, we're going to continue on by snugging these up completely.
Okay. Close the hood, take it for a road test.
Shop Products


What To Do If You Have a Stuck Hood Latch Or Hood Wont Open
Learn how to pop your hood without using the handle on the inside of your vehicle. This trick might come in handy if yours is stuck or rusted!
