How to Replace Hood Latch 2000-06 Chevy Silverado
Created on: 2017-09-29
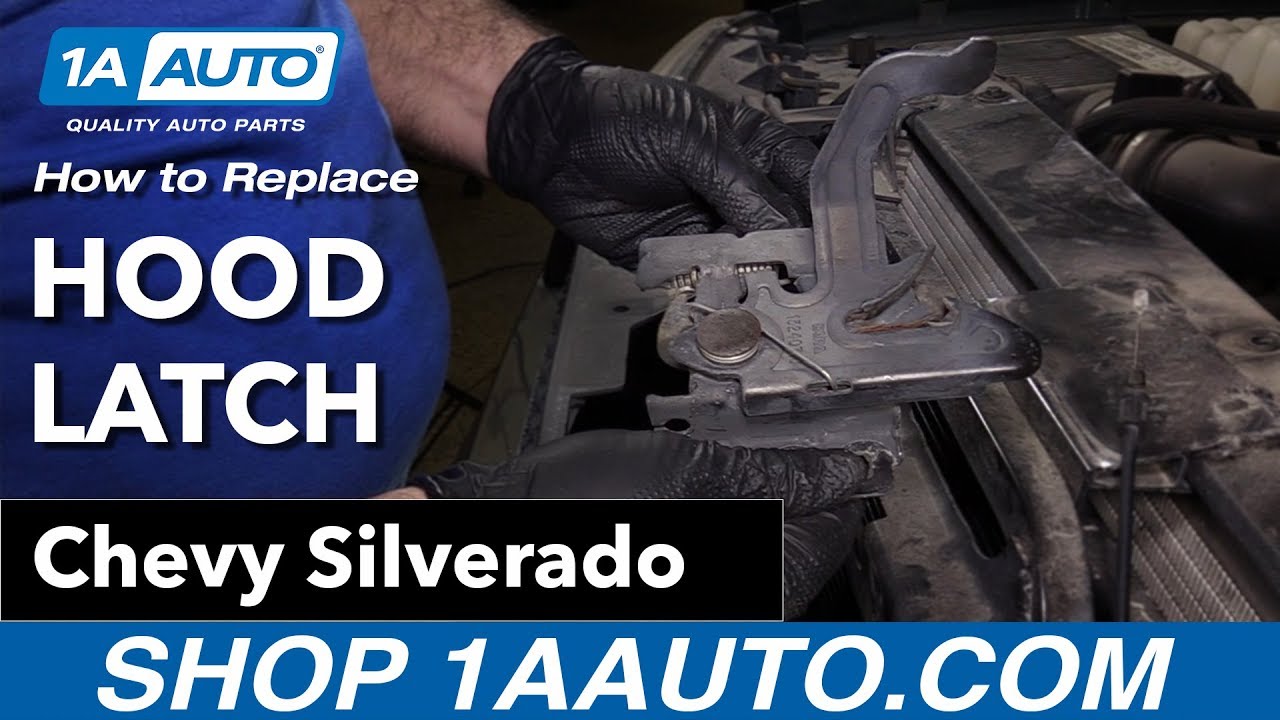
New Hood Latch from 1AAuto.com How to replace a broken or stuck hood latch on 06 Chevy Silverado
-
step 1 :Removing the Hood Latch
- Remove the 10mm bolts from the hood hinge
- Pop the clips out of the radiator cover
- Remove the cover
- Remove the hood hinge
- Release the cable from the hinge
- Remove the cable from the latch
-
step 2 :Installing the Hood Latch
- Attach the cable to the hood latch
- Lower the latch to the radiator support
- Tighten the 10mm bolts to the latch
- Test the latch
- Press on the plastic cover
- Push the clips into the cover
Tools needed
-
Socket Extensions
Flat Blade Screwdriver
Rust Penetrant
10mm Socket
Ratchet
Hi, I’m Mike from 1A Auto. We’ve been selling auto parts for over 30 years!
Replace the hood hinge. Remove the 10 millimeter bolts that are holding it. There's one on this side and two on this side. I'm going to start with the single one over here, loosening it with a 10 millimeter socket. I'm going to loosen this one. Loosen the bottom one. I'm going to switch to a ratcheting wrench to make it a little bit easier. Once I get this one loose, pull it out with my fingers and put it aside.
Work on this one here. Rather than struggle to try to get to these bolts, I'm going to pop these clips out with a flat bladed screwdriver. There's a bunch of push clips all around here, we can take this trim right off then we'll have access to hood hinge. Much more space without this in here. Get my fingers in here, remove this one. Lift the latch out.
To unclip it from the hood release cable so I can actually push this cable out, around and I can unclip it from here. I'm just going to push it in with my thumb. Get these bolts out of the way. Put that cable there. The hood latch is removed.
Here's the old hood latch from our vehicle and the new hood latch from 1AAuto.com. It’s similar in design with the same bolt holes. There's these square holes so that the hood latch can be adjusted. Same mounting point for the hood release cable as the original. This should fit in the truck and work great for you.
I reattached the hood release cable. Go through here, and actually what I'm going to do is loop it over here first, pull it back, and push it through. I can put it back on the radiator support. You can see where the original one was. Some marks here so in order to get it close to adjustment, so I'm going to put it where the original one was for now. If we need to adjust it afterwards, you can leave these bolts loose and move it side to side and up and down to adjust as necessary.
But for now, I'm going to line it up where the original one was. Reinstall the bolts. Start tightening these, get it to line up close to the original one. I'm just going to tighten this til I feel it get tight, and then I'm going to stop. Bring the final bolt in. It wants to go by hand.
Our hood latch is replaced. It did come pre-greased but now's not a bad time to add a little more lubricant to it. Looks like the adjustment is good so we're going to leave that as is. Make sure the release works. The hood latch is replaced. Final step is just reinstalling the plastic cover, goes over the grille. Just push all the clips back into place. Push them down and lock them. If the center part has come out, that's okay, we'll reinstall it.
Thanks for watching. Visit us at 1AAuto.com for quality auto parts, fast and free shipping, and the best customer service in the industry.
Shop Products


Car Truck or SUV Hood Stuck How to Get it Open and Correct it
Check out this video where 1A Andy shows you some tips on how to get your finicky or stuck hood to behave!
