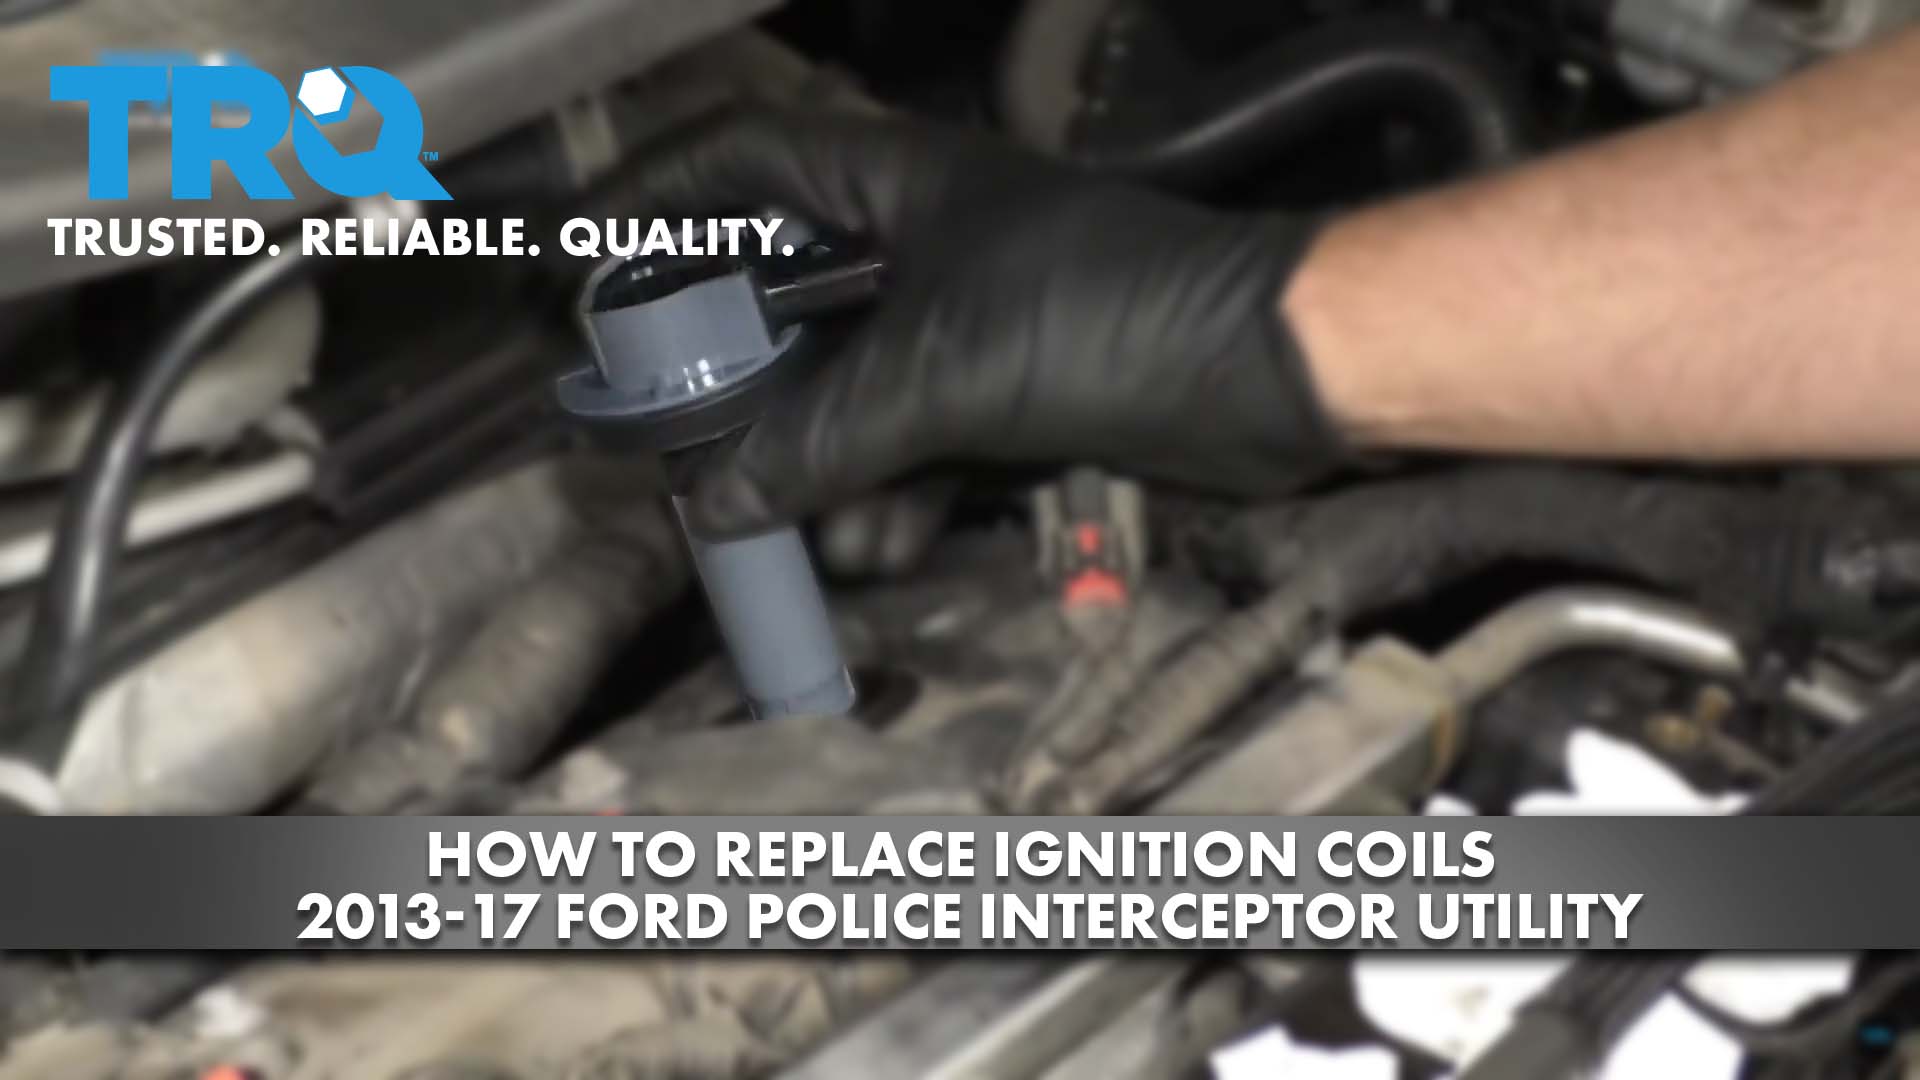
How to Replace Ignition Coils 2013-17 Ford Police Interceptor Utility
Created on: 2020-05-21
Watch this video to learn how to install new ignition coils on your 2013-19 Ford Police Interceptor Utility, or 3.5 Ford Explorer.
Tools needed
-
Dielectric Grease
Torque Wrench
Flat Blade Screwdriver
8mm Socket
Hose Clamp Pliers
Torque Angle Gauge
Ratchet
Cloth Rags
Needle nose pliers
Pick
Take this hose off. Just disconnect it on the snorkel. I'll disconnect it over here as well just to get it out of the way. Just slide that little lock tab up and it slides off. And there's a hose right here. Slide that hose off there. And I want to loosen up these worm clamps. Use a straight blade screwdriver. And also over here. And slide the snorkel off. Off that side as well. And there's a hose clamp right here. Loosen this one up. Straight blade screwdriver. And try to wiggle this hose off. You might need to pry it off with a screwdriver or a pick. And slide that hose off. Put the hose clamp aside. And there's a hose connected in the back. Just use some hose clamp pliers. You can either loosen this clamp up or take the other one off. And slide it down. And take the screwdriver or pick and slide this hose off. Now take this hose out of the way. There's a little clip right here. Just have to push in on the clip. And slide it out. If you look on this side, these are the two little tabs. You just push them together, and then push them like that. That slides out. Just disconnect that right there. You can just slide this out of the way. You don't have to disconnect it from the other side. Just move that out of the way.
And this coolant hose, I'm not going to disconnect it. Just take it off of this bracket right here and right here. Slide it out of the way. And disconnect these connectors. Push down on the tab. Slide that one off. This one has a little lock on it for the throttle body. Slide the lock back and then you can push down on the tab. And slide the connector off. Now we're going to take these bolts out just using an 8-millimeter socket. All right. Those are all loose. And just grab the plenum and slide it up. And take some rags and just put them in the intake ports. Just remember, you want to remove these before you put it back together. It just prevents dropping anything into the intake. To disconnect the connector on the coil, there's a little retainer lock. Push down on that. Slide it towards you, and then push down on the lock tab and slide the connector up, just like that. Use an 8-millimeter socket. Take this bolt out. Just grab the coil and slide it out. And the boot actually came off the coil, and so we're gonna have to grab that. But normally there's a boot that's attached. You're gonna need some long needle-nose pliers. Try to grab the boot. All right. And slide that out.
Now take the new coil. And it looks like there's a little bit of dielectric grease on the coil, but I'm just gonna add a little more. Can't hurt. Just like that. And install the coil. Push down. Take the bolt. Put the bolt back in and tighten it down. And just snug that bolt up. That's good. And plug it back in. Push the lock down. And then you can do the same procedure for the other ones. Now take these rags out. Just make sure you didn't get anything down in there. You can use a blowgun and blow out the intakes and just wipe it off. All right. Whenever you do this job you want to replace this gasket right here. You can just use a pick. Pull it off and put the new gasket on. Make sure that it's all nice and cleaned off. Slide this back in position. That's good. Get all the bolts started. Now there is a torque sequence that you have to tighten these down, and I'm gonna torque these to 7 ½ foot-pounds. So, this is number one. This is number two. And number three. And number four. And number five's on the opposite side. And number six. And number seven.
And after you do that, you're going to go around again the same sequence, but you're gonna tighten it an additional 45 degrees. Now you can use a torque angle meter, or if you don't have a torque angle meter just do the best you can. Just try to guesstimate 45 degrees. Now we can plug these connectors in. Plug the throttle body in. Purge valve. Lock it in place. Line this coolant hose up. And the hose that goes to the purge valve, line that up. Lock it down. And put this hose on, on the back. Use the hose clamp pliers. Move that hose clamp. Get it as close as where it was. Slide this hose clamp back over this hose. Goes to the brake booster and to the top of the intake. Slide that on. Use a straight blade screwdriver. Tighten up the worm clamp. And slide the snorkel back on. Slide this tube back in position right there and tighten up the clamps. And reconnect this hose and lock it in place.
Shop Products


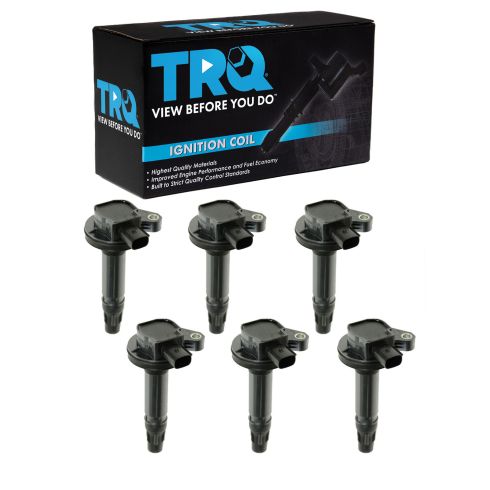
Ford Mazda Lincoln Mercury 6 Piece Ignition Coil Set TRQ ICA61442
Part Details:
- 6 Piece
- (6) Ignition Coils
- Direct Replacement
- Black

How to Replace Spark Plugs Ignition Coils Spark Plug Wires 2008-12 Jeep Liberty
Ignition coils help your vehicle's engine run efficiently, cleanly, and smoothly. Rough running, lower than expected mileage, or trouble codes are sure signs that it's time to replace yours. Since worn spark plugs can damage ignition coils, it's best to replace those at the same time. And, since this model also uses spark plug wires, those should be replaced as well. This video shows you how to install new quality TRQ ignition coils, TRQ Performance spark plug wires, and new spark plugs on your 2008-12 Jeep Liberty. • Check here for more videos on the 2008-12 Jeep Liberty: https://www.youtube.com/playlist?list=PLJVpHWuCEUX9CAHC1hzA-wBtLP-tJwrFO
