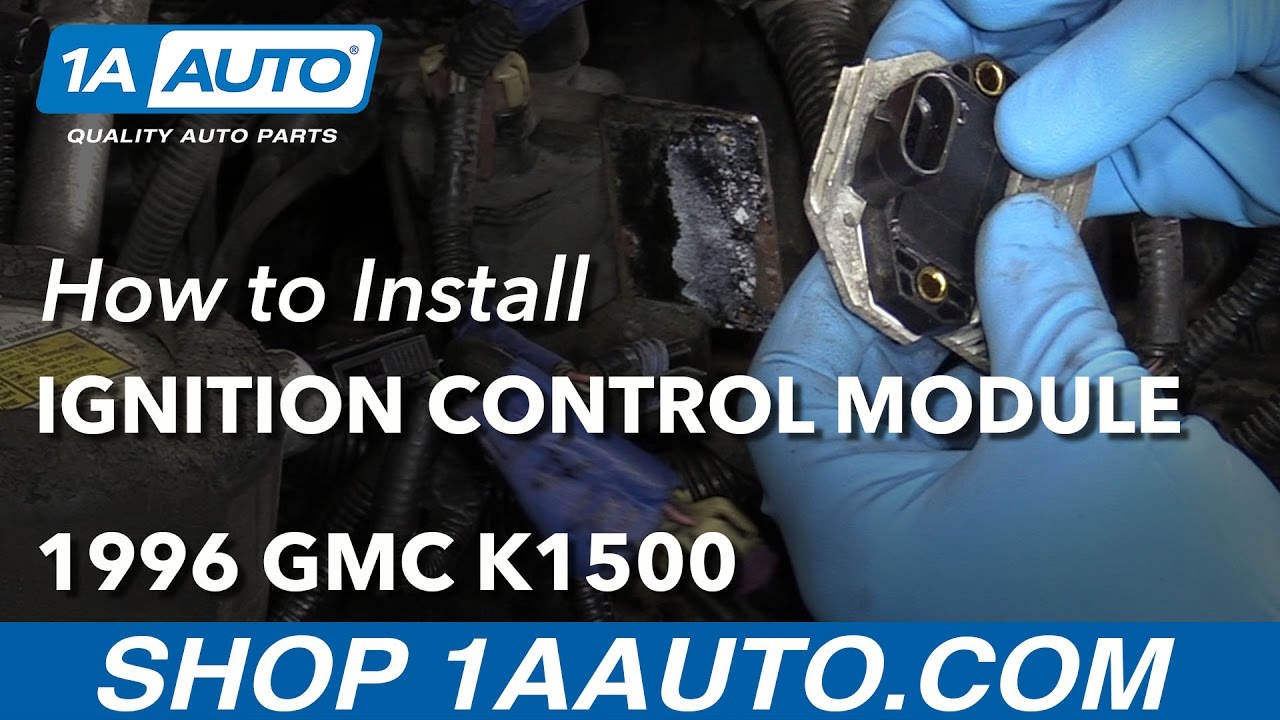
How to Replace Ignition Control Module 1996-99 GMC K1500
Created on: 2017-04-26
Check out this video with detailed instructions on how to replace the ignition control module on your 96-99 GMC K1500.
-
step 1 :Removing the Air Intake
- Unclip the air box latches
- Lift off the air box cover
- Disconnect the intake air temperature sensor electrical connector
- Disconnect the mass air flow sensor electrical connector
- Pop the breather line off the intake hose
- Remove the thumbscrew from the intake
- Lift the Intake up and out
-
step 2 :Removing the Ignition Control Module
- Disconnect the ignition control module electrical connector
- Remove the two 5.5mm screws from the ignition module
- Lift the ignition module out of the engine bay
- Separate the ignition module from the heat sink
-
step 3 :Installing the Ignition Module
- Apply the grease to the ignition module backing
- Press the ignition module to the heat sink
- Start one of the 5.5mm screws into the ignition module
- Put the ignition module into place
- Start both 5.5.mm screws
- Tighten the two 5.5mm screws
- Connect the ignition module electrical connector
-
step 4 :Installing the Air Intake
- Connect the intake to the throttle body
- Fasten the thumbscrew onto the intake
- Connect the intake hose to the air filter
- Clip the intake hose to the air box
- Connect the mass air flow sensor electrical connector
- Connect the intake air temperature sensor electrical connector
- Line up the air box cover
- Clip on the air box cover
- Connect the breather hose to the intake hose
Tools needed
-
Gloves
5.5mm Socket
Ratchet
Hi, I'm Mike from 1A Auto. We've been selling auto parts for over 30 years. We're dedicated to delivering quality auto parts, expert customer service, fast and free shipping, all backed by our 100% satisfaction guarantee. Visit us at 1AAuto.com, your trusted source for quality auto parts.
In this video, we're going to be working with our 1996 GMC Sierra K1500 with the 5.7 liter V8. We're going to be showing you how to remove and replace your vehicles ignition control module. If you like this video please click subscribe. We have a ton more information on this and many other vehicles. And, if you need this part for your truck, you can follow the link down in the description over to 1AAuto.com. Here are the items you'll need for this repair.
Lift up on the latches and remove the upper portion of your air box. Unplug the intake air temp and mass airflow sensors. Pop the breather line off and undo the thumbscrew. Rock the upper part of the intake forward and remove it from the vehicle.
Disconnect the connector on the ignition control module, and remove the two 5.5mm screws with a 5.5mm socket and ratchet. Remove the control module, and the heat sink from the vehicle.
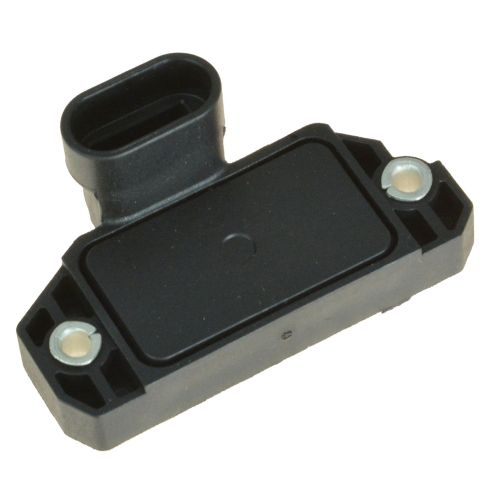
Here we have our old ignition control module that we removed from our vehicle, and our new part from 1AAuto.com. As you can see these parts are exactly the same. They have the same connector and the same body of the sensor with the same two bolt mounting location. Now, what happens to these, is they tend to get hot and fail, which can create a rough running condition, or prevent your vehicle from starting at all, which is actually what this little tube of grease is included for. You apply this to the metal surface on the back of the ignition control module, before mounting it to the heat sink and reinstalling it. It helps to dissipate that heat from the module, and prevent it from failing. If your old module has gone bad, this new part from 1A Auto is going to in direct fit, just like your original equipment, and fix you up right.
Apply the grease included with your sensor to the metal backing. Go ahead and use all of it: the more the better. It's going to help keep that heat away from the module and keep it lasting longer and performing correctly. Spread the grease around on the back of the sensor. Make sure you coat all of the metal surface evenly.
Place the ignition control module back onto your heat sink and, start one of your 5.5mm screws. Place it back onto the bracket and start both screws by hand before tightening either one down fully. Tighten down the bolts with a 5.5mm socket and ratchet. Reconnect the electrical connector.
Lift up on the latches and remove the upper portion of your air box. Unplug the intake air temp and mass airflow sensors. Pop the breather line off and undo the thumbscrew. Rock the upper part of the intake forward and remove it from the vehicle.
Thanks for watching. Visit us at 1AAuto.com for quality auto parts, fast and free shipping, and the best customer service in the industry.
Shop Products


How to Replace Ignition Coil 2001-06 Chrysler Sebring 2-7l
Watch this how-to video and learn how to do this simple repair yourself
