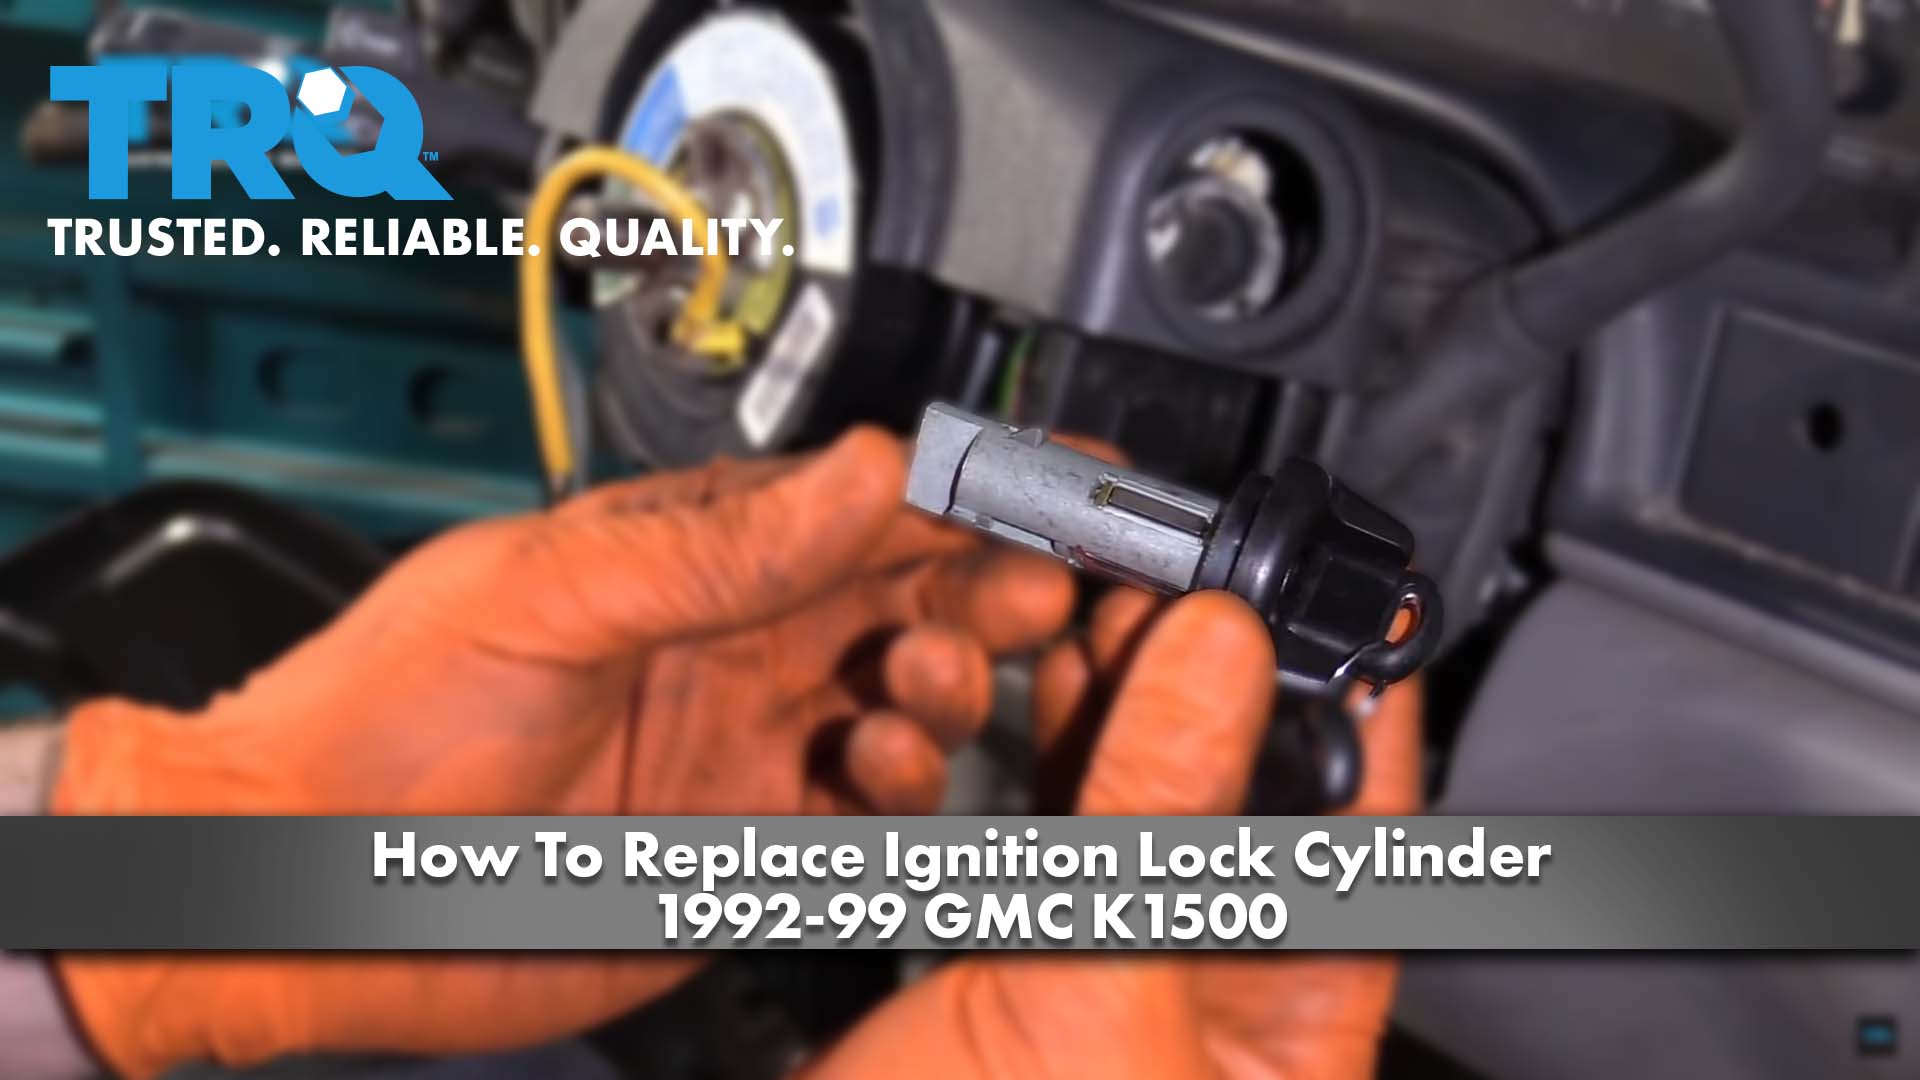
How To Replace Ignition Lock Cylinder 1992-99 GMC K1500
Created on: 2020-05-29
This video shows you how to install a new ignition lock cylinder in your 1988-02 GMC Sierra.
Tools needed
-
Socket Extensions
Flat Blade Screwdriver
E5 Socket
Socket Driver
8mm Wrench
T25 Torx Socket
T25 Torx Driver
Marker / Writing Utensil
Pick
Let's remove the negative battery terminal using an 8-millimeter wrench. Set this aside so it can not contact that battery terminal. So, next, we're just going to turn the steering wheel. We're going to have this so it's just like that. At this point, if you were to look at the backside, you're going to see two holes, and inside those holes, there's going to be a little piton that you're going to want to push on. So, I'll just take my pick. I'm going to push right in the center. And then I'm going to pull out on the airbag a little bit. And then I'll do the same to the other one. Okay. That came out. I'm going to do the other side real quick again just in case. Okay. That feels good. We'll do the same to the lower ones. There we go. Carefully pull this away. Now, we're going to disconnect the airbag. This orange thing right here is a lock. So, first, I'll slide it out of where it's held in. Now, we're just going to grab that orange piece. Pull that out. Now, we'll just press in on this tab and we should be able to separate these two pieces. Carefully set your airbag aside. Get that wire out of the way. Now, we're going to remove this nut.
Now, the next thing you want to do is pay special attention to make sure that your steering shaft is marked and the steering wheel area's marked so they line up. If they aren't, just go ahead and make some sort of mark, that'll make it so you can remember because you don't want to put your steering wheel on criss-cross. At this point, usually, you can shake it around and sometimes it comes off that easy. Other times, what you might have to do is put a bolt through right there and there, and just kind of keep driving them in and it'll press up against this area there and draw the steering wheel away. So, now, we're gonna use a T25. It's a Torx bit driver. And if you were to look underneath your steering column, you're going to see two large holes. There's going to be two screws, remove both of them. The next thing you're going to have to remove is this right here. To do that, just pull it straight out. Now, we can grab onto this. You want to push towards the dash to unhook the clips there in the back, and then, of course, draw it towards you to remove it completely. There's those hooks that I was talking about. Next, we're going to use an inverted Torx E5. We're going to loosen this right here and that's going to relieve this upper plastic. Should be able to lift up. Okay. That came free nice. It's coming along great. Awesome.
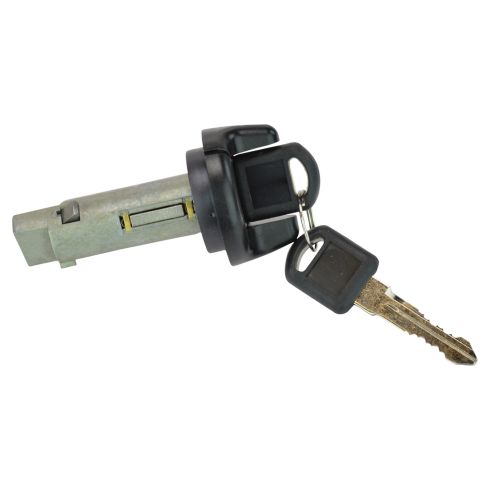
We're going to have to do next is we're going to be coming from underneath this plastic, we're going to find a little hole and I'll show you in a second. We're going to take this pick and we're going to press down. Once you press this down, you can turn it backwards a little bit, and slide the unit out. So, right now, my plastic's already off, and that's just basically for the camera. But essentially, you would just lift it up so you can get under. And I'll just kind of get it out of the way. And then here's that hole that I was talking about. So, imagine I'm lifting up that plastic, I find my hole. Okay. I'm going to take my ignition, I'm going to turn it so it's in the cranked position, and that's lining this slot up with the hole. I'm going to press down and then I'm going to turn this counter-clockwise and then I'm going to turn this back a little bit and pull this out. Let's try again. Crank it, push this in, twist, and pull. Let's get the ignition cylinder in. Give it a nice tug. Make sure it does not come out. Perfect. I'm gonna hold that down. Just going to screw this in. Remember you're just screwing into plastic, so you don't necessarily want to go too tight, just bottom it out and then give it a wiggle. That feels great. Now, it's time to get the lower part on. Remember those hooks. When we go in, we need to go in extra far, bring it up, and then slide it forward and lock it in. I'm just gonna come on the outside of that, go in extra far like I said, bring it up, and then, come on, there it is. Lock those in. All right. Let's put in our screws. Now, we're going to put this in, give it a nice push, make sure it functions. Perfect.
Now it's going to be time to get the steering wheel back on here. You just want to pay attention to this yellow wire. We're going to put it right through this slot in the steering wheel. Draw it right on through. And then we're going to line up the steering wheel. As you push and twist, you'll notice it will finally set in and everything should line up with the marks that are already on there. If you don't have it lined up, it just really won't push in until it does. So, we'll just kind of give it a nice little push. That feels good. Now, we're going to use our 21-millimeter nut, we'll snug it up, and then we'll torque it to 29 foot-pounds. Let's torque this to 29 foot-pounds. Perfect. Let's get this wire in here. Now, we've got our airbag. Want to make sure you connect it in. And then we have the orange lock. Heard the click. Give it a nice tug. Take your lock, slide it right in. You want to make sure that this is secured. Go up and over the top of that, slide it just like that. Now, we're going to take these. You want your four prongs to line up with your four holes. Before we go any further, just double-check to make sure that you have this inside there. This is for the horn. And if you don't have it in there, it's not going to work. Carefully line those up. Okay. Now, I'm just going to push it in. Awesome. So, now, we'll carefully connect our negative battery terminal here. Check it, make sure it's nice and snug. Now, let's go try to start the vehicle.
So, let's test it. Test that four-way. Four-way is good. Left, right, and, of course, turn on the headlights. High beam, I can see that they're turning on and off right there. That's great. One last thing, horn. Perfect.
Shop Products


How to Replace Ignition Key Lock Cylinder 1999-2004 Ford F250 F350
Check out this video to learn how to replace the faulty ignition key lock cylinder in your 99-04 Ford F250 or F350.
