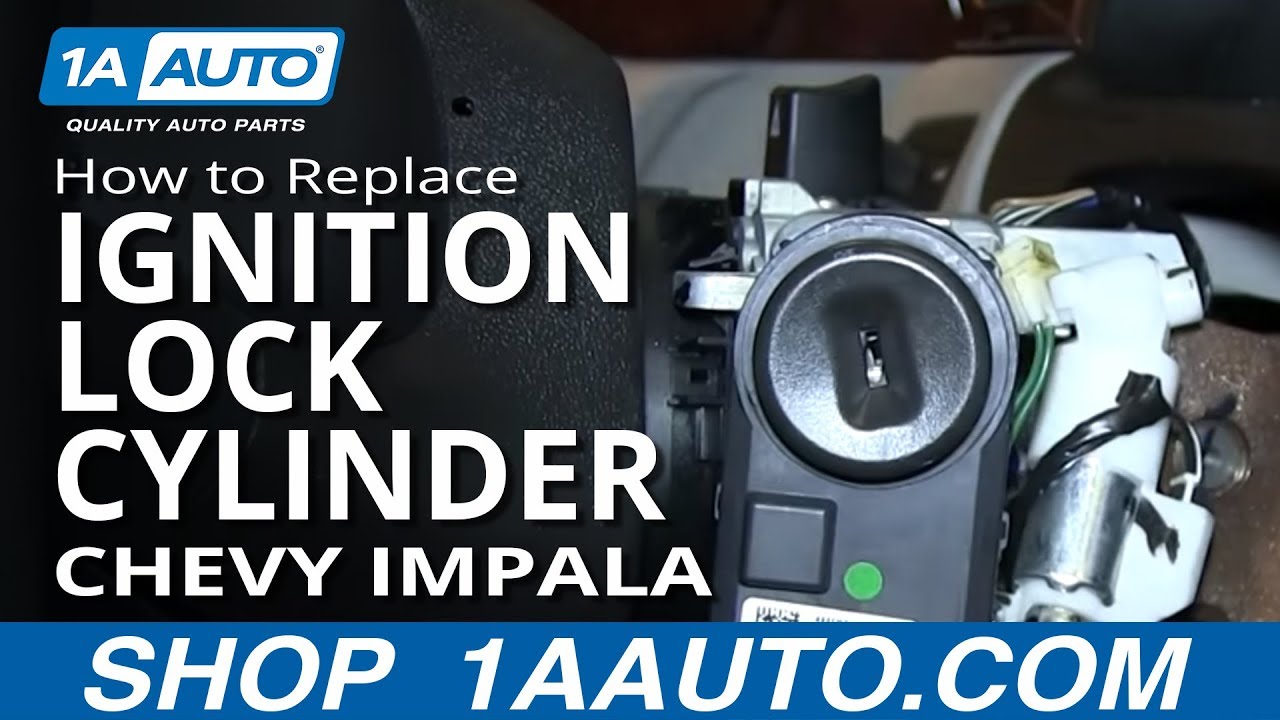
How to Replace Ignition Lock Cylinder 2006-13 Chevy Impala
Created on: 2013-09-08
Watch this video to learn how to replace a broken or stuck ignition lock cylinder. This applies to the 06-12 Chevy Impala, and other GM vehicles
-
step 1 :Disconnecting the Battery
- Disconnect the negative battery cable with a 10mm socket and ratchet
-
step 2 :Accessing the Ignition Lock Cylinder
- Raise the steering wheel
- Remove the two 7mm or T25 Torx screws from the bottom dash panel
- Pull down the lower dash panel
- Remove the T25 screw from the bottom of the steering wheel
- Pull off the lower steering column panel
- Pull off the upper steering column panel
-
step 3 :Removing the Lock Cylinder
- Disconnect the ignition electrical connection at the top
- Insert the key into the lock cylinder
- Turn the key to the on position
- Press a pick or awl into the lock cylinder hole
- Remove the lock cylinder
-
step 4 :Preparing the New Lock Cylinder
- Apply white grease to the old lock cylinder tumblers
- Pry off the tumbler retainers with a pick
- Prepare a diagram of the lock
- Pull out the first tumbler
- Put it in the first position on the diagram
- Pull out each subsequent tumbler, putting it in position on the diagram
- If you are replacing an old style cylinder with a new style cylinder, omit the first tumbler from the diagram
- Put a spring into the first tumbler slot on the new lock cylinder
- Check the number on the next tumbler
- Insert a tumbler with the same number into the corresponding tumbler of the new lock cylinder
- For each subsequent tumbler, put in a spring and a tumbler whose number matches the corresponding tumbler from the old lock cylinder
- Insert the key into the new lock cylinder to test it
- Apply white grease to the new lock cylinder
-
step 5 :Installing the New Lock Cylinder
- Push the lock cylinder into place with the groove fitting into the steering column groove
- Connect the ignition electrical connection
-
step 6 :Reconstructing the Steering Column
- Put on the upper steering column panel
- Put on the lower steering column panel
- Clip the steering column panels together
- Insert the T25 Torx screw into the steering column
- Push on the lower dash panel
- Insert the two 7mm or T25 screws into the lower dash panel
-
step 7 :Reconnecting the Battery
- Reconnect the negative battery cable with a 10mm socket and ratchet
Tools needed
-
Phillips Head Screwdriver
Bent Tipped Awl
White Grease
10mm Socket
Ratchet
T25 Torx Driver
Marker / Writing Utensil
Pick
Brought to you by 1AAuto.com, your source for quality replacement parts and the best service on the Internet.
Hi, I'm Don from 1A Auto. I hope this how-to video helps you out, and next time you need parts for your vehicle, think of 1AAuto.com. Thanks.
In this video, we're going to replace a worn out lock cylinder. If you ever have any issues with your car, the key doesn't seem to work, it doesn't turn any way or it turns difficultly, you want to suspect your lock cylinder. You'll need a new ignition lock cylinder from 1A Auto, T25 Torx driver, a Phillips head screwdriver, a pick and a 10mm socket and ratchet.
Start out by disconnecting the negative battery cable. Using a 10mm wrench or a socket and ratchet, loosen up the bolt and remove the cable. Just for ease, put your steering wheel up and then there are two screws, they're either 7mm or T25 Torx screws. Remove those two screws and then you can pull your panel, there, down. Underneath the steering wheel, you'll find another T25 Torx screw. Remove that. Now you can pull down on that panel and it just snaps together in a couple of different places. Pull carefully, pull straight down, and then pull it out over the turn signal and steering column tilt lever and then pull up and off on the upper panel. You have to pull it over to get it by the lock cylinder and then up and off.
Take a small flat blade screwdriver, disconnect the electrical connection at the top, insert your key, turn it to the on position, and, then with a small awl, there's a little button or a pull on top, press down in there, you'll press a button and the lock cylinder comes out.
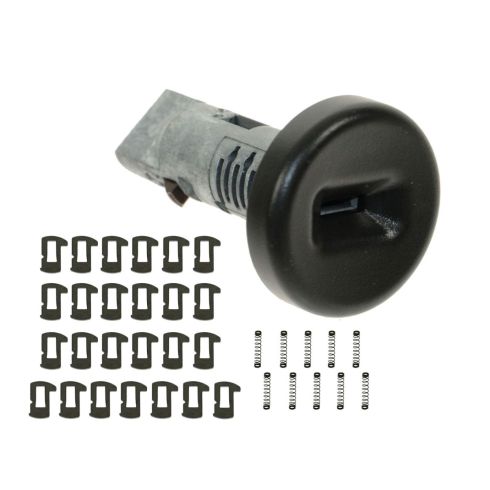
The old lock cylinder is on the bottom. The new one from 1A Auto and the new one has to be put together and keyed to accept your key. Now you're going to put a little white grease on each side. This is the old lock cylinder. You're going to put some white grease on each side where the tumblers are and that will actually help to keep them in place when you take the locks off. Here, we're going to remove the retainers, using a small sharp awl. You can see that the white grease does it job of keeping those tumblers in place. Now, you're very carefully going to use your awl to start on one side and take out the first tumbler. We have a little piece of paper with a diagram or just the key on it and put each tumbler on it. We're going to go to the next side, take the first one out, closest to where the key goes in, put it on the paper and just keep repeating that, taking them out in order.
You can see that we've updated our instruction sheet and you can see some cross outs. Basically there's a first style and a second style on these lock cylinders and the cylinder we sell replaces both styles. If you're replacing a first style, you actually omit a couple of the tumblers and that's what the paper is telling us. It's telling us that we put the first one in. It's telling us that we omit the second one. For the third one, there wasn't one and after that we put all the tumblers in as they are. Now each tumbler has a small number on it.
Now here, Don is opening up part of the packet. These are the springs. Before you put each tumbler in, you put a spring in first. I didn't quite get this shot but he's just putting a spring in the first slot. This is an old style, our car has an old style and we're putting in the new style so we omit the first one and the second tumbler has a small four on it so we grab a four from our new kit. You insert that into the lock cylinder and the tumblers and the cylinder are actually such a way that you can put them in the wrong order but you can't put them in the wrong side. Don just figures out the correct side. You put the spring in first and then you put the tumbler in on top of the spring. Can you move down a little bit. Come closer to this way. Yeah. We skip two. Now he's doing the next one, he puts the spring down in, checks the number on the tumbler, gets one from the kit and inserts it. Like I said before, we have an old style cylinder on the car and our replacement is a new style so you omit the first one and then the third one there wasn't one in the original so you just keep going right down, matching up the tumblers and putting them back in. Since we're placing our old style lock cylinder with a new lock cylinder, you'll notice that there are no brass retainers anymore. You just put the lock tumblers in place and that's it.
That's with the key. You can see that key way is up. Put the key in, and the key way goes down. Put some grease on the cylinder to lubricate it, work it down into the tumblers. There's a groove in the lock cylinder there, make sure you line it up with the groove on that lock cylinder, put it in, turn it backwards and it's in place. Reconnect your electrical connection and you can test fire the vehicle and then put your trim back together. Once you get the trim back on, you put those bolts back in place and reconnect your battery.
We hope this video helps you out. Brought to you by www.1AAuto.com, your source for quality replacement parts and the best service on the Internet. Please feel free to call us toll-free, 888-844-3393. We're the company that's here for you on the Internet and in person.
Shop Products

How to Replace Ignition Lock Cylinder Housing 2000-05 Chevy Monte Carlo
How to repair, install, fix, change or replace a failed, stuck, or damaged lock cylinder housing on 00, 01, 02, 03, 04, 05 Chevy Monte Carlo.

