How to Replace Ignition Switch 1995-2004 Ford Ranger
Created on: 2011-10-24
Check out this video for instructions for replacing the ignition switch in a 95-04 Ford Ranger.
-
step 1 :Accessing the Ignition Switch
- Use an adjustable wrench to loosen the nut on the battery cable.
- Disconnect the negative battery cable.
- Remove the four 7mm bolts that secure the panel under the driver side dash (two are under the hood latch).
- Pull down and back to release the panel.
- Using an 8mm socket remove the six bolts where the panel previously was.
-
step 2 :Removing the Ignition Switch
- Use a 7mm socket to unbolt the connection.
- Remove the gray cover.
- Remove the nut.
- Use a T30 torx driver to unsecure the switch.
-
step 3 :Installing a New Ignition Switch
- With the connector facing the drivers door push the switch back into place and tighten the T30 screws back into place.
- Plug the switch back in and reinsert the 7mm bolt back into place.
- Replace the grey protector.
- Replace the plate and six 8mm bolts.
- Replace the panel and the the four 7mm bolts.
- Reconnect the battery.
Tools needed
-
Adjustable Wrench
Socket Extensions
T30 Driver
8mm Socket
7mm Socket
Ratchet
Brought to you by 1AAuto.com, your source for quality replacement parts and the best service on the internet.
Hi. I'm Mike Green. I'm one of the owners of 1A Auto. I want to help you save time and money repairing and maintaining your vehicle. I'm going to use my 20 plus years experience restoring and repairing cars and trucks like this to show you the correct way to install parts from 1A Auto.com. The right parts installed correctly. That's going to save you time and money. Thank you and enjoy the video.
In this video we're going to replace the ignition switch on this 1996 Ford Ranger. The process is exactly the same for any 95-97 and very similar 98 and up trucks. Tools you will need are an adjustable wrench, 7 mm and 8 mm sockets with ratchet and extension and a T-30 Torx driver as well.
Use the adjustable wrench and loosen this nut on the battery cable. Then turn the battery cable and disconnect your negative cable. Start out, you are going to remove four 7 mm bolts. One there. There's two underneath your hood latch here. Pull it out, right there. And then another one right over here. We're going to use a 7 mm socket with an extension and a ratchet. Once those bolts are off you actually pull down and forward or actually backwards on this panel. Just pull it out. There are two pins that hold it right there.
I'm now using an 8 mm socket. You're going to remove six bolts that hold this plate on. You can bear with me a minute as I just fast forward through removing those six 8 mm bolts. Now right up in here is your ignition switch. You are going to use a 7 mm socket and ratchet and unbolt the connection. I'm fast forwarding here again. I kind of use a socket to unbolt it. Then I do pull that grey cover off and then use my socket and ratchet again to turn it counter clockwise to loosen that nut. There's your switch. Now you want a T-30 Torx driver and two screws holding the switch in place, one there and then one over here. Fast forward a little bit as I'm removing those two T-30 Torx screws. There's your switch out.
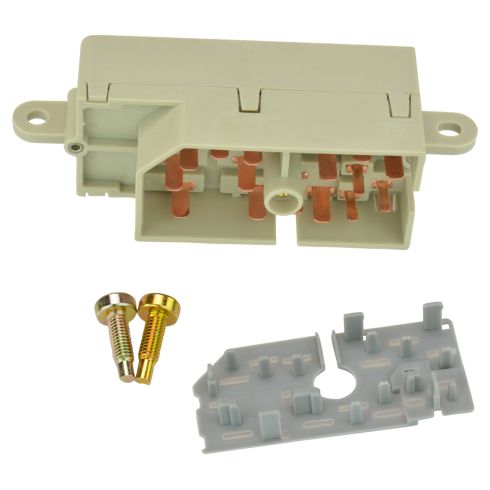
The original switch and new switch from 1AAuto. Just make sure these are basically in the same general position. Put this in place on the screw. Remember you want the connector facing the driver's door. Put the pin back into place. Make sure everything goes in correctly. Tighten that screw kind of by hand. Make sure this one goes into place OK.
I'll speed it up here as I get that 7 mm bolt going that holds the junction block together and then use my socket and ratchet to tighten it up. Then finally put the grey protector over it. At this point you can reconnect the battery and test your switch out. Here I'm showing you just in fast forward putting that plate back underneath there and then using the six 8 mm bolts and tightening them up, getting that plate in place. What I do is get most of them in place first and then I tighten them up afterwards. Then on, the last thing is to put the lower panel in place, the trim panel and tighten those four 7 mm bolts that hold that in place. Last but not least, if you haven't done so already, reconnect your negative battery cable and you should be all set.
We hope this helps you out. It was brought to you by www.1Aauto.com your source for quality replacement parts and the best service on the internet. Please feel free to call us toll free 888-844-3393. We are the company that's here for you on the internet and in person.
Shop Products

How to Replace Ignition Start Stop Switch 2008-16 Chrysler Town Country
You push this button every time you start or stop the engine in your vehicle. Eventually, it’s going to wear out. How to install a new Start/Stop Ignition Switch in your 2008-16 Chrysler Town & Country
