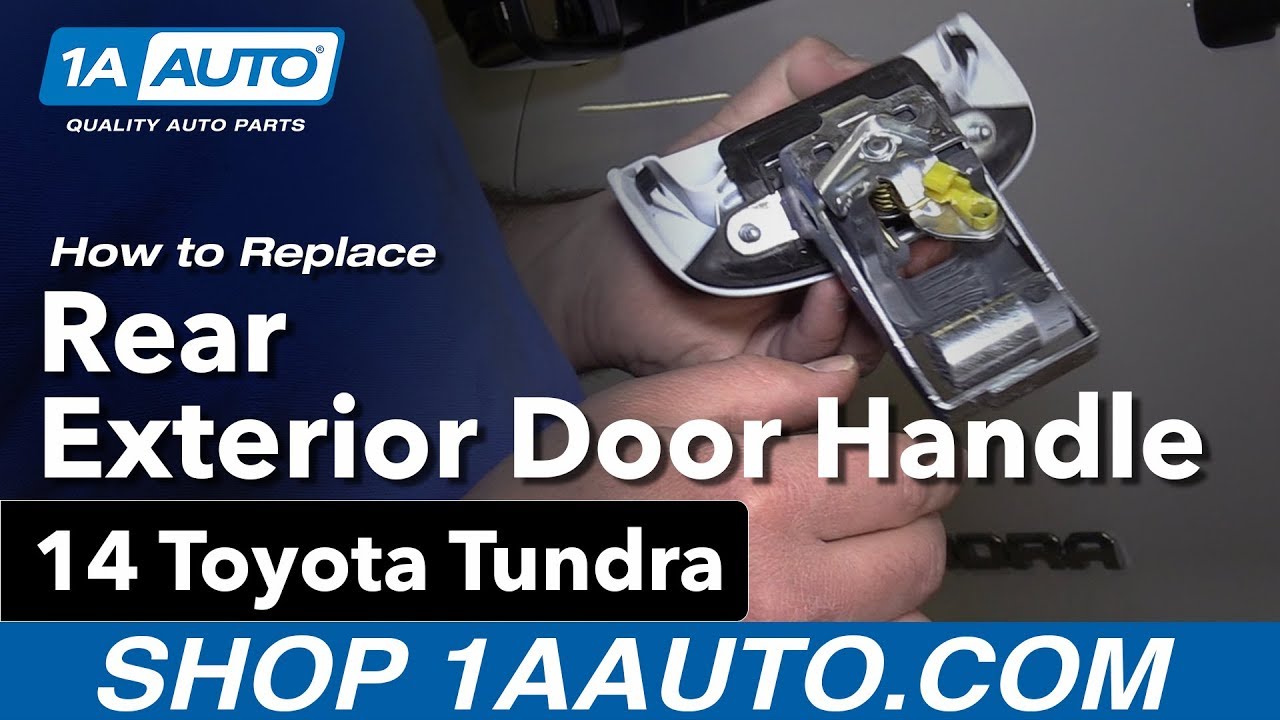
How to Replace Install Rear Exterior Door Handle 14 Toyota Tundra
Created on: 2018-04-04
How to repair, install, fix, change or replace a broken or snapped off Exterior / Outside door handle on 14 Toyota Tundra.
-
step 1 :Removing the Rear Door Panel
- Pry up the window switch
- Disconnect the wiring harness
- Pry out the plastic trim from behind the door panel
- Pry up the felt mat from the door panel
- Remove the Phillips screw behind the door panel
- Remove the Phillips screw from the door pull
- Remove the clip from the door panel
- Pry out the door panel
- Lift the door panel up and off
- Disconnect the door handle cables
-
step 2 :Removing the Exterior Door Handle
- Pull the two rubber plugs out of the door
- Disconnect the yellow clip on the door latch rod
- Pull the rod out of the door handle with a trim tool
- While holding the door handle, remove the two 10mm nuts from the back of the handle
- Pull the door handle off the outside of the door
-
step 3 :Installing the Exterior Door Handle
- Put the door handle into the door, using the studs to locate it
- Install the two 10mm nuts onto the door handle
- Clip the latch rod onto the door handle
- Clip the yellow clip onto the latch rod
- Push the rubber plugs into the door
-
step 4 :Installing the Rear Door Panel
- Connect the door handle cables
- Lift the door handle into place
- Clip the door panel into place
- Tighten the Phillips screw to the door pull
- Tighten the Phillips screw to the door handle
- Press the felt mat to the door pull
- Press the plastic trim behind the door handle
- Connect the wiring harness to the switch
- Press the switch on
Tools needed
-
Socket Extensions
Flat Blade Screwdriver
Phillips Head Screwdriver
10mm Socket
Ratchet
Trim Tool Set
Hi. I'm Mike from 1AAuto. We've been selling auto parts for over 30 years!
Remove the window switch. We use a plastic prying tool. You can get these from 1AAuto.com. Pry up between the silver part and the black part of the trim. I'm pushing it up off of these two clips and these clips here. Push the lock in. Pull the plug out. There's the window switch. Need to remove the plastic trim that's behind this so we can get to the screw. You're going to pull out the door handle and then take the plastic prying tool, pop it out. It's not really in there with much force. Just have these four little clips here. Put that aside.
Here at the door pull handle is a little felt mat. See if I can get this up. Now we can access the screw that's in there. Use a Phillips head screwdriver to remove the Phillips head screw that's in here. Do the same for this screw here. Need to remove this push clip here. Take a small flat-bladed screwdriver and actually push the middle of the clip in. That unlocks it. Take the plastic prying tool. Pry it up. Before you take the lower door panel off, take this upper door panel off. Trim cover. Get my plastic trim tool under here. Pry it up off the clips. With that removed, the rest of this door panel is held down with clips. You can reach behind it and give it a firm pull to pop it off the clips. Then we'll lift it up and off the doorframe.
Need to disconnect the Bowden cables. One goes to the door lock, one goes to the door handle. Pull it off like this and feed the little ball at the end out of there. Do the same for the other one. If the door clips stay in the door, use the plastic prying tool to just pop them out and then reuse them in the door panel.
Remove these two rubber plugs. They should peel right out of the door. You need to disconnect that yellow clip here. I'm going to push this way on it to unlock it. Then we can pull this rod out. Sometimes you have to get a prying tool in here and just pry out. You need to get in here and possibly pry that out. It does have a little ball stud on the end of it to get it free. There are two 10mm nuts. One on the top and then one on the bottom. You'll need to remove those. Be careful not to drop them into the door panel. I'm using a 10mm socket, ratchet, and extension. I'm just going to use a magnet to grab it because it's sitting on top of the handle mechanism. Remove the one on the bottom. I'm also holding onto the handle on the outside of the door so it doesn't fall. Pull the nut out. Pull the handle out of the door.
Carefully put the door handle back into the door. These two studs are going to go into the openings. Reinstall the top one. Reinstall the bottom one. Tighten it up. Do the same for the other one. You need to put the control rod back on. It needs to go into there. Push it in place to lock it and then flip the yellow lock down. Pry the little yellow lock down, it fits kind of tight, and then pop it over and it locks in place. Then a door handle is reinstalled. Place the rubber grommets.
To reinstall the door panel, I'm going to position and put the Bowden cables back on. White one goes to the top. Put the cable through there and clip it in place. Same for the other one. Make sure you have access to the wiring harness for the window switch, then we'll lift the door panel up.
Push it down into the opening. It's going to hook over the sheet metal just like that. Let's push it into place back on the clips. Push this trim panel back into place. It has these three clips and that clip here. Get it started. Reinstall this clip. I push it back out to unlock it. Get it started and then push it in to lock it. Reinstall the screw behind the door handle. Reinstall the screw here on the door panel. Put our little felt pad back in. Reinstall the trim behind the door handle. Just clicks into place. Reinstall the window switch. Plug it in. It'll click when it's all in place. These two lock tabs here, these ones in the back. It's going to go straight down and click into place.
Thanks for watching. Visit us at 1AAuto.com for quality auto parts, fast and free shipping, and the best customer service in the industry.
Shop Products

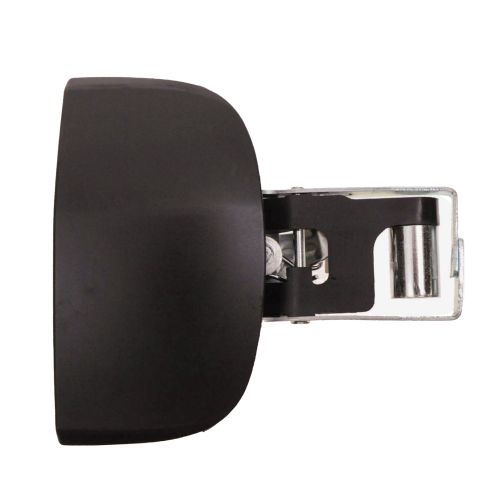
2007-19 Toyota Tundra Extended Cab Rear Passenger Side Exterior Door Handle TRQ DHA48742
Part Details:
- Black
- Plastic
- Paint to Match

How To Replace Front Door Handle 2002-07 Jeep Liberty
How to repair, install, fix, change or replace a broken or snapped off interior door handle on Jeep Liberty, years 02, 03, 04, 05, 06, and 07.


