How To Replace Lower Transmission Cooler Line 2000-06 Chevy Tahoe
Created on: 2020-12-07
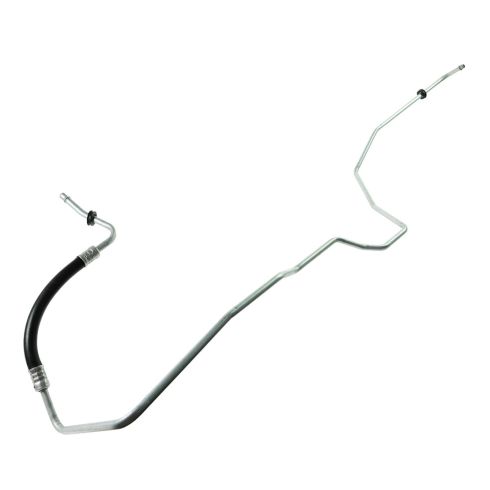
This video shows you how to install new transmission cooler lines from TRQ that are made to fit the specifications of your 2000-2006 Chevy Tahoe.
Tools needed
-
Torque Wrench
18mm Wrench
Pry Bar
Jack Stands
Wheel Chocks
18mm Socket
Floor Jack
Pick
Now, we're going to remove this lower line right here. It's a little cover. This comes off just like the other ones. Slide this cover off, then use a pick and take the clip out. There we go. Underneath it. And there we go. Got the clip out. Now grab the line and just wiggle it out. Next to the transmission, there's a cover right here. Use a 10-millimeter socket, take these two bolts out. And take this plate down. And the same kind of fittings, there's just a little cap or cover. Take that off on both of those and then the little clips, take a pick, and take those clips out. All right. There's a clip, and just grab the line and slide it up. You might have some fluid come out, so you might want a drain bucket underneath. There's a clip right here that connects the two lines together go ahead and disconnect that clip. And use a screwdriver or a pick and just pop that off.
And there's a clip right here where it mounts to a bracket. Just slide the line out of that clip. Just like that. You'd use a pair of pliers, then also up here there's another clip that ties these together. There just take that one off as well. Use a pick tool or a screwdriver and take that off and just slide this hose down. You can try twisting in a little bit to get it past. Now, with the bends in the line where you could do is bend this out of the way. What I'm gonna do is actually take this out right here, this cross member, and I'm going to drop the front differential down just a little bit. Just taking these two nuts out. All right. I'm gonna take these two nuts and bolts out using an 18-millimeter wrench and 18-millimeter socket.
And right here in the 18-millimeter wrench and socket, take these two out. I'm gonna take these bolts out and slide this down. And then I'm gonna take these two nuts out. I'm just gonna support the differential. I'm just using my hand, but you could use a jack or a screw jack there. Just tip it down. All right. Now the differential didn't come down too much, but that's okay. I'm just gonna try to slide this line forward like this. And I just got just enough clearance to pull it up. I'll take the lower line and slide it the same way it came out. I just have to twist it a little bit.
And slide this part up here. And slide it into the fitting on the side of the transmission and then put this cover on. Make sure it locks in place. And snap it into this bracket, just like that. Now take these brackets and just put these together like that. One right there and then there's one in the back here. Over near the starter and lock it in place. And I'll push the differential back up. If you needed to drop this more, you could have taken other bolts out, but we didn't have to. Put the nut on, and this nut as well and tighten these down. Now put this cross member bracket up. Put the bolts through and get these ones started as well. Now tighten these bolts up and the same as these ones. Now, we can take this side cover, put that back on the transmission, get the bolts started, and tighten them down. Now, we're going to put this clip on the lower fitting. Slide it like that and roll it around and take the line. Line it up, push it in, snap it in place, and then put this lock on, just like that.
Shop Products

How To Replace Oil Cooler Line Adapter 1992-99 GMC K1500
Watch this video to learn how to install a new oil cooler line adapter on your 1992-99 GMC Sierra.
