
How to Replace Mirror 2001-03 Chrysler Voyager
Created on: 2010-03-12
Learn how to install a side view mirror in a 01-03 Chrysler Voyager when you watch this video.
-
step 1 :Remove the damaged or old side mirror
- From the outside, pry off the side mirror bezel
- Remove the two T27 Torx screws.
- Open the door to access the third Torx screw hiding behind the edge of the door.
- Remove the side mirror.
- If you have a power heated mirror, unplug the wiring harness.
-
step 2 :Install the new side mirror
- Thread the wiring harness back in and plug the mirror in.
- Get your three T27 Torx screws started to secure the mirror.
- Tighten them with your Torx driver.
- Clip the bezel back on and close the door.
Tools needed
-
Flat Blade Screwdriver
T27 Torx Driver
Brought to you by 1AAuto.com. Your source for quality replacement parts and the best service on the Internet.
Hi, I'm Mike Green. I'm one of the owners of 1A Auto. I want to help you save time and money preparing and maintaining your vehicle. I'm going to use my 20-plus six years' experience restoring and repairing cars and trucks like this to show you the correct way to install parts from 1AAuto.com. The right parts installed correctly, that's going to save you time and money. Thank you and enjoy the video.
In this video we'll be replacing a mirror on this 2003 Chrysler Voyager. Same procedure as any 2001-2007 Caravan, Voyager, and Town and Country. The only tools you'll need are a T27 Torx driver and a small flat blade screwdriver.
Okay, you have your voyager set. Your mirror wants to fight with a garage puller or something like that and you need to replace it. So, pretty easy. Take your little screwdriver here, about an inch down. Work it in between and that starts to pull out like that. Okay, then you actually pull... let's put the screwdriver down here. Keep your fingers on in there and you kind of work this up, pull it up and off.
Okay, we'll put that right there. Here's that T27 Torx screwdriver and there's two screws right here. We'll remove those and then the last screw ... I'll hold it up here to show you and right here your last torque screw, okay? It's right in there. So, you remove those three screws and the mirror comes off. I've taken out this screw and the bottom screw. I'll just pull this last one out. Okay, you can see it comes right off. Okay, so you can see this is a new mirror from 1A Auto and this is the original mirror. You can see that it's going to bolt right up there, no problem. There's a nice thick foam gasket. Upside down but, you know, everything looks the same. The mirror that I grabbed is a power heated mirror and this van has manual. If you did have a power mirror obviously you need to unplug it as you pull it out. You can see there's a little front tab so you want to press down on that and then work it out the harness that's in the vehicle.
The new aftermarket, it's all designed the same way. It has the plate that would snap in place, it all looks the same. It looks just like the original, okay. Now we are going to put this original one back on because this van doesn't need a replacement. Just trying to illustrate how you do it. Okay, we'll take the mirror and you want to put it down in behind the fender here. I generally start with this top one first. Just get it in there started then we'll get the other two and get it started. Then we'll tighten it up.
I've got my screw bolts in and as you tighten up, kind of hook it up into place. We'll tighten that up. I'll push that a little bit. We'll tighten that up. Down here another one, tighten that one up. Then we'll close this door and then, same thing, slide this down into place. Okay, that goes in. Oops, I missed this one so pull it out here. It's not going to be perfect every time for sure. Now, I've got it in place. There we go.
Brought to you by 1AAuto.com. Your source for quality replacement parts and the best service on the Internet. Feel free to call us toll free 888-844-3393, the company that's here for you in the Internet and in person. Thank you.
Shop Products


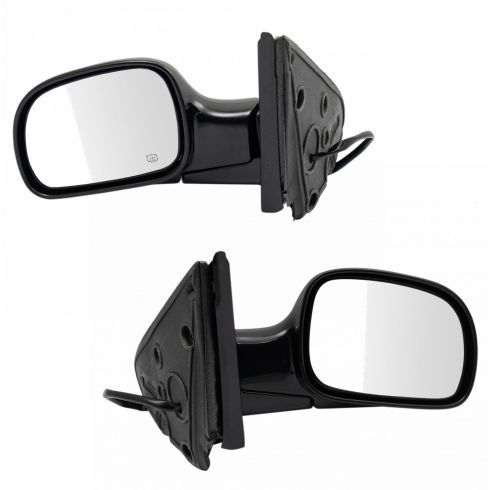
Dodge Chrysler Driver & Passenger Side 2 Piece Mirror Set TRQ MRA04827
Part Details:
- 2 Piece
- Paint to Match
- (1) Passenger Side Mirror
- (1) Driver Side Mirror
- Yes
- Electric
- Black
- Black
- No
- No
- No
- No
- Manual
- No
- Plastic
- No
- Smooth
- No

How to Replace Mirror 2004-08 Chevy Malibu
Need to replace the side view mirror on your 04-08 Chevy Malibu? Learn how in this video!
