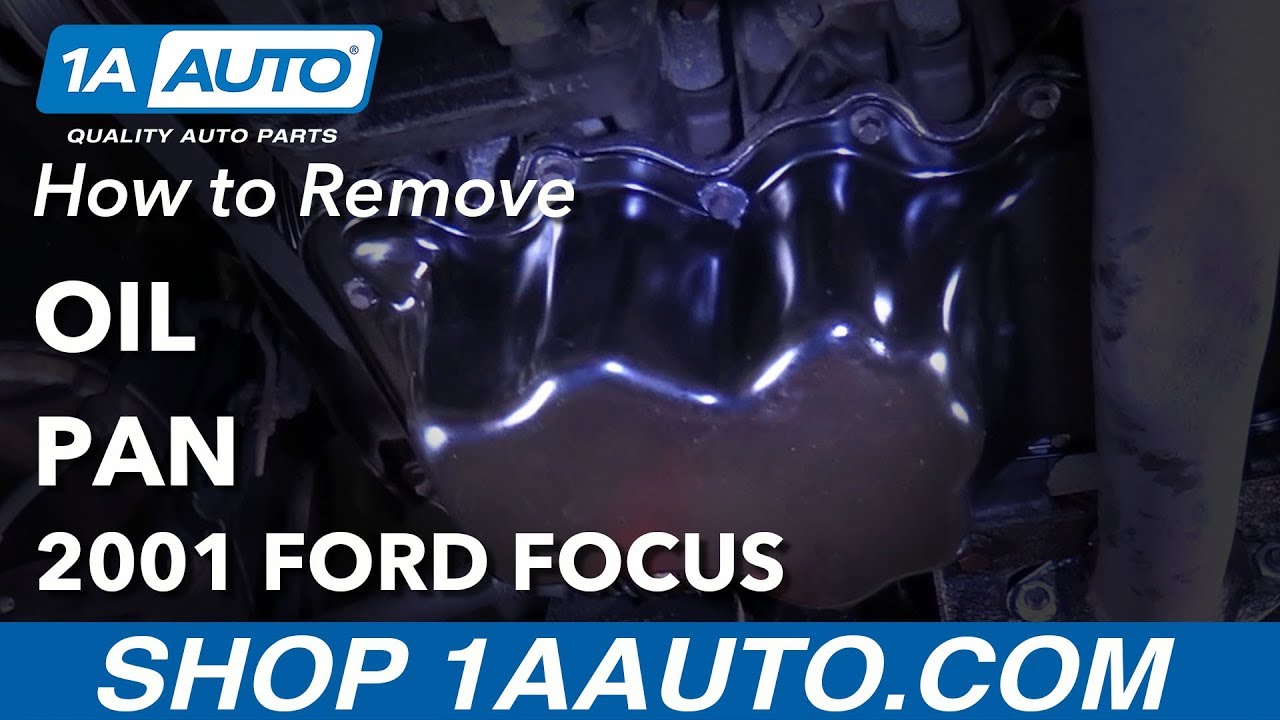
How to Replace Oil Pan 2000-04 Ford Focus
Created on: 2018-07-10
How to replace a broken, warped, worn, or leaking engine oil pan on 00, 01, 02, 03, 04 Ford Focus
-
step 1 :Removing the Oil Pan
- Raise and support the car with a jack and jack stands
- Remove the oil drain plug with a 13mm socket and ratchet
- Drain all the oil
- Reinstall the drain plug finger tight
- Remove all the 8mm bolts around the oil pan
- Use a pry bar to break the oil pan lose
- Pull the oil pan straight down and wiggle it out
- Clean off the residue gasket on the engine block
-
step 2 :Reinstalling the Oil Pan
- Wipe the new oil pan to clean the gasket surface
- Put a small bead of RTV around the pan
- Wipe the engine block to remove any oil residue and debris
- Carefully reposition the pan on the engine
- Get a few bolts started to hold it in place
- Reinstall the rest of the bolts by hand
- Snug all the bolts from the center out in a cross pattern
- Check that the drain plug is tight
- Let dry for at least 20 minutes before adding oil
-
step 3 :Adding Oil
- Pull the hood release lever
- Release the safety latch
- Insert the prop rod
- Remove the oil fill cap
- Add the appropriate amount of oil
- Reinstall the oil fill cap
- Start the car for a few seconds
- Shut it off and let it sit for a minute
- Pull the dipstick out and check the oil level
- Add oil if necessary
- Close the hood
Tools needed
-
13mm Socket
Socket Extensions
Pry Bar
Jack Stands
8mm Socket
RTV
Ratchet
Floor Jack
Pick
Hi, I'm Mike from 1AAuto. We've been selling auto parts for over 30 years.
We're going to raise and support this 2000 Ford Focus. We're going to use our two post lift. You can use a jack and jack stance. So we're going to remove the drain plug. I'm going to use a 13 millimeter wrench. Loosen it up. Make sure you have a drain pan underneath to drain the oil into. We'll drain all the oil out.
Alright I'm going to put the drain plug back in. And then just snug it up. Not too tight you don't want to over-tighten it.
Alright we're going to take all these eight millimeter bolts out on the oil pan. They go all around the perimeter of the pan. Around back there. I'm going to use an eight millimeter socket and extension, and a ratchet. I went all around the pan and now I'm getting the last one out.
Alright I'm going to try using a pry bar to get this oil pan separated from the engine. We sell these pry bars at 1aauto.com. Just try to go in here and pry a little bit. It's glued to the engine so it might take a little effort to try to get it down. If you were using this you'd want to be a little more careful. You've got a replacement pan so if we bend the pan it's not as critical. And we got it separated and pulled down. Like that. You can pull the pan right out. You can use the scraper, a razor blade, some emery cloths and brake clean to clean it all up.
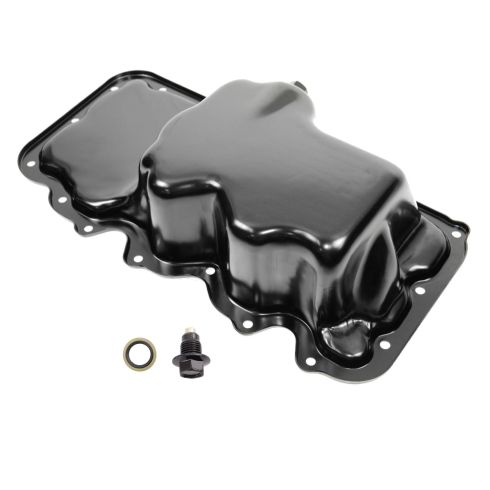
As you can see this is our old oil pan, this is our new oil pan from 1aauto.com. If you look at the holes the all line up, they're all machined the same. The structure of the oil pan is the same. Flip it over. The bottom shape is the same. Comes with a new drain plug. Get yours at 1aauto.com and you'll be ready to rock and roll.
Alright I'm going to put some RTV sealer on it before. I'm just going to wipe it down with a little rag and some brake parts cleaner. Let that dry. Then I'm going to put a small bead of this RTV sealer all around the pan.
Now, all the surface is all cleaned up it's ready for our pan to be installed, but before I send it up I'm just going to wipe it right down with some brake cleaner on this rag, because generally a little bit of oil drips while you're cleaning.
Alright now there's no oil on that surface now I can send up the pan. While you're doing this make sure you don't hit anything and rub off the RTV. Now I can push it up. Get some of the bolts started. Get one started here. Get one started here. Start this one.
Alright and that's the last one. Now we can tighten them all up. We'll start in the middle. I'm going to use my ratchet. I'm just going to snug it up. Once you start feeling it get tight then that's pretty good. Not too tight and then we'll just go in a cross pattern to evenly distribute the RTV. This one's a little bit tricky to get too. Take the ratchet off and just use the socket and the ratchet. Snug that up. That's the last one. As you can see the bead of the RTV came out just a little bit. That's a good amount. It didn't gush out and pretty much if you look around there's no spots where it's bare so I know I got good coverage of the RTV.
Alright we're going to double check the drain plug to make sure it's tight. Loosen it up a little bit and snug it up. Okay, and then we're going to let this dry for about 20 minutes before we put oil in it.
Alright I'm going to pop the hood. Right here underneath just pull that lever to release the latch and just push to the right, pick it up, and then put the prop rod right here. Now we're going to fil our oil. Loosen up this oil cap. Right on the oil cap it should say what kind of oil it is. It says 520.
Alright now we're going to add our oil. This vehicle requires about four and a quarter quarts of oil so we're going to put about four quarts in it and then we'll check it. Pull the funnel out. Put the oil fill cap back on.
Alright I'm going to start it up and let it run for a little bit.
Alright we're going to check the oil level so take our dipstick out. I'm just going to wipe it first with a rag. Reinsert it. Pull it out, take a look. It's kind of hard to see, but it looks like ... It looks almost to the top. In between those two holes is where you want it. Closer to this full hole would be ideal. We'll just put a little bit more oil in. Put the hood down.
Thanks for watching. Visit us at 1AAuto.com for quality auto parts, fast and free shipping, and the best customer service in the industry.

Ford Escape Focus Mazda Tribute Magnetic Engine Oil Pan with Magnetic Drain Plug TRQ OPA78520
Part Details:
- (1) Magnetic Engine Oil Drain Plug
- (1) Lower Engine Oil Pan

How to Replace Oil Level Sensor 1997-2006 BMW 325Xi
Watch this video to learn how to replace the oil level sensor in your 97-06 BMW 3 series vehicle. 1A Auto shows you how to do it yourself!

